


posted by Roman, Jarhead, kong
Now fasten your bagpipes
- here comes the article about the often questioned crackle medium.
First, a foreword about Crackle Medium and the experiences about it from the jungle brothers. Raffa really is the man behind this as he was trying hard to find a crackle medium that works well with smaller scales and brings an easy handling. He was really up to it and tried this and that, crackle mediums of different hobby manufacturers, out of the tool store and out of the artist stores. Somehow everything did not do like he wanted and i can remember him telling me someday about a crackle medium that should work well which he found reading in the MIG Forums. After ordering it, several tryouts and work with the material there is now this article for you. Raffa's Crackle Medium seems to run out faster everyday, but i have already ordered my own stock of it - this stuff kicks mountains.
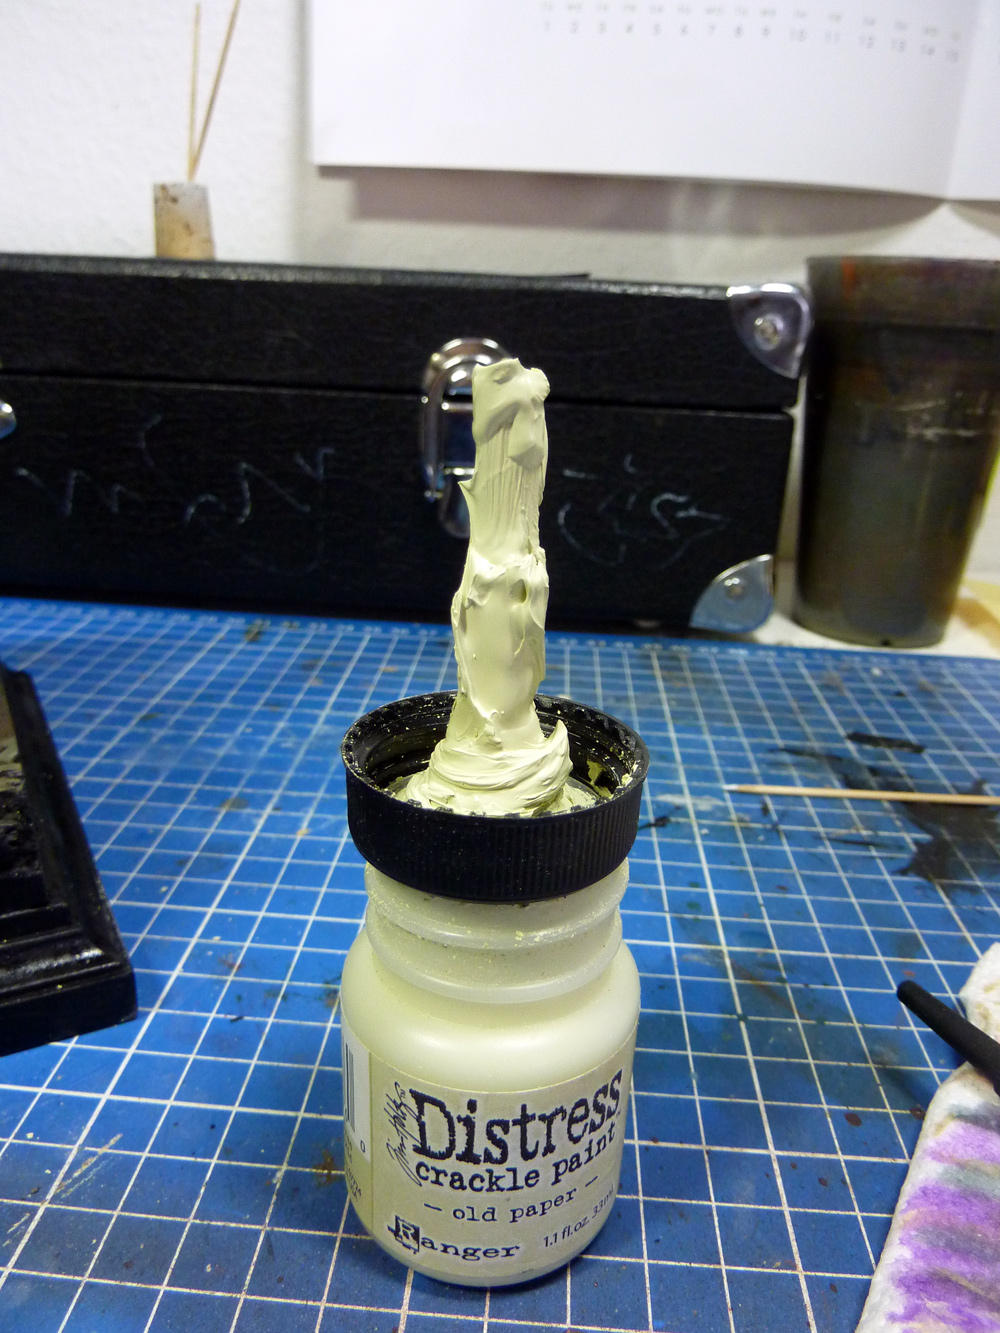
The product we are talking about is called "Tim Holtz Distress Crackle Paint - old paper". Here is a shot showing you the can and its look.

There are several other variants as you can see on their homepage (Tim Holtz)
- we so far, only know this one so there is an ocean of experiments in front of you to find out more magic. To work with this medium is really easy and a pure joy. When you open it you will find a brush inside the cap, which is really hard to keep clean when you are working with it very often. Ours is already really messed up but that doesn't matter as i said i might be someone who destroys a guitar after a concert if i would be a musician. Blabla - your brush inside the cap will look this way soon, i promise and it doesn't matter...

Applying the one component material works in different ways and there is something you got to know before you start. The medium cracks while drying and leaves a very intense surface which you can use for cracked colour on wood, paper, rust and more stuff. Applying thicker coats will lead the medium dried out crack with larger sections, thin coats will lead to fine cracks after drying. So you got to know where you want to go with your project. Think first or go the random way of "let me see what happens now?" It is really just hitting the spot you want to crackle and it crackles from itself. If you want hit smaller spots use a toothpick as an additional tool or use your fingers to arrange it, whatever you like and prefer, it always will dry and will stay in place on most surfaces (I had massive problems on gypsum parts as it won't get a tight grip to it). There is no straight rule of an applying time order - i did hit spots before priming and if i thing i want here and there the same effect i also did hit the spots after they have been painted and put some glazes on to get it back in colour.
I did tell you about some testing that i have made, here follows the report. You can use the effect on various locations on your miniatures or vehicles. Here it is randomly put in placed kind of randomly on the Arkvengers base to be repainted afterwards and give the statues hands a more intresting surface - work in progress:

Next it was used on the lower part of the 75 mm Arkvengers cloak which i want to paint as old leather material. I just thought about why and came to the conclusion that the lower parts might be get wet or mudy more often and this might bring the effect of crackled leater or dirt - we'll see were the painting journey goes:


Changing Scales. I think it would not be a problem if you carefully apply some with a toothpick at your 28 mm models, for example Space Marines or Orcs. I gave it a try at a leather cloak of a pretty cool 28 mm model that soon will be introduced in the jungle. Same background as the cloak of the Arky - here you go:

This Crackle Medium takes about 5~10 Minutes to dry and crackle, depending on the weight of your applied coats. After it is dry you can prime on it, paint on it and do whatever you want. Be sure it is a very vulnerable effect and you should not use your fingernails with force to check if it stays in place :) - just believe in it or if you want more variations you can go at the dried medium and rip of single plates with a needle to create an even deeper and interesting effect. You see the sky is the limit. Here are some painted examples:


I hope you will have your fun with this stuff. The jungle says YESSSSS! to it as it is great to handle even for big fat gorilla fingers. As i still got questions about it dropping into my email account like good old hip hop beats dropping into my ear i hope this can answer your thirst for information! Give it a try - it really will kick booty, use it wisely and not complete over your sculpts to keep the effect still intresting, may fun be with you!
Keep on happy painting!
Best Regards
Roman
PS: And you can also use it for creating cracked colour on a wall or a wooden piece or a tank too!!! Now back to the Pirate-Upgrade Kit i am working at the moment :)
Now fasten your bagpipes
- here comes the article about the often questioned crackle medium.
First, a foreword about Crackle Medium and the experiences about it from the jungle brothers. Raffa really is the man behind this as he was trying hard to find a crackle medium that works well with smaller scales and brings an easy handling. He was really up to it and tried this and that, crackle mediums of different hobby manufacturers, out of the tool store and out of the artist stores. Somehow everything did not do like he wanted and i can remember him telling me someday about a crackle medium that should work well which he found reading in the MIG Forums. After ordering it, several tryouts and work with the material there is now this article for you. Raffa's Crackle Medium seems to run out faster everyday, but i have already ordered my own stock of it - this stuff kicks mountains.
The product we are talking about is called "Tim Holtz Distress Crackle Paint - old paper". Here is a shot showing you the can and its look.

There are several other variants as you can see on their homepage (Tim Holtz)
- we so far, only know this one so there is an ocean of experiments in front of you to find out more magic. To work with this medium is really easy and a pure joy. When you open it you will find a brush inside the cap, which is really hard to keep clean when you are working with it very often. Ours is already really messed up but that doesn't matter as i said i might be someone who destroys a guitar after a concert if i would be a musician. Blabla - your brush inside the cap will look this way soon, i promise and it doesn't matter...
Applying the one component material works in different ways and there is something you got to know before you start. The medium cracks while drying and leaves a very intense surface which you can use for cracked colour on wood, paper, rust and more stuff. Applying thicker coats will lead the medium dried out crack with larger sections, thin coats will lead to fine cracks after drying. So you got to know where you want to go with your project. Think first or go the random way of "let me see what happens now?" It is really just hitting the spot you want to crackle and it crackles from itself. If you want hit smaller spots use a toothpick as an additional tool or use your fingers to arrange it, whatever you like and prefer, it always will dry and will stay in place on most surfaces (I had massive problems on gypsum parts as it won't get a tight grip to it). There is no straight rule of an applying time order - i did hit spots before priming and if i thing i want here and there the same effect i also did hit the spots after they have been painted and put some glazes on to get it back in colour.
I did tell you about some testing that i have made, here follows the report. You can use the effect on various locations on your miniatures or vehicles. Here it is randomly put in placed kind of randomly on the Arkvengers base to be repainted afterwards and give the statues hands a more intresting surface - work in progress:

Next it was used on the lower part of the 75 mm Arkvengers cloak which i want to paint as old leather material. I just thought about why and came to the conclusion that the lower parts might be get wet or mudy more often and this might bring the effect of crackled leater or dirt - we'll see were the painting journey goes:


Changing Scales. I think it would not be a problem if you carefully apply some with a toothpick at your 28 mm models, for example Space Marines or Orcs. I gave it a try at a leather cloak of a pretty cool 28 mm model that soon will be introduced in the jungle. Same background as the cloak of the Arky - here you go:

This Crackle Medium takes about 5~10 Minutes to dry and crackle, depending on the weight of your applied coats. After it is dry you can prime on it, paint on it and do whatever you want. Be sure it is a very vulnerable effect and you should not use your fingernails with force to check if it stays in place :) - just believe in it or if you want more variations you can go at the dried medium and rip of single plates with a needle to create an even deeper and interesting effect. You see the sky is the limit. Here are some painted examples:


I hope you will have your fun with this stuff. The jungle says YESSSSS! to it as it is great to handle even for big fat gorilla fingers. As i still got questions about it dropping into my email account like good old hip hop beats dropping into my ear i hope this can answer your thirst for information! Give it a try - it really will kick booty, use it wisely and not complete over your sculpts to keep the effect still intresting, may fun be with you!
Keep on happy painting!
Best Regards
Roman
PS: And you can also use it for creating cracked colour on a wall or a wooden piece or a tank too!!! Now back to the Pirate-Upgrade Kit i am working at the moment :)


wow, thank you very, very much for the tutorial! :)
Thanks, very very nice and thanks for the difficult job of finding the right medium...and thanks for find it for us all!!!
Once the medium is applied, is there any special care to avoid the scales "peeling off" when paint? do you need to gave a coat of varnish? Use very diluted paint?
Agian thanks
Great article. I have the crackle medium from Vallejo but no time to test it yet. I read on many pages that you should mix the crackle medium with pva glue to get better results. Did you ever tested that?
Grumbler
nice Tut- there are aplenty of those mediums to try. I ve heard just about bubble medium?
In your tests did the Vallejo Crackle medium work at all? I've got some and can't seem to make it do it's thing.
This seems to be an interesting Material. Have to give it a try. Thanks guys for showing us. You never stop learning.
This is not a crackle medium, it is crackle paint.
You directly apply this stuff in one go (1 component) and it crackles.
With a crackle medium you apply a coat of the medium and a coat of color...
and THIS STUFF ROCKS!
Cool tutorial! Thanks for sharing! I've linked it over on my blog! http://lillianpearl.blogspot.com/2011/04/shrinky-dink-minus-sharpie-tutorial.html