Showing posts with label Work in Progress. Show all posts

Kallax photo setup - the most handy photobox!?!

by Andy

Hello everyone,


It's Andy, again. Today, I want to give you an overview and “how to” tutorial of my current photo setup. The idea was to build an easy-to-use, quick set-up photo box suitable for fast WIP shots and final pictures.


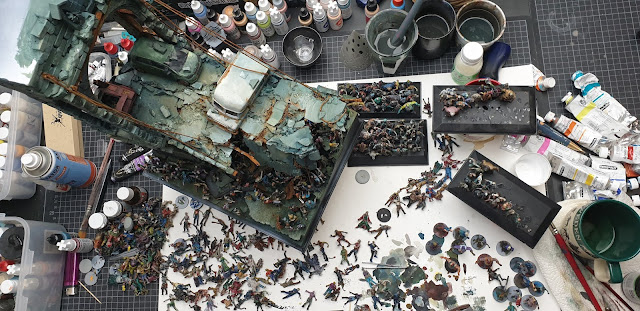
To be honest, the main reason I didn’t use my “standard photo tent” that often in the past was the set-up time, the need to clean up my desk to have enough space and the inconsistent lighting.

I have been thinking back and forth about this topic over the last years and the solution was in front of my eyes all the time with the IKEA "Kallax" cupboard, which is probably one of – if not the - most-often sold cupboards in the world. The squares are perfect for a photo setup with fixed conditions, but the concept of the photo box should be possible to realize with any other cupboard and boxes as well, but I’m just an IKEA-addict when it comes to hobby furniture ;)

Things you need (links as example and not paid):


Optional equipment


My jungle brother Hansrainer came up with the idea of a ring light for quick pictures and I adapted it for the Kallax project. A 12-inch ring light is the largest suitable for one of the square spaces.

Samla boxes in general do not fit the Kallax well but for our project they are perfect because they create a nice little niche on top and to the side to store the ring light.


This is how the whole setup looks like in the stored position. The whole assembly as seen in the picture above is very simple – clamp attached to light and shelf, nothing special here. The optional turntable can be stored on top of the box.


The modifications to the shelf can be seen without the boxes. In the picture you’ll see the backdrop in the storing position pushed upwards between Kallax and the wall and the ring light stored to the side to have space for the boxes.

The black foil is attached on each side and on the ceiling to avoid unwanted light reflection. I first measured the size of the walls, then cut the foil with a bit of extension to have a little room for failure. The installation of the adhesive foil is done step by step by taking away a small piece of the protection layer on the back, starting the attaching process by adjusting it to the wall as straight as possible on one edge (I recommend the back), pushing with a straight round-edge cardboard or plastic lid to get rid of air bubble and working the way to the end of your layer. The last step is cutting away the extension. There are plenty of YouTube tutorials of wrapping with foil if you want a detailed explanation ;)


In the shooting position it’s super clean and easy to use. I recommend attaching the clamp in the middle of the shelf to have stiff hold for your mobile and lamp. Adjust the angle of the lamp and phone (or camera) to your preference – for me it’s a bit tilted from the top.

As a base, I use some black caps from spray cans or wooden sockets. Recommendation is black, white or gray to avoid tinted reflections from the bottom. Just play around which suits best for you.


Now that you know how I built it – you will wonder whether the whole set-up actually can fulfil its goal: to reduce the time and hassle of setting up the photo equipment. So, here are the results of a little experiment: I stopped the time it took me to set-up and store the photo box.

The pic to the left shows the time it took me to set up the photobox, the pic on the right shows the time to store it away. Both setting up and storing the stuff took me less than a minute! – I’d say: “mission accomplished”:D
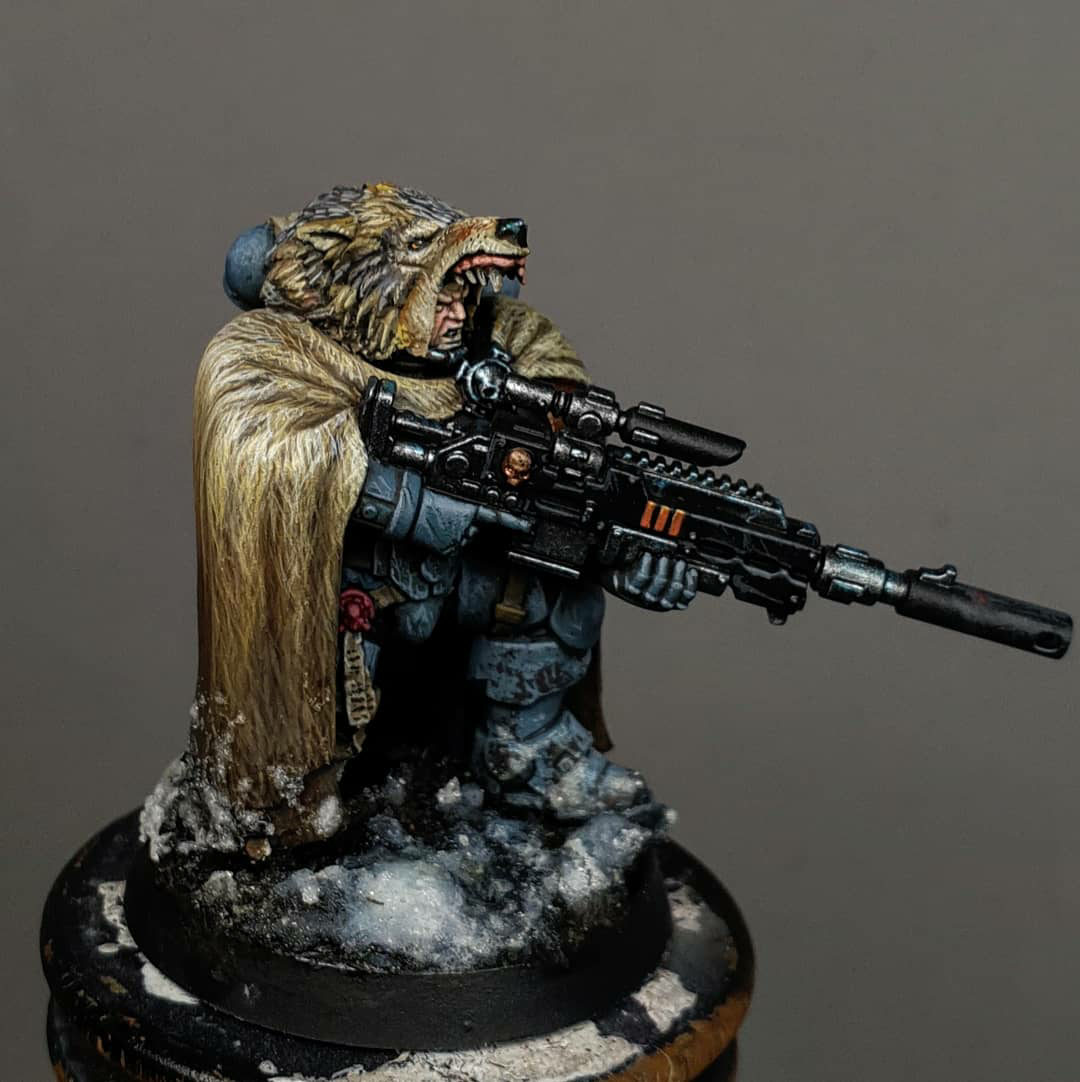
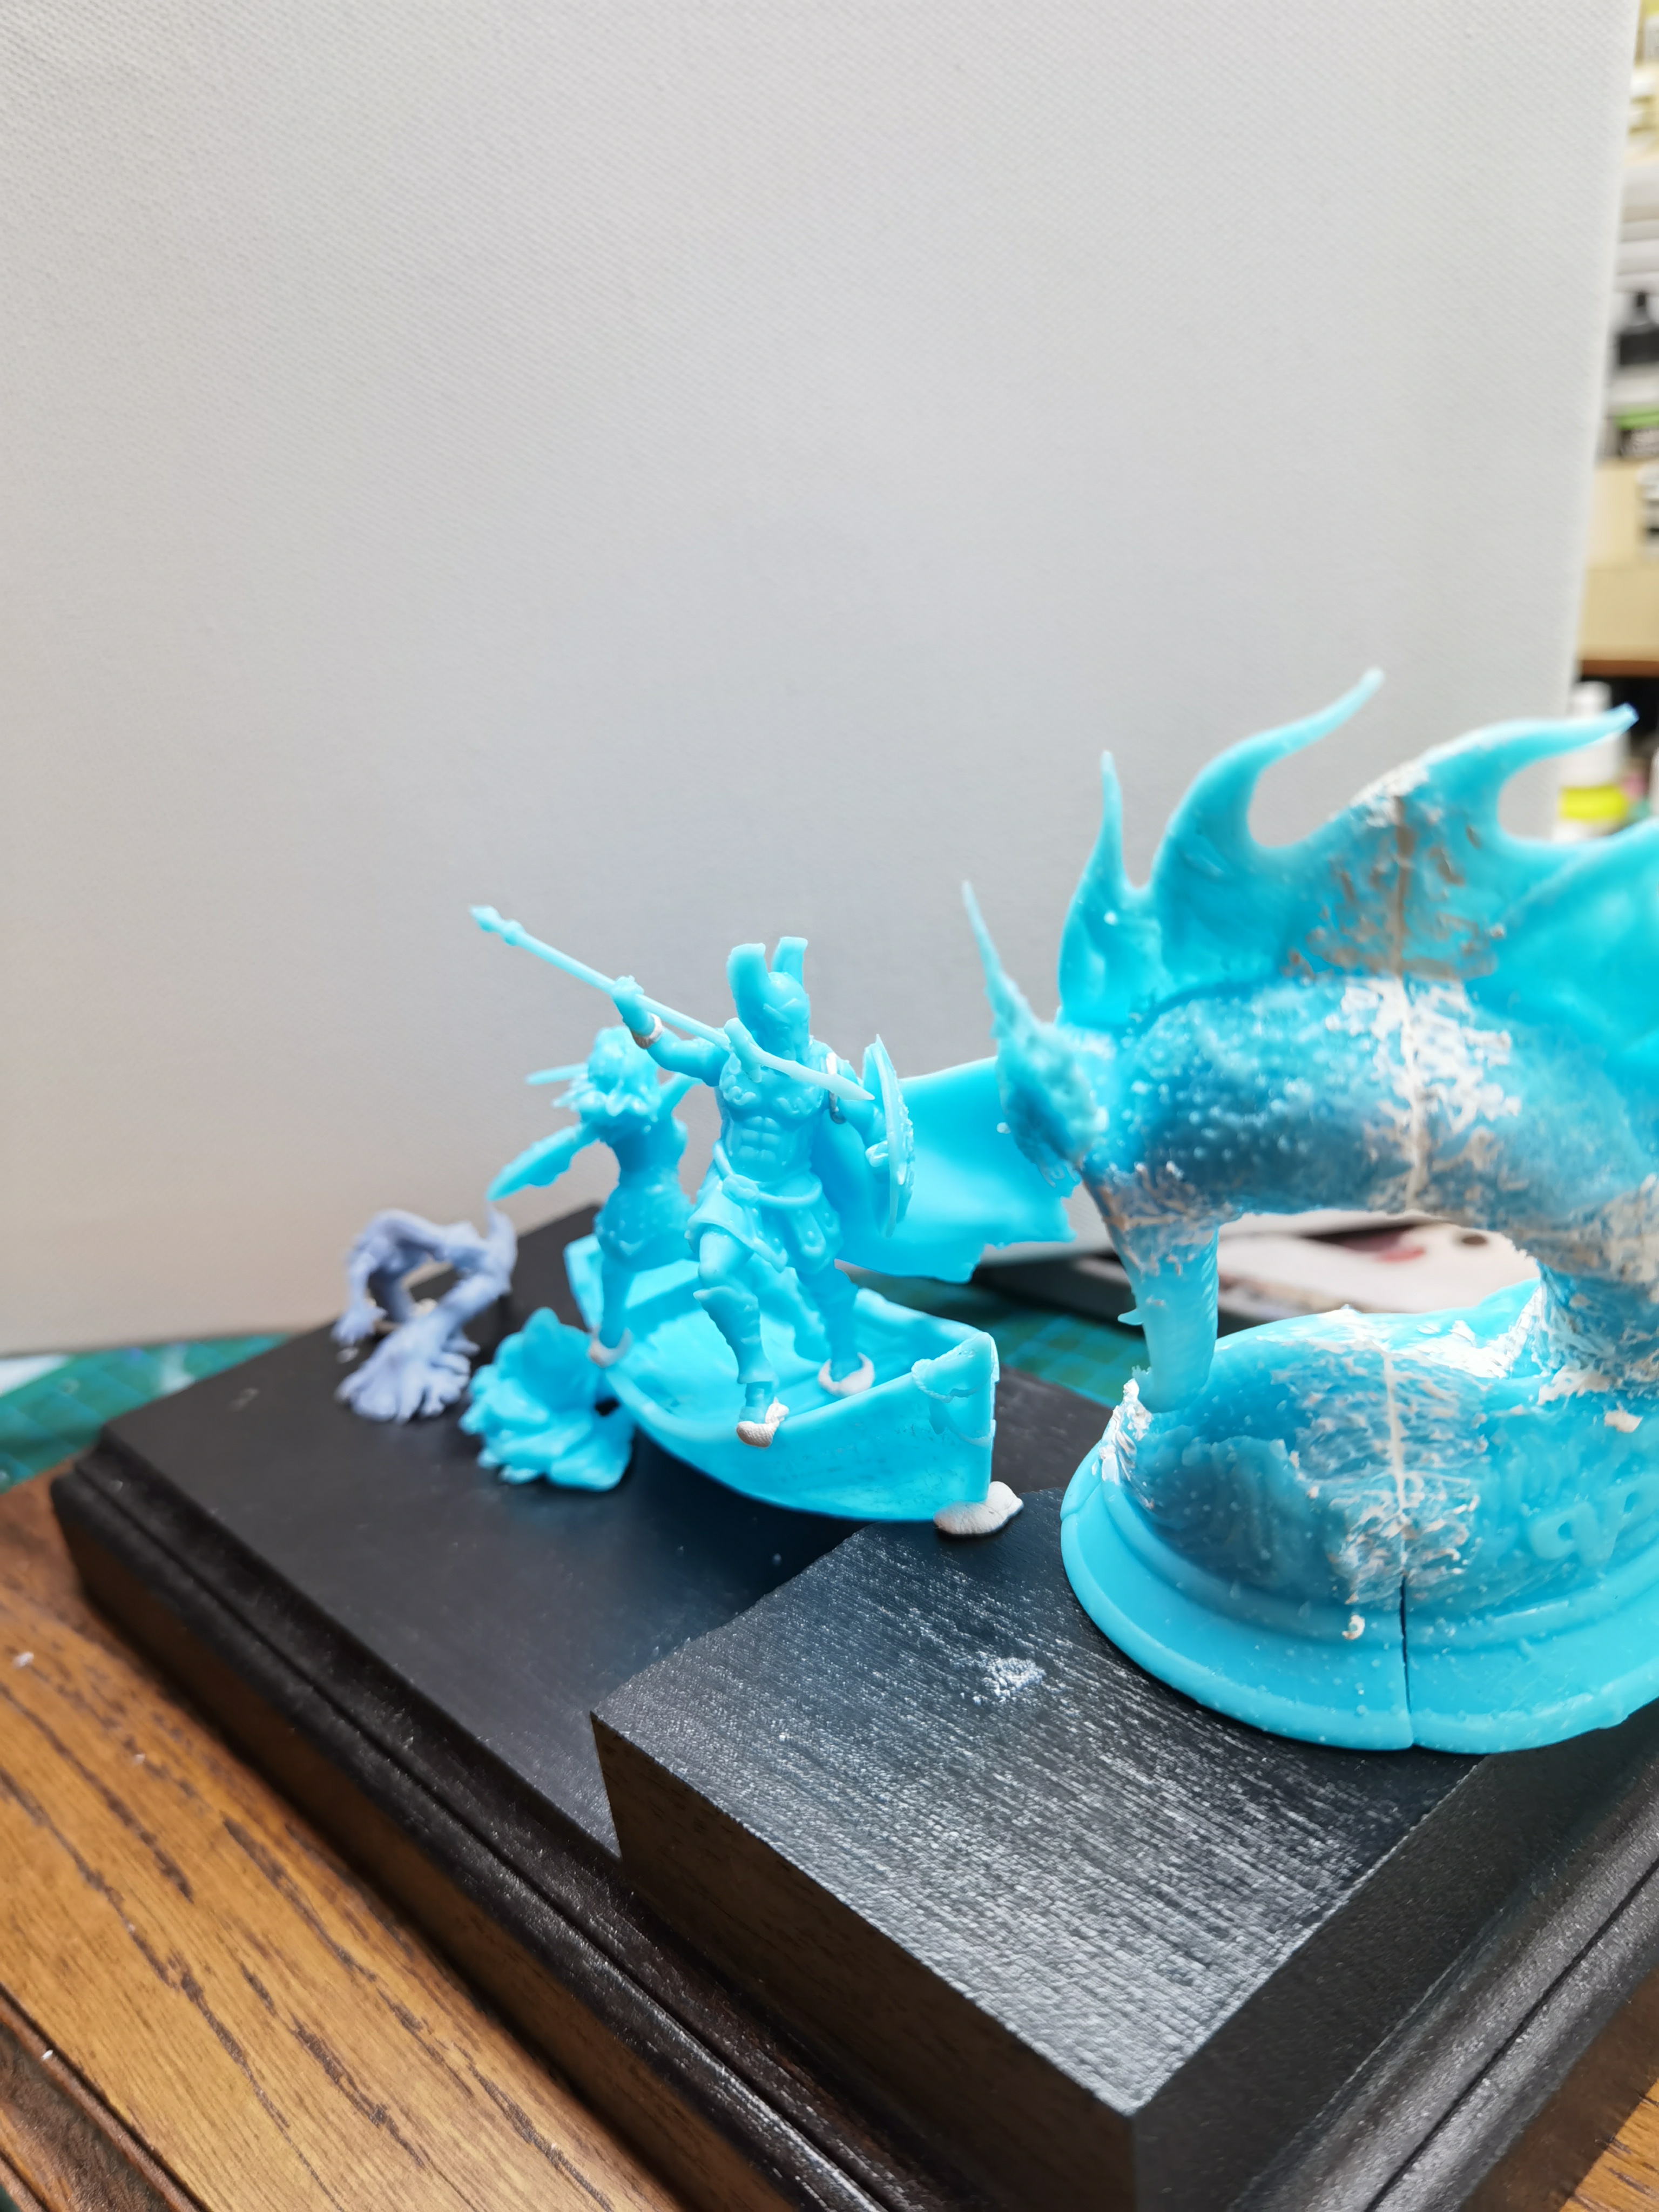

The box in action

Here are two examples of photos taken with the photo set-up and lightroom app.


Both miniatures will be featured in detailed posts - stay tuned ;)

Thanks for reading and your interest and leave a comment below if you have any questions.

Andy

A ballad of courage and strange things: a projekt book by Sebastian | Act II Road to WME Serpent part II |

by Sebastian


Hello!

Sebastian here with another update on this project.

The ideas for dividing the figures and parts of the terrain are slowly becoming final.

It is supposed to represent a kind of river where the bank is quite flat but it quickly turns into deep water. The shore is said to be a mixture of river bank and mangroves. But so flat that you can still see the bottom of the ground.

In the meantime I've found all the figures and scenery and printed them in the right size. The base is also custom-made. All references to the 3d models and the base can be found at the bottom. I'm more than satisfied with my choice and I didn't want to be denied another rehearsal.


The main focus should clearly be on the fight between the serpent and the warrior. I'm still considering swapping the spear for a sword. I really like the dynamics of the warrior. I will only adjust the incline of the serpent


But the Amazon should not be neglected either. She got a side scene with a rearing Barlgura, who senses easy prey here. The defensive stance of the Amazon just fits perfectly. A basilisk can still be seen in the pictures, but it had to go.
 

A few crabs here, an owl there and somewhere a turtle is supposed to come in too. I think the structure fits and everything is nicely structured.


Next comes color!

Cheers,

Sebastian


Serpent  Midgard Serpent by Rocket Pig Games 

Boat by Codercatclub

Man and Woman I also used the stones that are included

Swamp Creature  the tree go perfectly with it

Barrels and Crate by BubmleBrush

Barlgura by Lord of the Print

Light Bulbs by Fantastic Plants and Rocks

Socket by Niels Bahr, my man for socket!

Project Book: A ballad of courage and strange things: a projekt book by Sebastian | Act II Road to WME Serpent part I |

by Sebastian


Sebastian here

with the Act II, the preparations for the WME start right away. As already mentioned, there are only a good 1,5 months left until the doors open at the WME. I'm curious what that will be, because it's the first WME I've ever attended. Finally seeing some familiar faces again and maybe making some new friends. Who knows?!

But the preparations have been going on in my head for a while. In the end I had to decide what I wanted to finish by then. The final selection was made quickly and so I would like to present my first project to you.
 

Serpent

                                         Image by Ken Kelly


Based on the template by Ken Kelly. Ken Kelly is an artist who has done the artwork for Manowar and Kiss, among others. I was immediately captivated by the manner of serpent. I just like the atmosphere and the power. It was clear to me that I didn't want to do a 1:1 adaptation. I then searched for suitable minis and found them quite quickly. Only the serpent took a while until I found one that I liked. Almost everything that appears in this dio has been printed with a 3d printer.

Printing was pretty quick. But I wasn't 100% satisfied with the whole layout and also with the serpent. Even with the base, I was already certain that this would not remain the case. It should be bigger and more dynamic. With a little side scene or two. I was only satisfied with the characters and was allowed to stay. But for the rest, i had to keep looking.


To be continued

Sebastian


Project book | Act I Prologue: A ballad of courage and strange things - by Sebastian

by Sebastian


Sebastian here,

I haven't posted anything for a long time and so I thought, what would be better,
as a kind of project book for the preparations for everything that is pending.
All divided into different files. The basic idea is that
I want to show you my ideas. From the beginning of the idea, through the preparations,
until completion.

In the next act I want to show you my preparations for the WME. Since there is only
almost 3.5 months, there isn't much time left. But about that in another post
more


Here is a short explanation for the post title. I like something like ballads, poems
or songs. That has a very calming effect on me. So it was clear to me that something like that
must be in the title. I'm always willing to try new things

And I'm not afraid to try them either. On the other hand, such a project is a book
quite new for me, actually already strange. But I still want you to be a part of it.
So far I've always "only" painted and what was finished was just finished. I've never
I really thought about what I should have finished by when. I want that now
to change.

You may be curious.

Yours
Sebastian


Raised from the Dead: MV Zombie Community Project!

by Roman aka jar

Hi everyone!

Remember the MV Zombie Community Project?


If not,
you can read all about it here:
http://massivevoodoo.blogspot.com/2016/01/community-project-zombies-stage-1.html

It was started in January 2016 :D

Raised from the Dead?

With the new studio moved, my life more in balance I was sitting down to a cool painting day with my monkey brother Johannes recently. We chatted and talked about life, drank Coffee and I said the following: "The new studio really arises great energies, kind of these that make me go tackle some projects I did not touch for while, for example the Zombie Project!"


Silence.

A thought.

I can say it again or I just start.

Well, I did the last.

And I am in full swing:

Do we need more Zombies?
Well, honestly not really. If you still got some at the side, painted for this project please drop me an email to get my actual adress and I will include them, but do not paint new ones for it as the numbers are good. I will count them in the end, but as it looks we are around 350 at the moment ...

My email adress:
jarhead/at/massivevoodoo/dot/com


Thanks to everyone involved in this so far for your support! Together we create this as a community, even I am kind of doing the art direction behind it. I enjoy it a lot!

To follow the progress you can check back with my Instagram and also see a video there under my Reels of the actual state.

So far from this litte update!
A great weekend to you all and stay healthy!

Keep on happy painting!
Yours,
Roman

MV Killteams #03: Josua, Johannes and Roman

by Roman aka jar


 Hey Jungle,

inspired by the call of Volomir to raise a #Killteam2020 with 100 points some MV Team Members are following it. Josua, Johannes and Roman are fully into that Warhammer 40k vibe and do start their Kill Teams with 100 Points or more to create a playable force. Gaming boards are in the making. Here are their WIP logbooks, this is #01 ...

A really helpful and inspiring article to plan and execut a themend army is also the one of Johannes:
http://massivevoodoo.blogspot.com/2020/06/tutorial-themed-armies-part-one.html
______________________________________________________________________

Johannes - Work in Progress #01
Craftworlds - Asuryani Force

This week I took a pause from the Guardians and painted a Striking Scorpion Exarch with Scorpion Claw. It was a fairly uncomplicated paintjob and quite fun.


So for the next week I am going back to the Guardians as I still need quite a few of them.

______________________________________________________________________


Josua - Work in Progress #01
Space Wolves Tactical Strike Force 

For this weeks update i finished my second member of the Killteam. The Cloak took my quite some time to finish due to the fur texture I painted on. This effect was achieved by painting small lines in the direction where fur naturally grows. Going from dark to light and still keeping in mind how light reflects on the hair. 


He also received the mandatory snow base which was built with common earth and some snow products by ak interactive 


Goal for next week: finish preparing and start painting the scout 
Stay tuned! 


______________________________________________________________________

Roman - Work in Progress #01
Dark Angel Tactical Strike Force
"Wing of Vengeance"

Well,
after painting three models of the squad at once in the last update I really wanted a change to paint up some change in colors and detail work again. I decided to paint up a commander in form of a Chaplain I slightly converted to Dark Angels ...


Even though he was not on my initial list for the squad I think he fits in well. No idea if I will ever play him, but reading the rules about commanders in campaigns it could be a careful yes. Nonetheless, he will guide my guys with his battle prayers.


I also painted my Reiver, that is also a little conversion ...


Hope you like them so far!
Keep on happy painting!

Roman

Read more about our #killteam2020s, next week!


_______________________________________________________________________________
You want to support Massive Voodoo? 
If you like to support or say thanks the monkeys of Massive Voodoo in what they do, please feel invited to drop a jungle donation in their direction via paypal or check their miniatures they got on sale here.
_______________________________________________________________________________