


In this video I show you my last paintjob in 360° and 4k that I did in collaberation with Loot Studios, plus some Work in Progress steps.
The name of the model I painted is
Víssfinnr, The Raven Queen.
She is part of the "Wodëngar Clan". Loot Studios is getting ready to launch Journey to Nidavellir! Check out the full reveal of the Wodëngar Clan, with the Víssfinnr Model that I painted here: https://bit.ly/JTNLappat
❗️ Don't forget to subscribe to the channel and like the video!
You will help this channel to grow! Thank you! _______________________________________________________________
RELEVANT LINKS:
Loot Studios on YouTube: https://www.youtube.com/c/LootStudios
Loot Studios on IG: https://www.instagram.com/loot.studios/
Loot Studios: https://lootstudios.com/
Keep on happy painting!
Roman

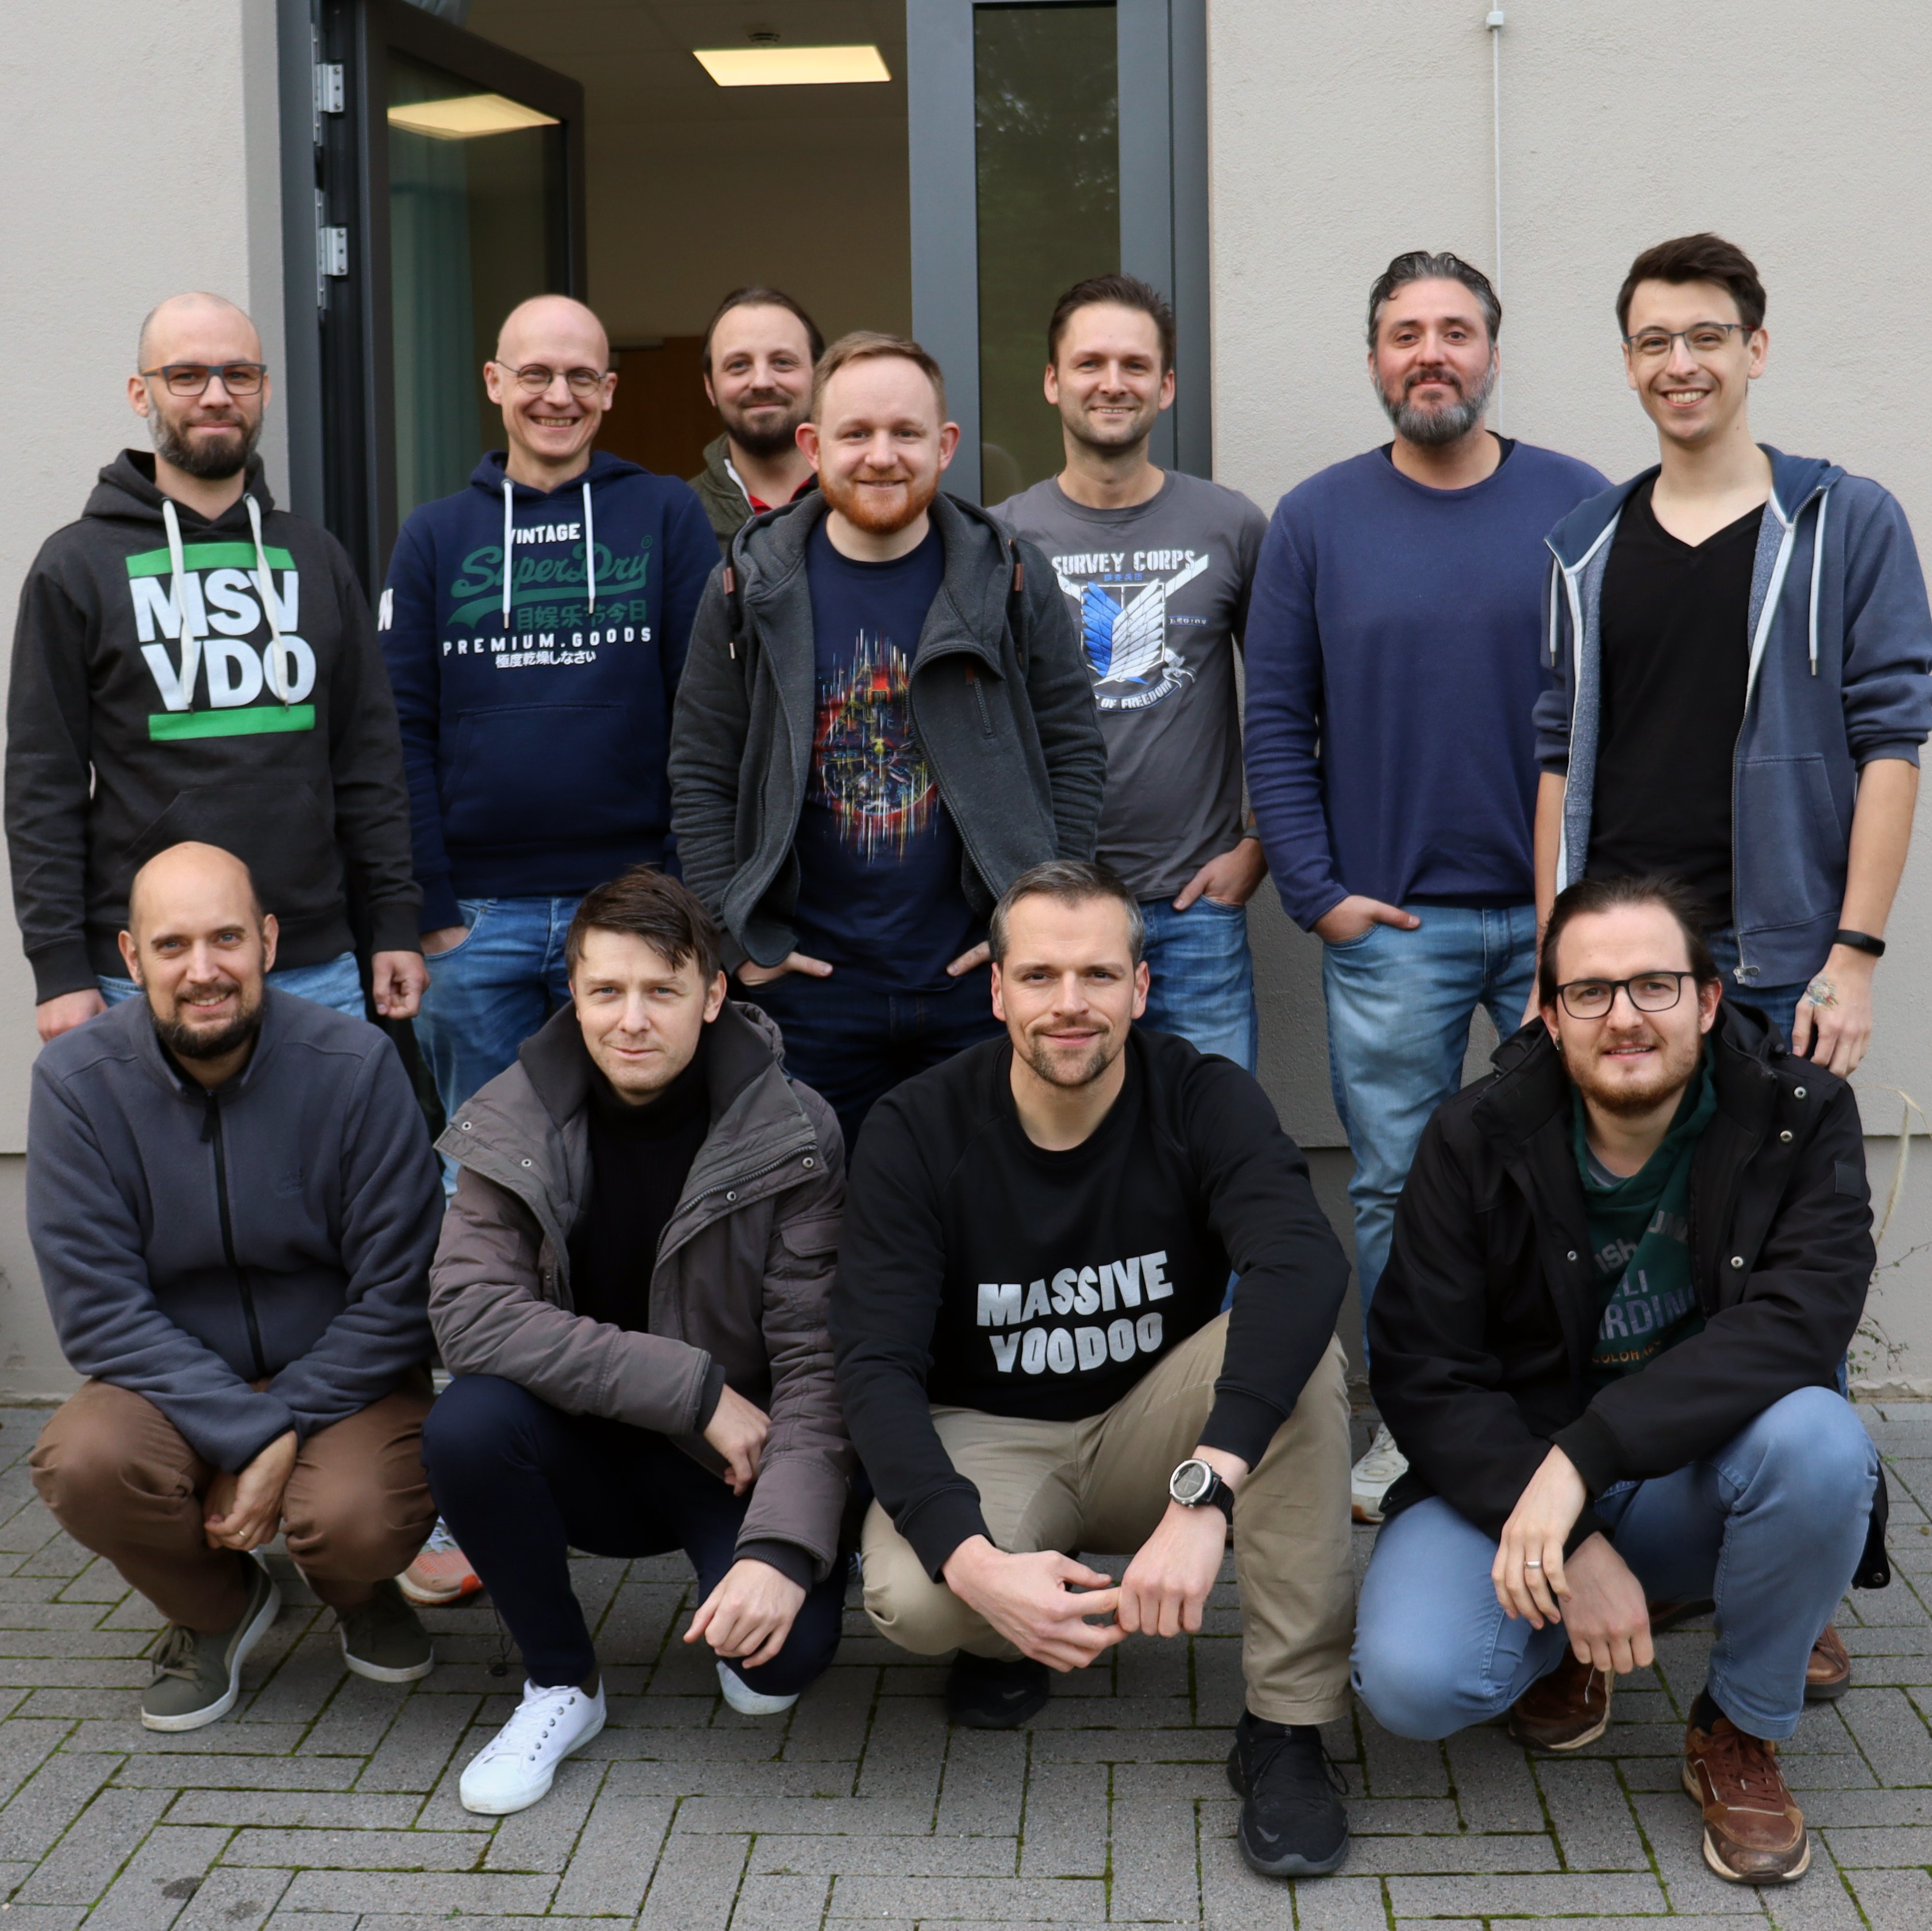 |
| Groupshot - pic by Tamer Widerspan |
On 19/20 November, three jungle boyz went to the lovely town of Soest, in Northwestern Germany, to participate in a painting workshop by the fabulous Tamer Widerspan. This was the second time that members of the Massive Voodoo crew joined Tamer for one of his workshops - please check the great review that our jungle brother Sebastian put together on his experience.
In this little review, Andy, Kilian and David briefly summarize their experiences and thoughts on that weekend filled with loads of fun, paint - and non-metallic bling!
#####
Andy
I have tried NMM in the past on several miniatures and have never been satisfied with the results. It always was kind of a secret to me how to approach a proper NMM even with studies of the works of Kirill, Lan or the several other big players in the miniature painting game.
As my jungle brother David came up with the idea of visiting the NMM Masterclass of Tamer, I immediately checked the calendar and agreed, asked my local hobby buddy Morten to join and we took the 4h ride to Soest. We arrived early on Friday and took the chance to go to Dortmund and visit the PACE automobile museum – highly recommend if you are into cars.

With some basic knowledge of NMM in my toolbox, the workshop started Saturday morning and I was really looking forward closing my knowledge gaps. Tamer started with a theory part which took around half an hour and the rest of the weekend was painting. At this point, some major gaps were already closed... Main lights are obvious for sure, but the keys are the secondary lights and reflections to make it readable... ahhhh there was a light switched on in my brain and through the workshop, more and more lights were switched on to see the whole plan (mainly in how to approach, color choices and so on). Like islands of knowledge I already had, are now connected by bridges. And those bridges will become land by practicing... like always :D
The location was great in the seminar room of the hotel, and all necessary stuff was provided by Tamer (e.g. lamps, wet palette, colors) which makes it super easy to attend the class by just bringing your brushes. For me personally, I have not been painting with the typical miniature painting color ranges for years, more with artist paints and lately inks. So, even though there was a big variety of brands and colors, I had some issues with the color ranges and the consistency at the beginning. I would be taking my own colors next time just to be more confident in color choices - but no worries, everything worked out in the end.
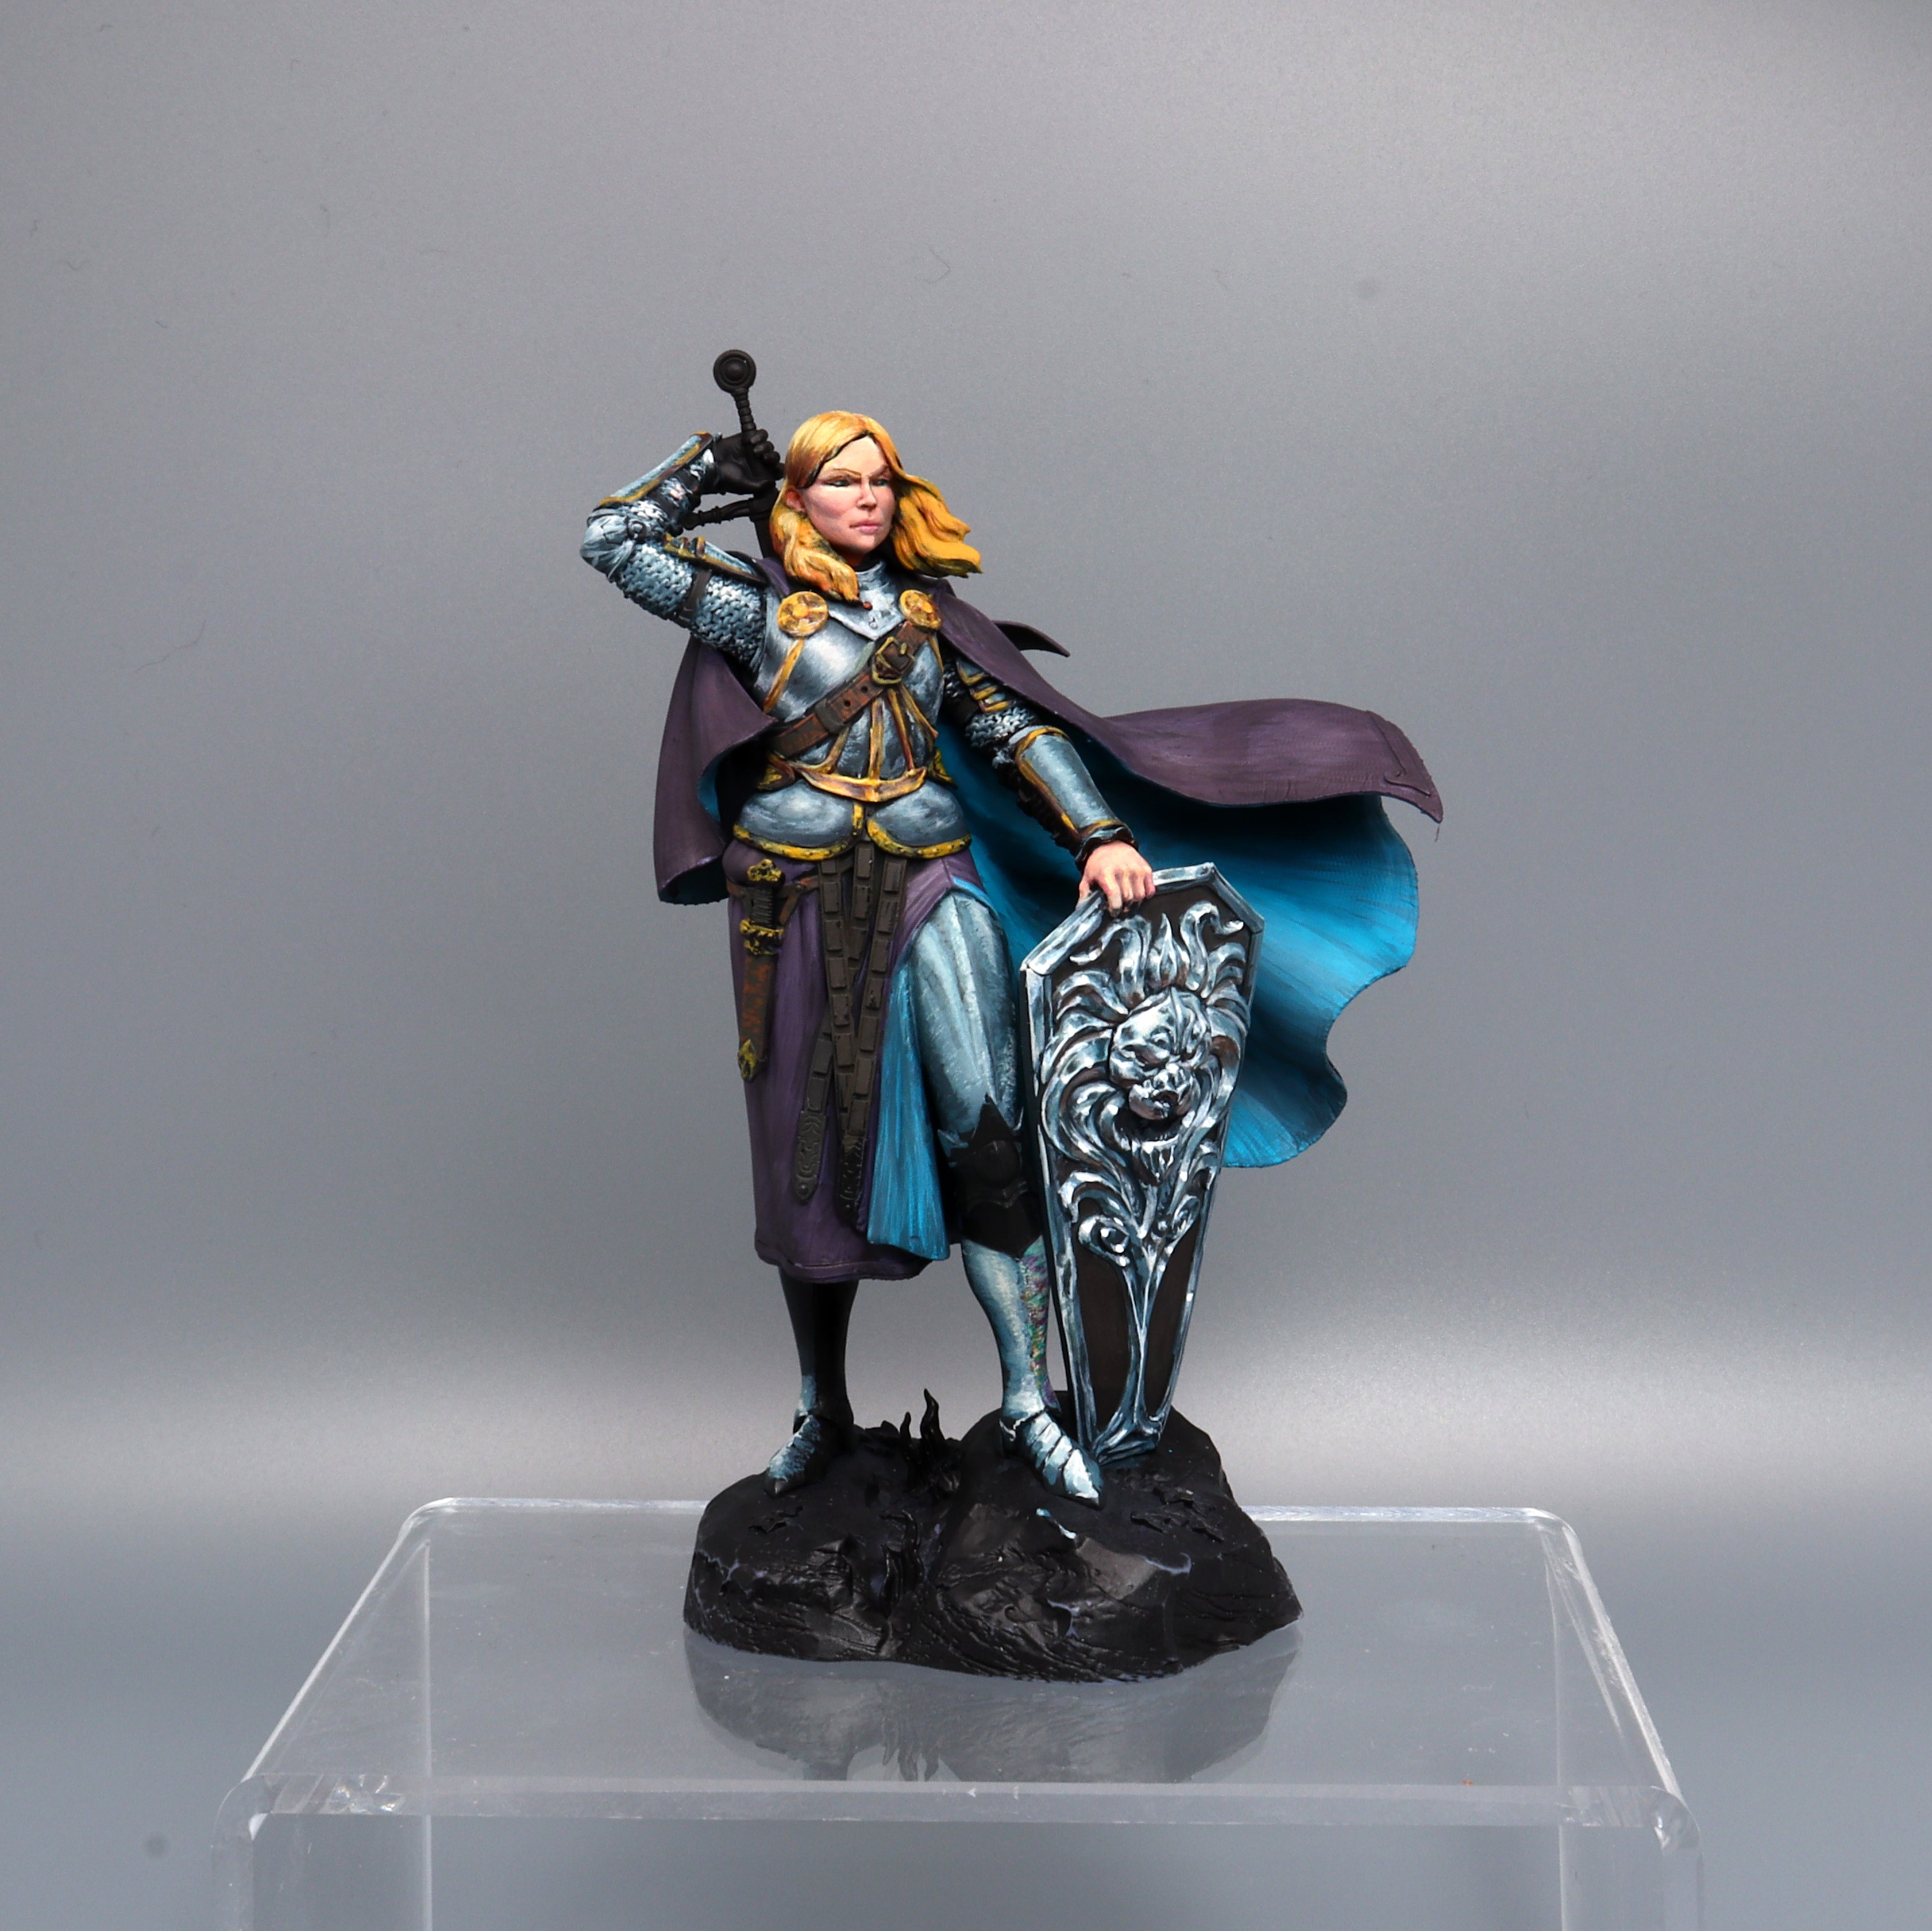 |
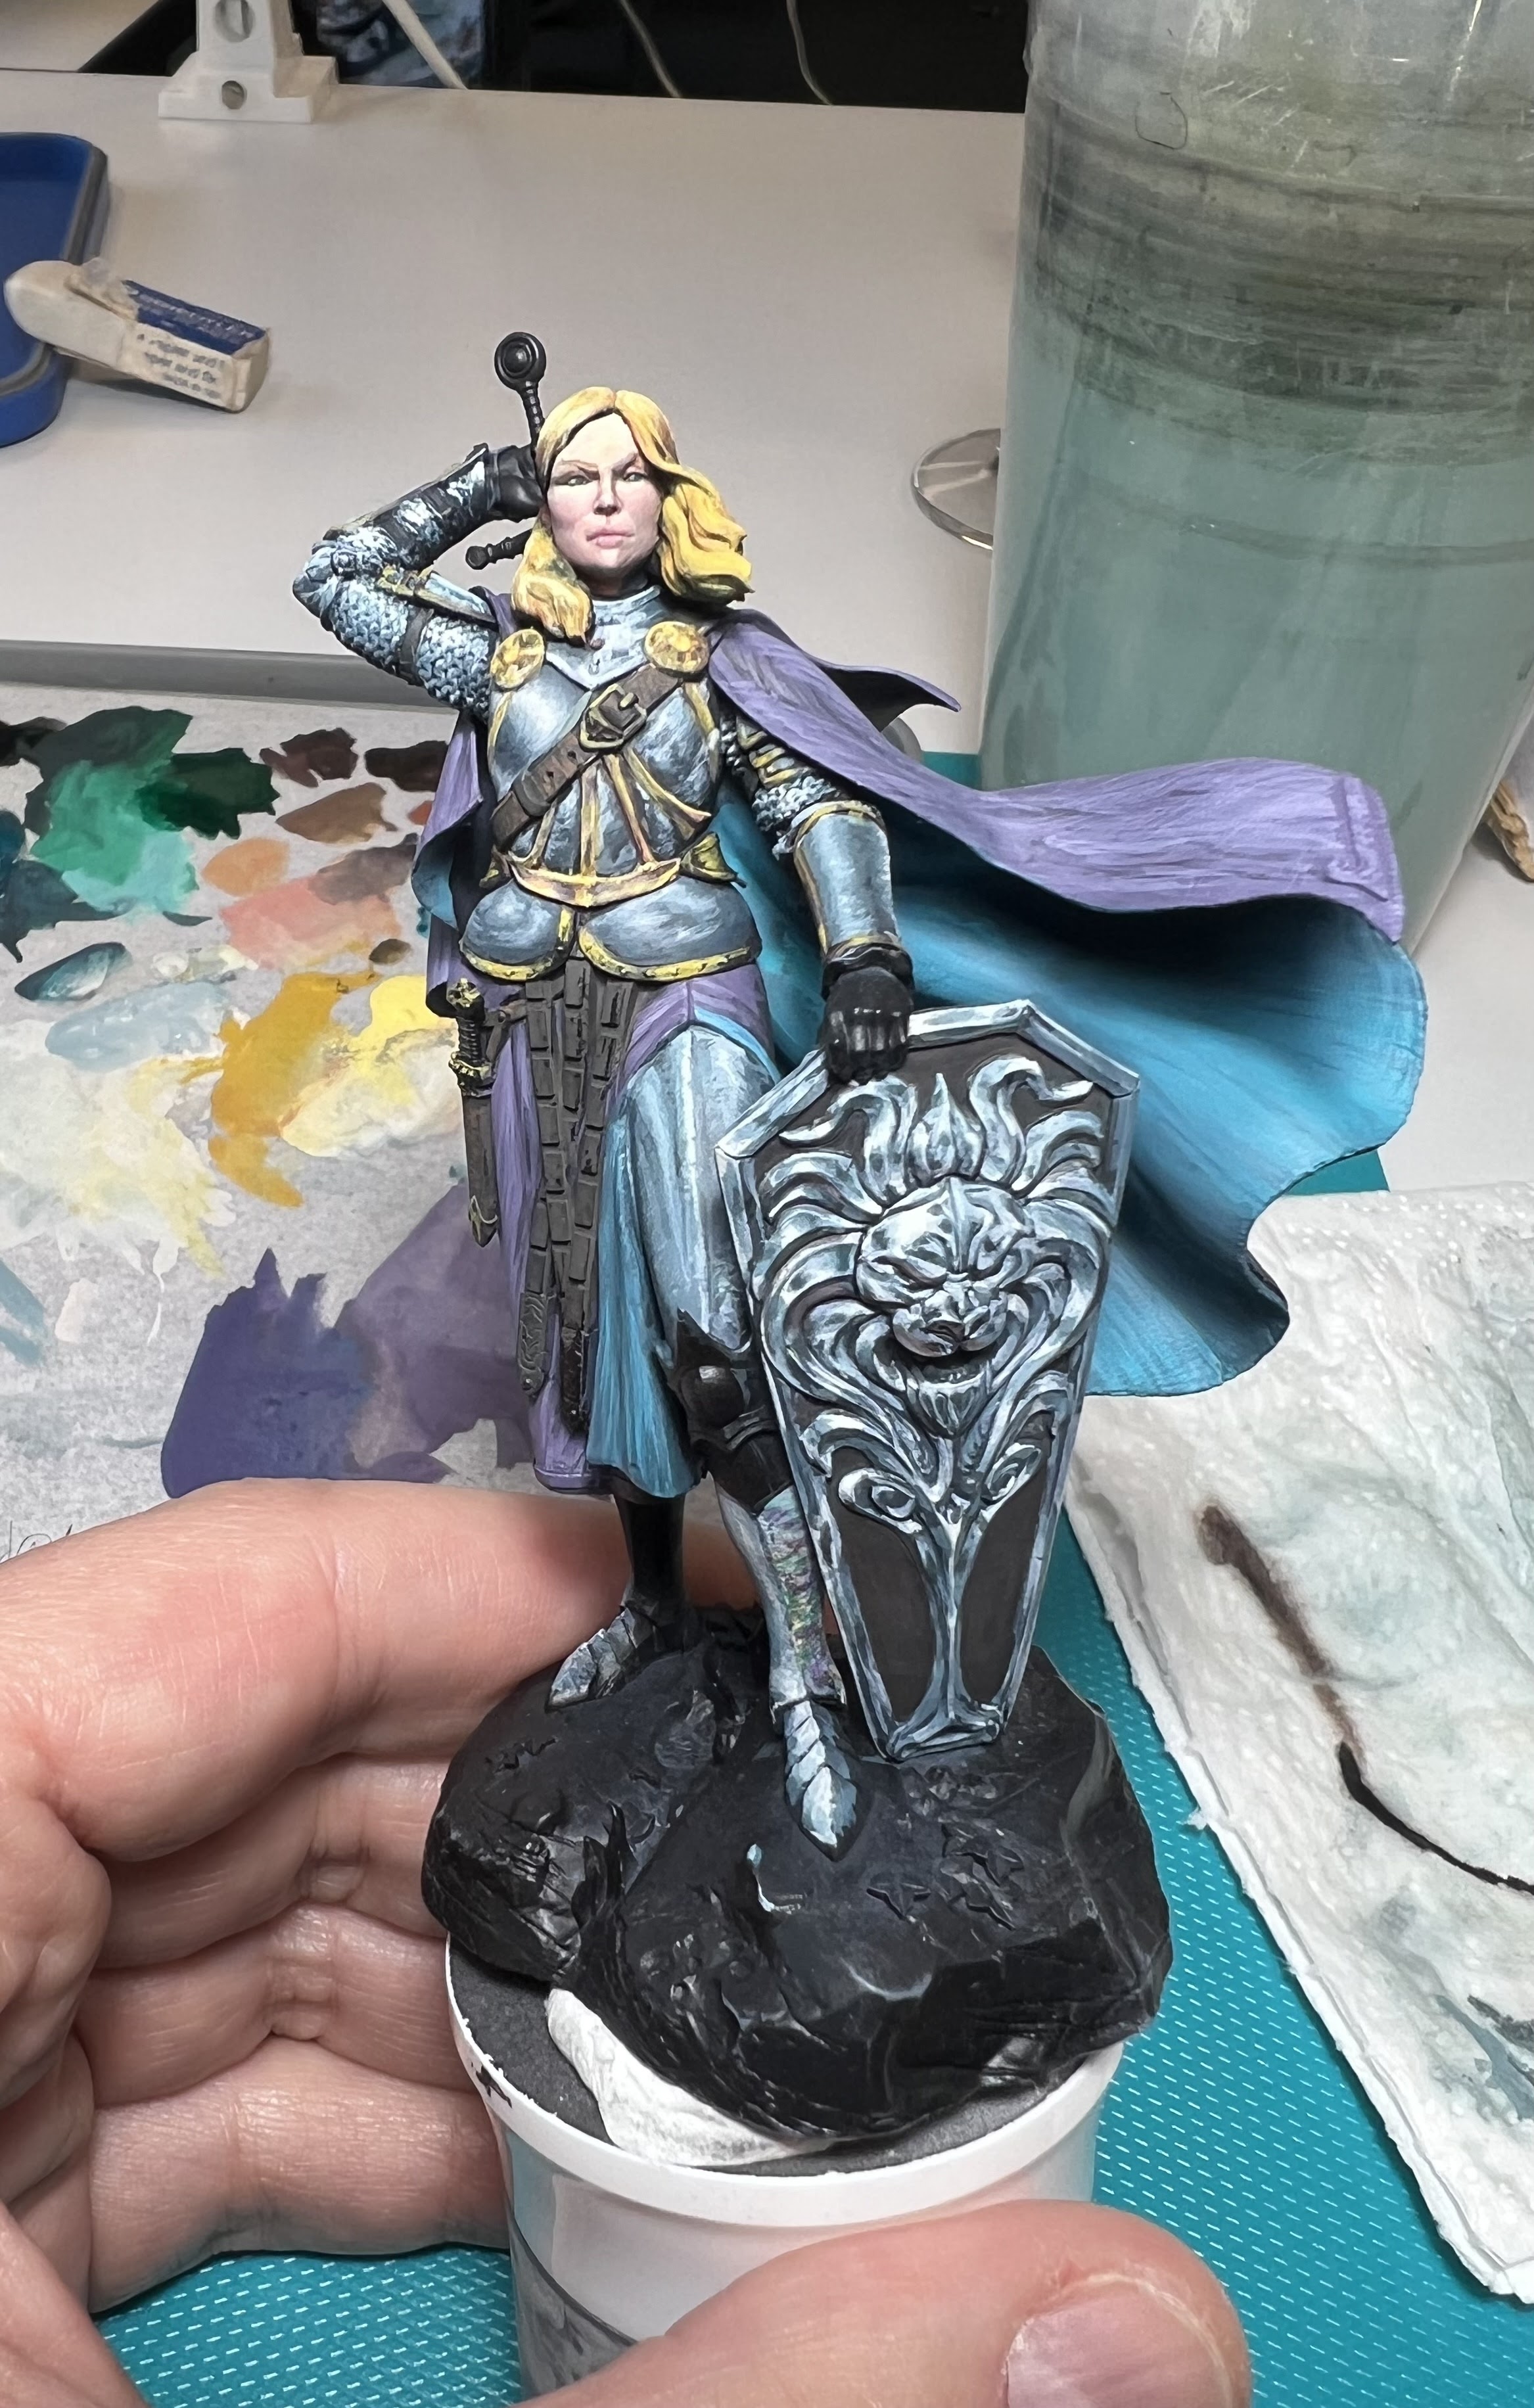
| Andy's metal lady - pic by Tamer Widerspan |
The workshop miniature was a great choice for the whole topic due to big armor surfaces and the possibility to try to replicate different materials. I tried to finish some surfaces with brushed and others with polished metal or gold applications, sketched some parts and went a bit too far (don’t look at the shin :)). Thanks to Tamer again, he was always open for questions and guidance.
Overall, it was a super nice weekend meeting new people in a great atmosphere and special thanks to the gang David, Kilian and Morten.
#####
Kilian
For some people in our hobby NMM is treated as the holy grail. If you want to flex with your skills, there is no way around it. For me, it was(!) a mostly frightening concept of an already tricky thing – painting metallic surfaces. I head to Tamer’s masterclass with equal parts of fear and excitement. It was the first masterclass that I was going to take, so it was very likely that the overall skill would be very high. On top of that I always had my issues of understanding how to paint TMM metallics and it took quite some time till I had figured it out. But I was also over the moon excited to learn this infamous technique of NMM that only the painting gods speak of.
After a good night’s sleep and a very good breakfast at the hotel in Soest we welcomed each other in our classroom and Tamer talked a bit about himself and his motivations. What I really loved about this, is that he was brutally honest. He knows exactly what he is painting for and is open about it. He also tells you, that he can only convey his idea of NMM and that you must adapt it to your style. A very humble approach! The theory portion was short but precise and decomposed NMM into the key facts. Tamer showed us how he applied the theory on the model, and it was very helpful to see the process firsthand. From this point on it was painting yourselves, and frequently getting feedback from Tamer. He was always there and available during the workshop, open and honest with his opinion and helpful with his advice.

I quickly realized, that with the knowledge I had before the workshop and with what Tamer explained to us, NMM was demystified, and it was not too hard to get a realistic, working effect. I had some personal issues with Tamer’s technique though because I am not used to doing blends how he does it. His method of sketching lights and shadows is perfect, especially for larger figures and busts, but I had issues with smoothing everything out afterwards. So, on day two I tried my technical approach, which is almost exclusively glazing and that worked lovely. Tamer also was very open to this idea and encouraged me to try this.

All in all, I can only recommend Tamer’s NMM masterclass! He is a very good teacher and a lovely person. To us mere painting mortals I say: NMM is a technique kept from us by the painting gods! They want you to think you cannot do it! They want you to think it is only for them! Don’t believe in them! Rise up, practice, have patience and soon you will be offered that holy grail.
#####
David
When I got the news that Tamer Widerspan was offering a NMM Masterclass in Fall 2022, I was immediately game. While I had liked the effect for a long time, and had attempted to paint NMM before (for instance on this Republican Roman Legionary), I always had the feeling that I did not really "understand" it - and all my attempts were mainly a mix of trial-and-(mostly)error, going back-and-forth, experimentation, some frustration, and asking Hansrainer for help in placing lights, shadows and midtones. So, my hope and expectation for the course was to understand the principles of NMM and to learn an approach on how to paint it. And, of course, all this had to be applicable to "my scale", 1/72nd.
 |
| 1/72 Test figure #1: a Thirty Years' War pikeman in shiny blue armor. Pic by Tamer Widerspan |
So, when I signed up for the course, I contacted Tamer and told him that I will bring a couple of my own 1/72 minis, which I would like to focus on during the course - and he was very open about it, himself interested in seeing whether his approach would work on the tiny minis.
The two-day course started on Saturday morning with a bit of NMM theory. At first I was surprised how brief the theory section was, just half an hour or so. However, I quickly realized that this was totally sufficient to transport the main points of Tamer's approach to painting non-metallic metal, and the brevity and focus of the presentation on the most important aspects ensured that we were painting, experimenting and applying the theoretical ideas and concepts while they were still fresh in our minds! And, this was pretty much what we did for the remainder of the workshop: placing the lights, deepening shadows, reapplying mid-tones, and adding secondary reflections here and there.
Each of us could work in their own pace, direction and order of steps, with Tamer being there for questions, guidance and both practical advice and additional theoretical input, where wanted. In all this, he - as well as his friend David Latocha who supported Tamer and was always happy to help out - was kind and witty, open and approachable - and extremely patient.
 |
| 1/72 Test figure #2: a Classical Greek warrior with Bronze armor and a sharp iron sword. Pic by Tamer Widerspan |
So, to sum up, I definitely enjoyed the workshop and learned and practiced a lot - and I would totally recommend the course to anyone interested in bringing their NMM game to the next level. And, the fact that Tamer provides all the necessary hardware, including lights, mini holders, wet palettes, and even colors from no less than four ranges (AK 3rd Gen, Reaper, Scale, Vallejo) was much appreciated as I came to Soest by train. Speaking of which: the town is actually a pretty nice place with great restaurants and lots of history - a former member of the Hanseatic League, with lots of half-timbered houses and the remnants of the city ramparts that still enclose the city center and have been transformed into a park. The ramparts-park is also great for a nice little jog after a long day of painting NMM, so if you're into that kind of thing, bring your running shoes ;-)
#####
Thanks for reading and let us know if you have any questions or comments. In the meantime, you'll find us studying medieval armor and painting metallic bits for a while...
Andy, Kilian and David
Hey Jungle,
another private coaching review dropping in.
Really need to catch up with many. I spent much more time in the studio with painting and teaching compared to the time I sit in front of the computer, which is good and healthy.
Mark visited me from the UK for his two day coaching and we shared two beautiful days together with a steep learning curve and great chats. Thank you, Mark and Family :)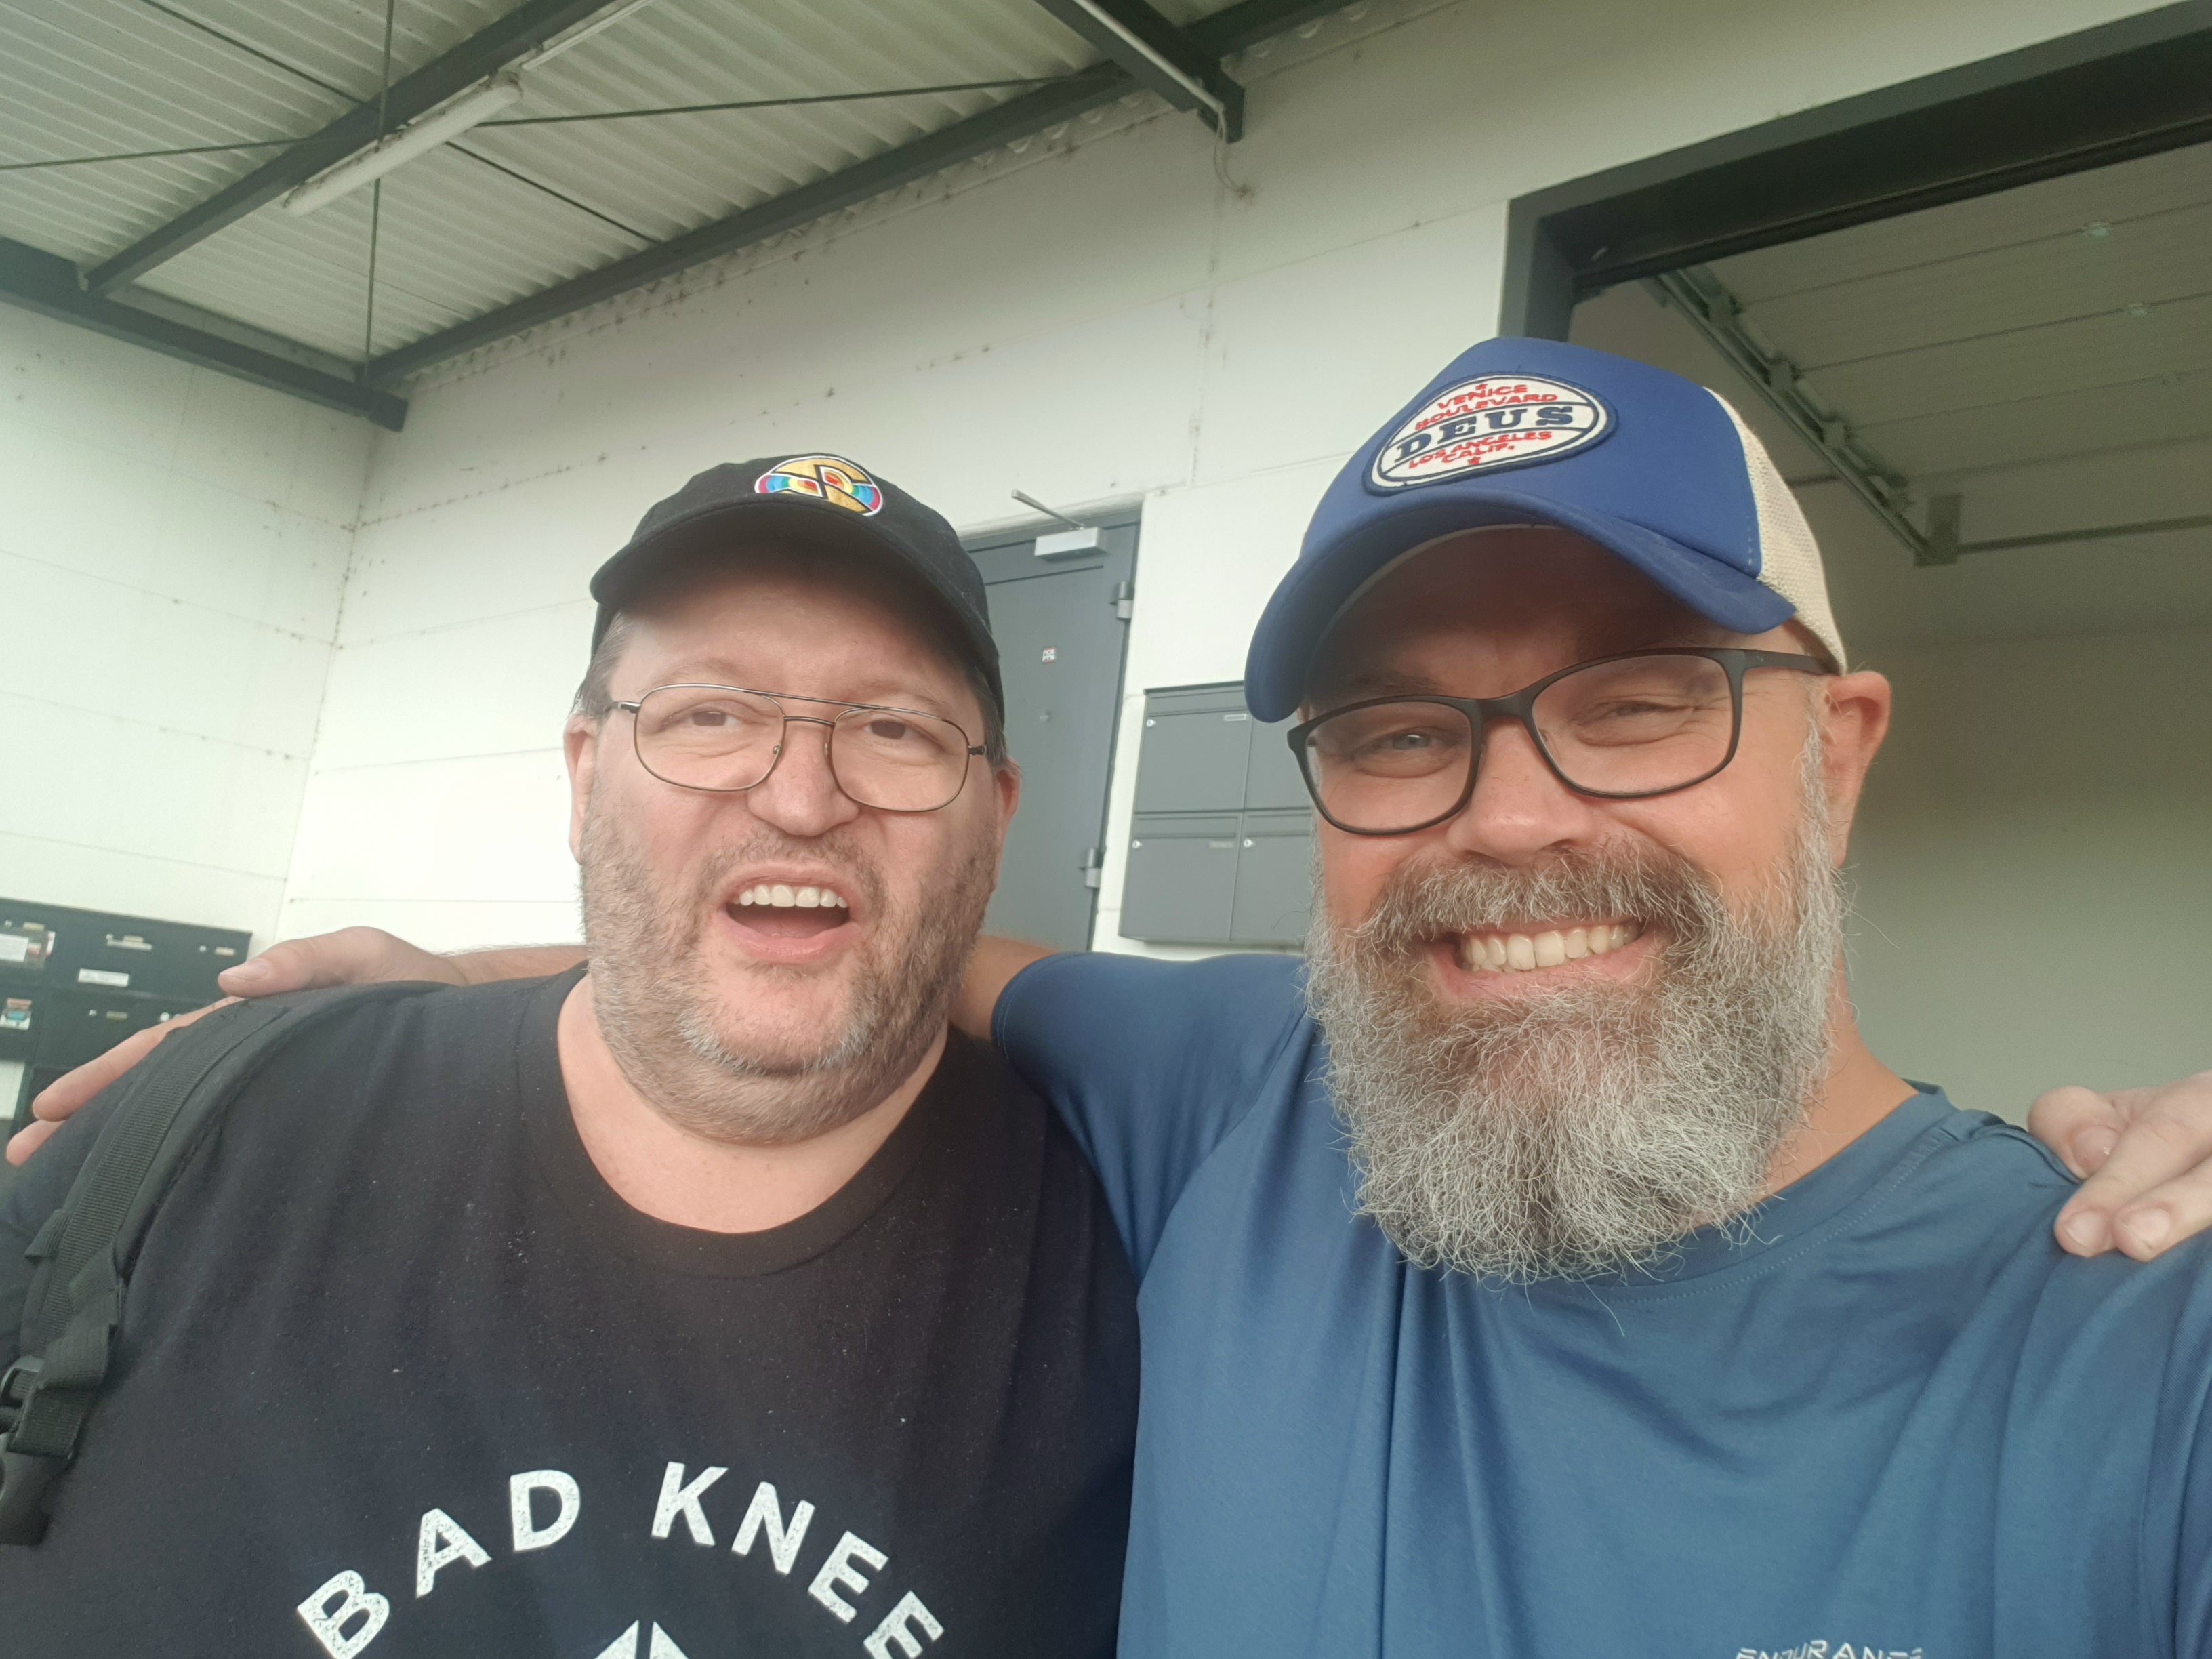
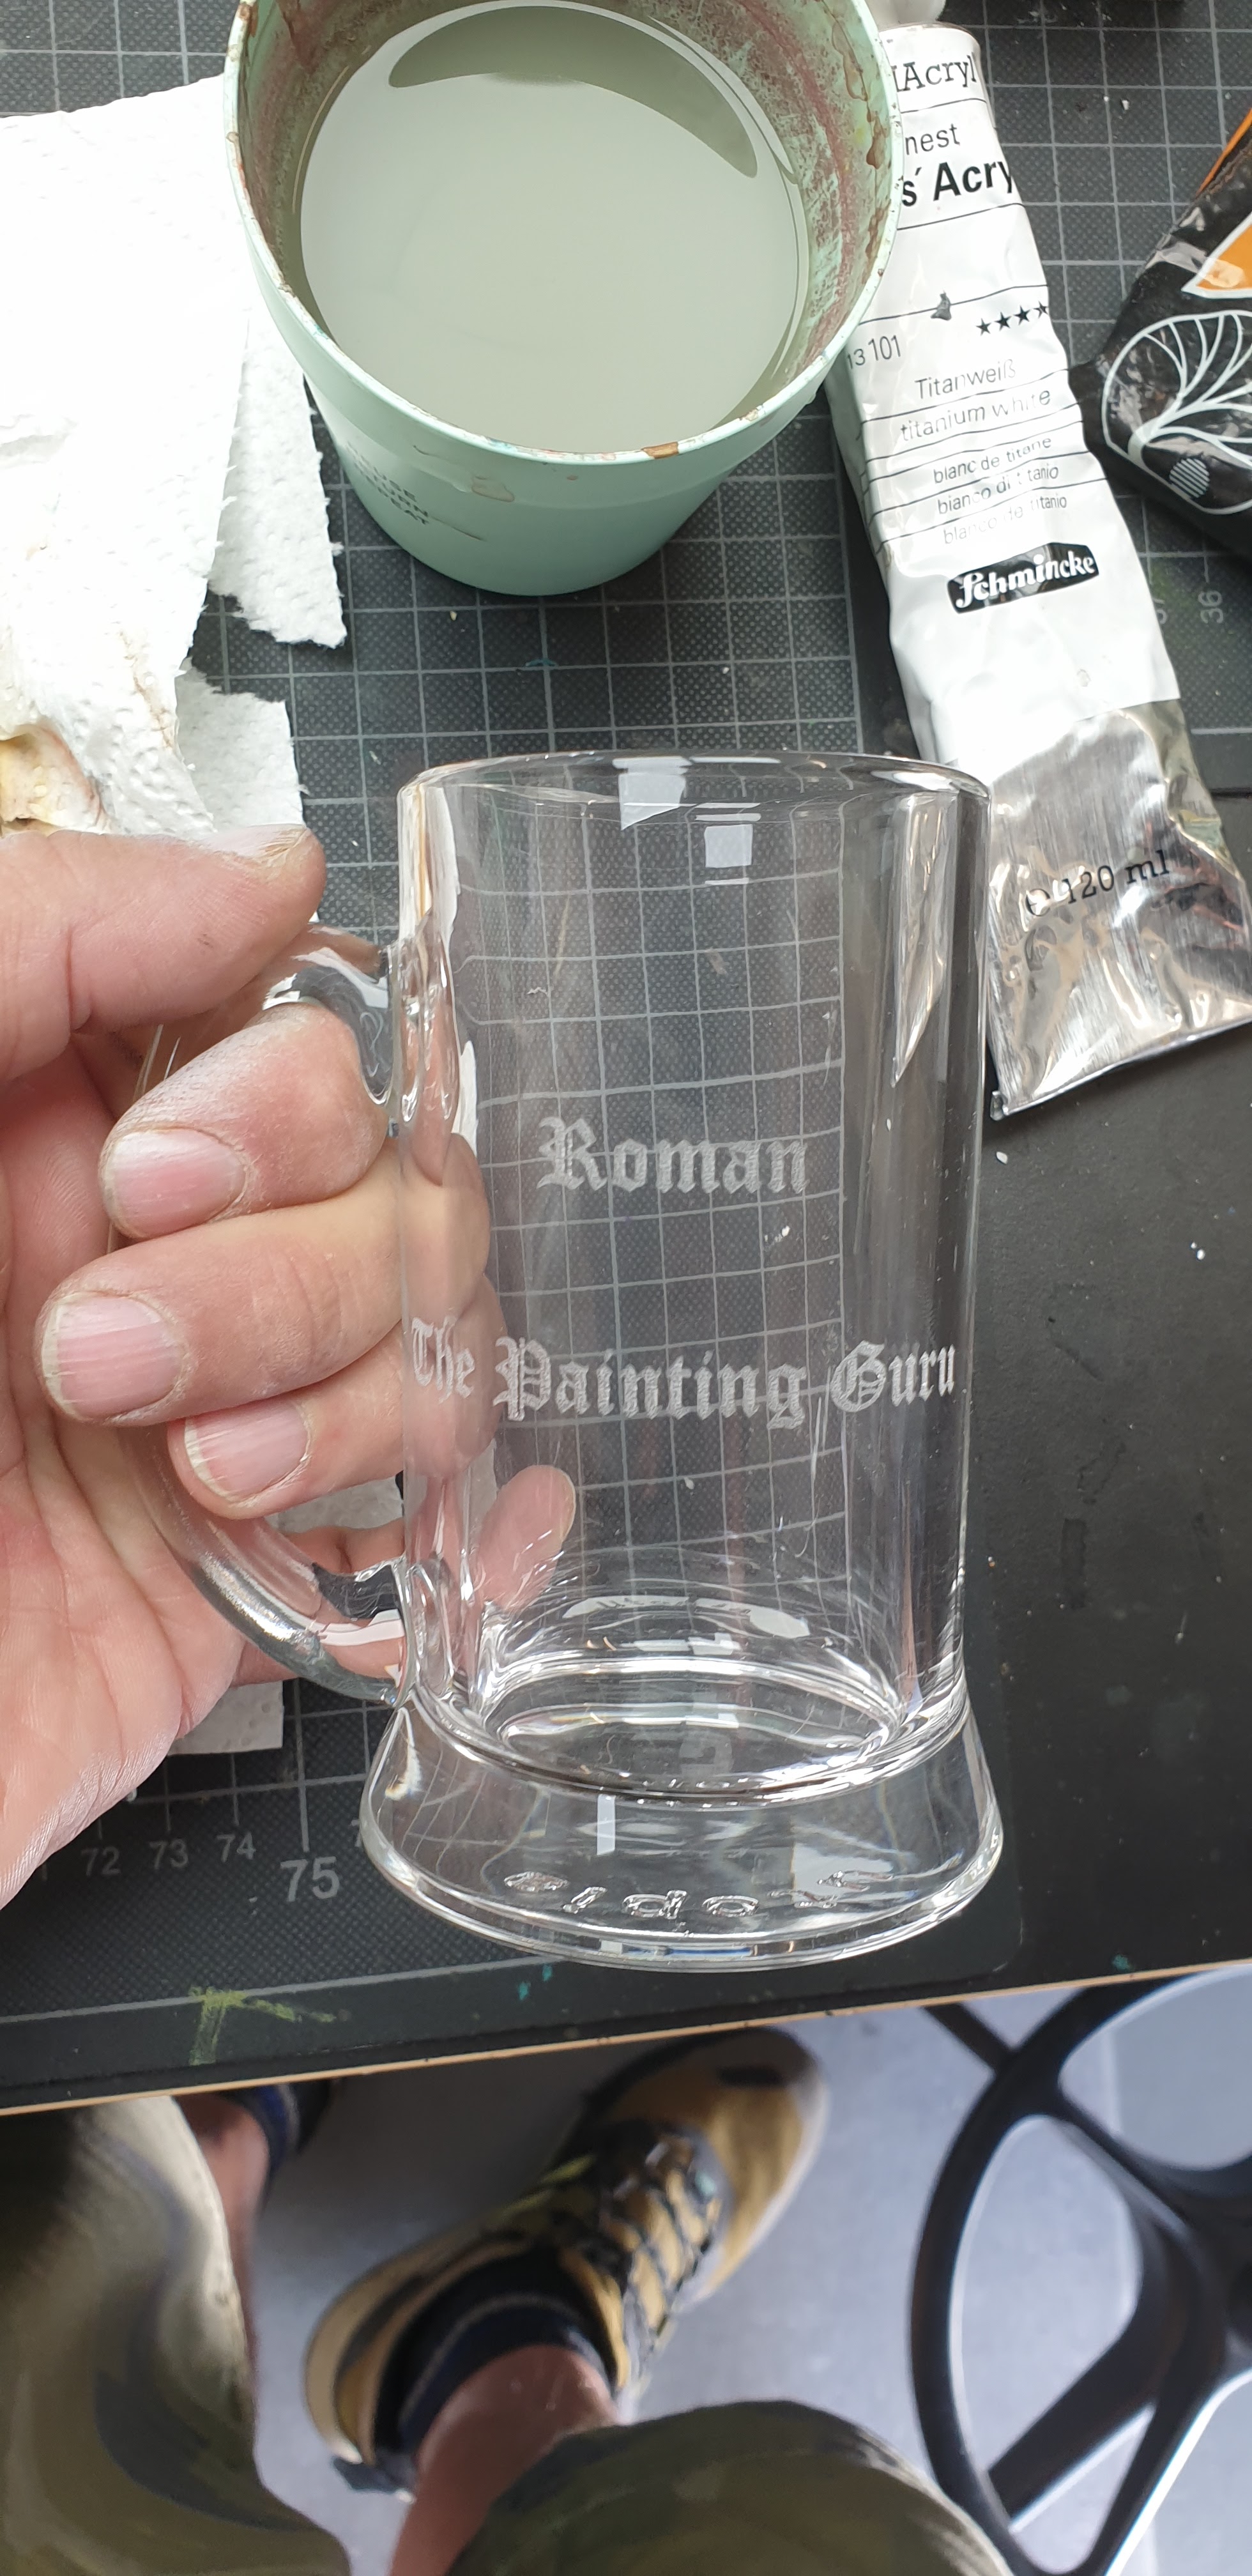
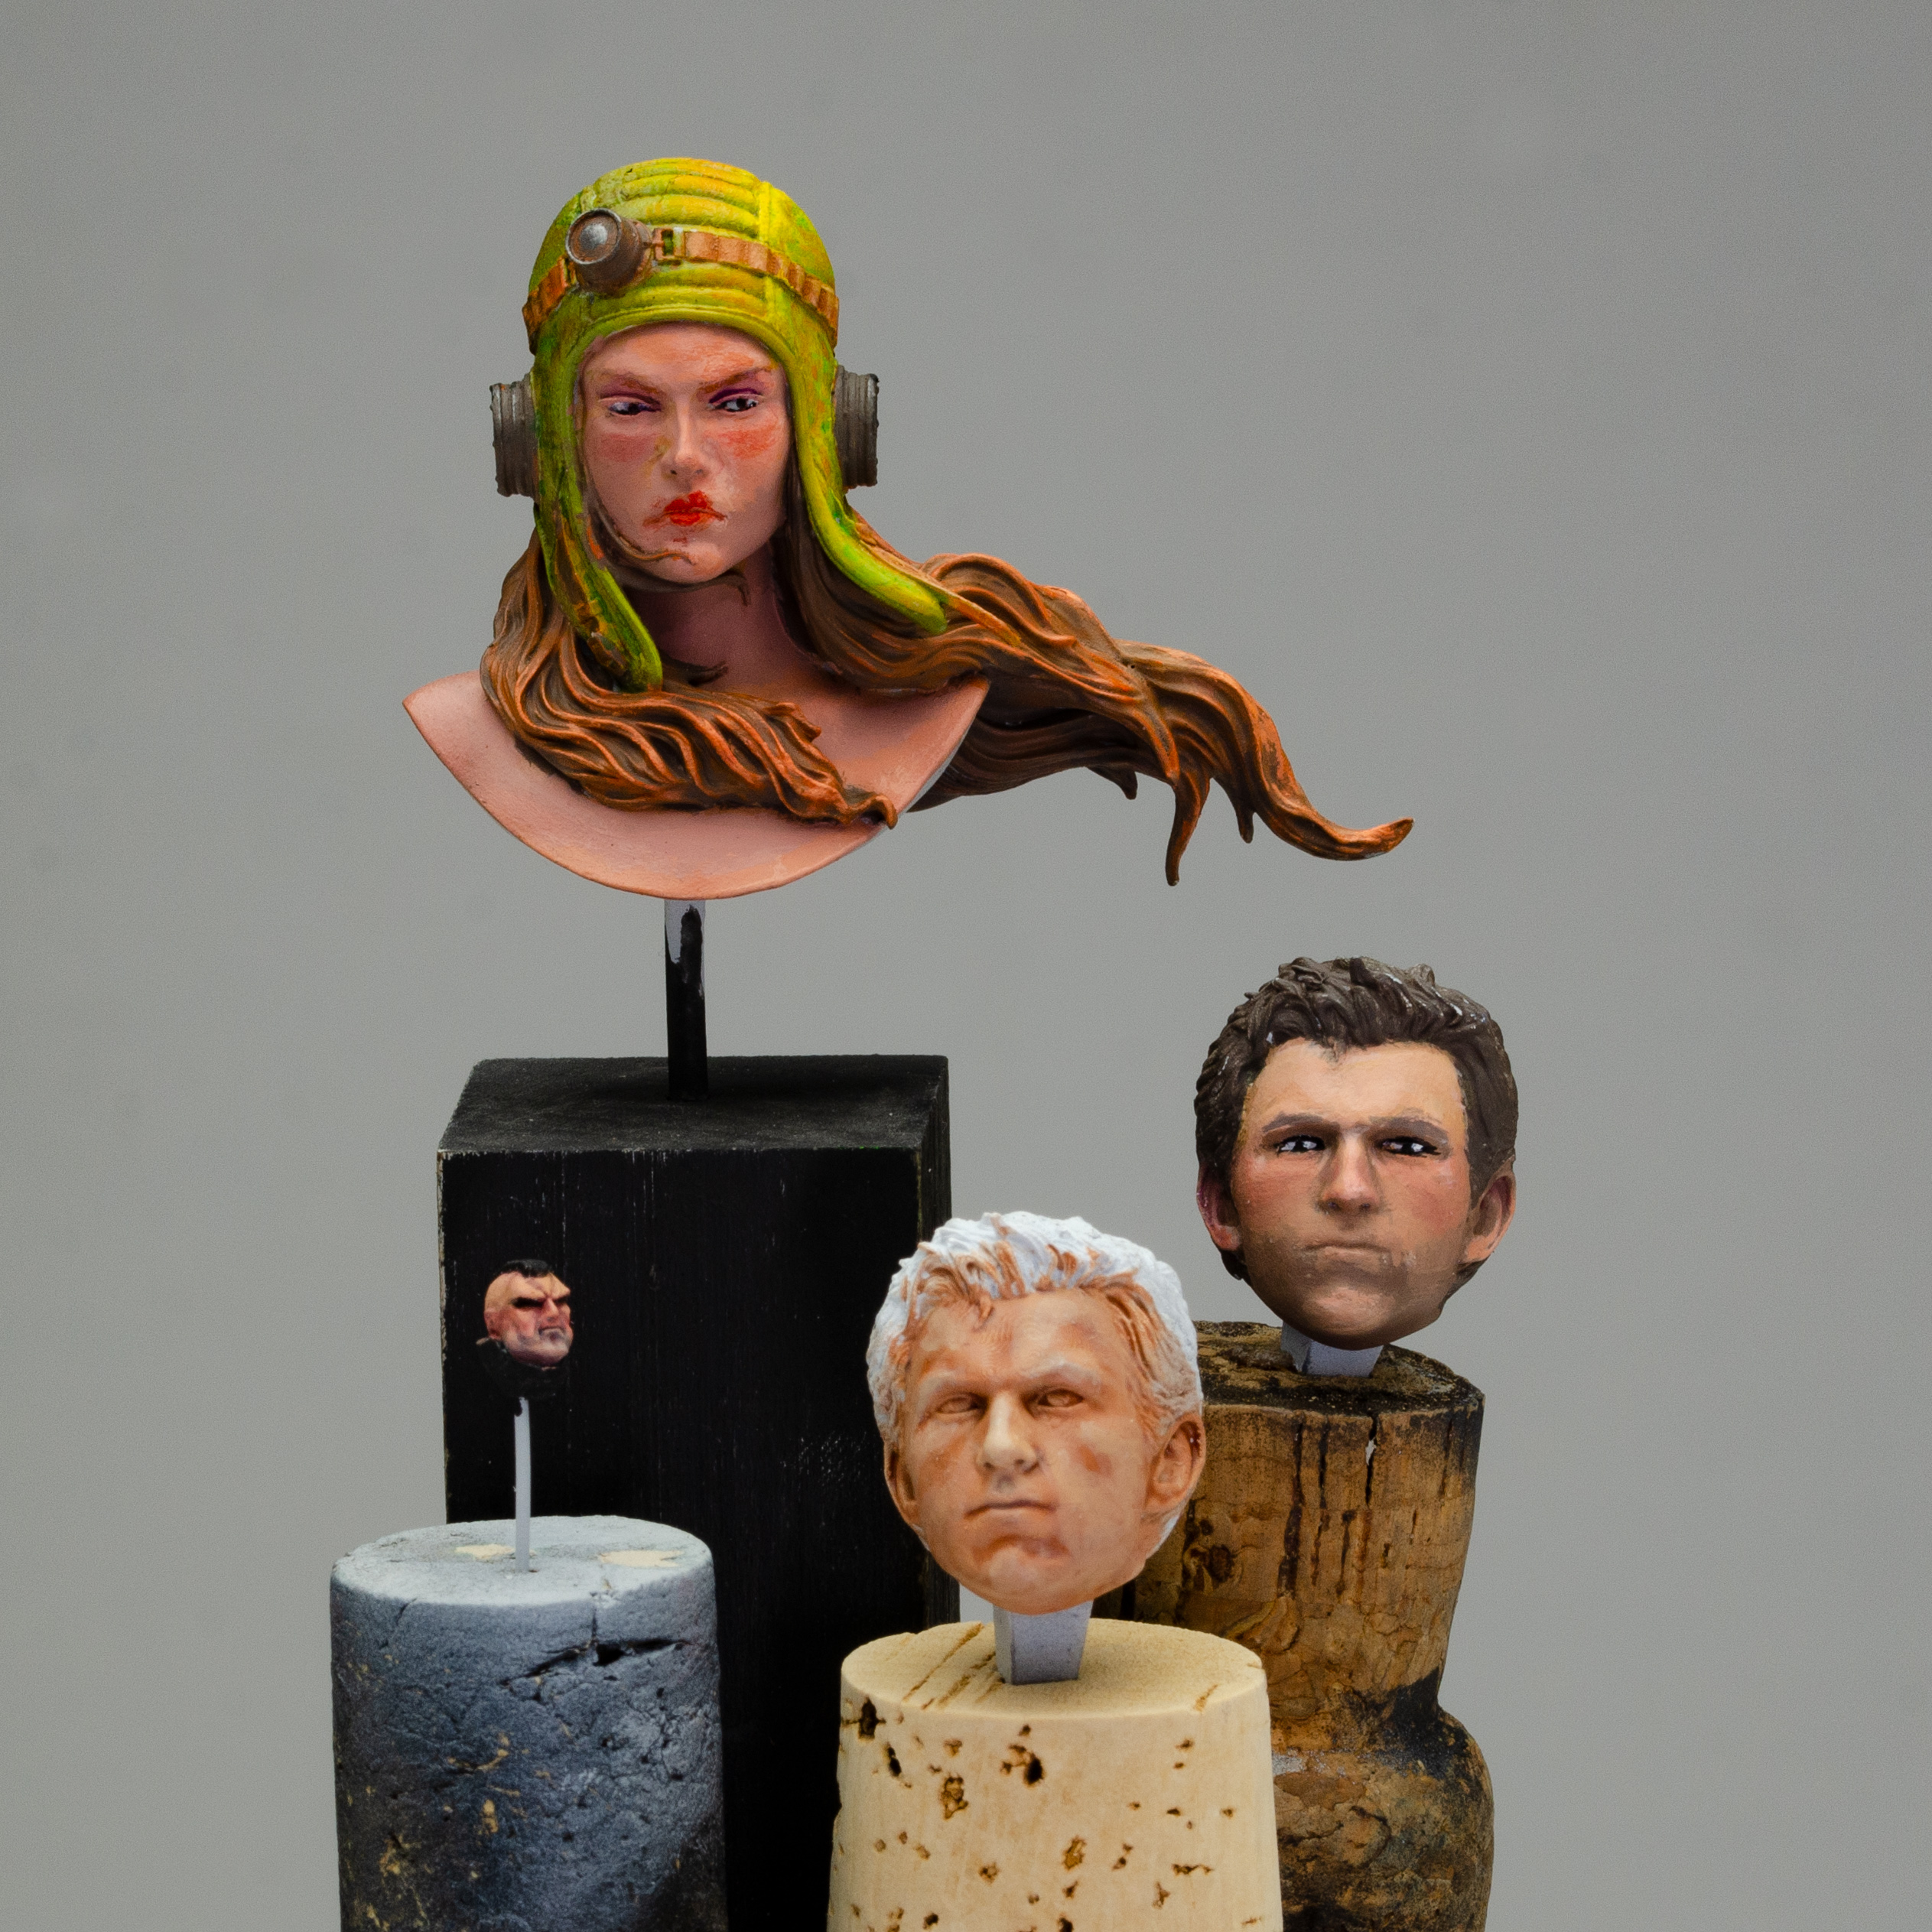
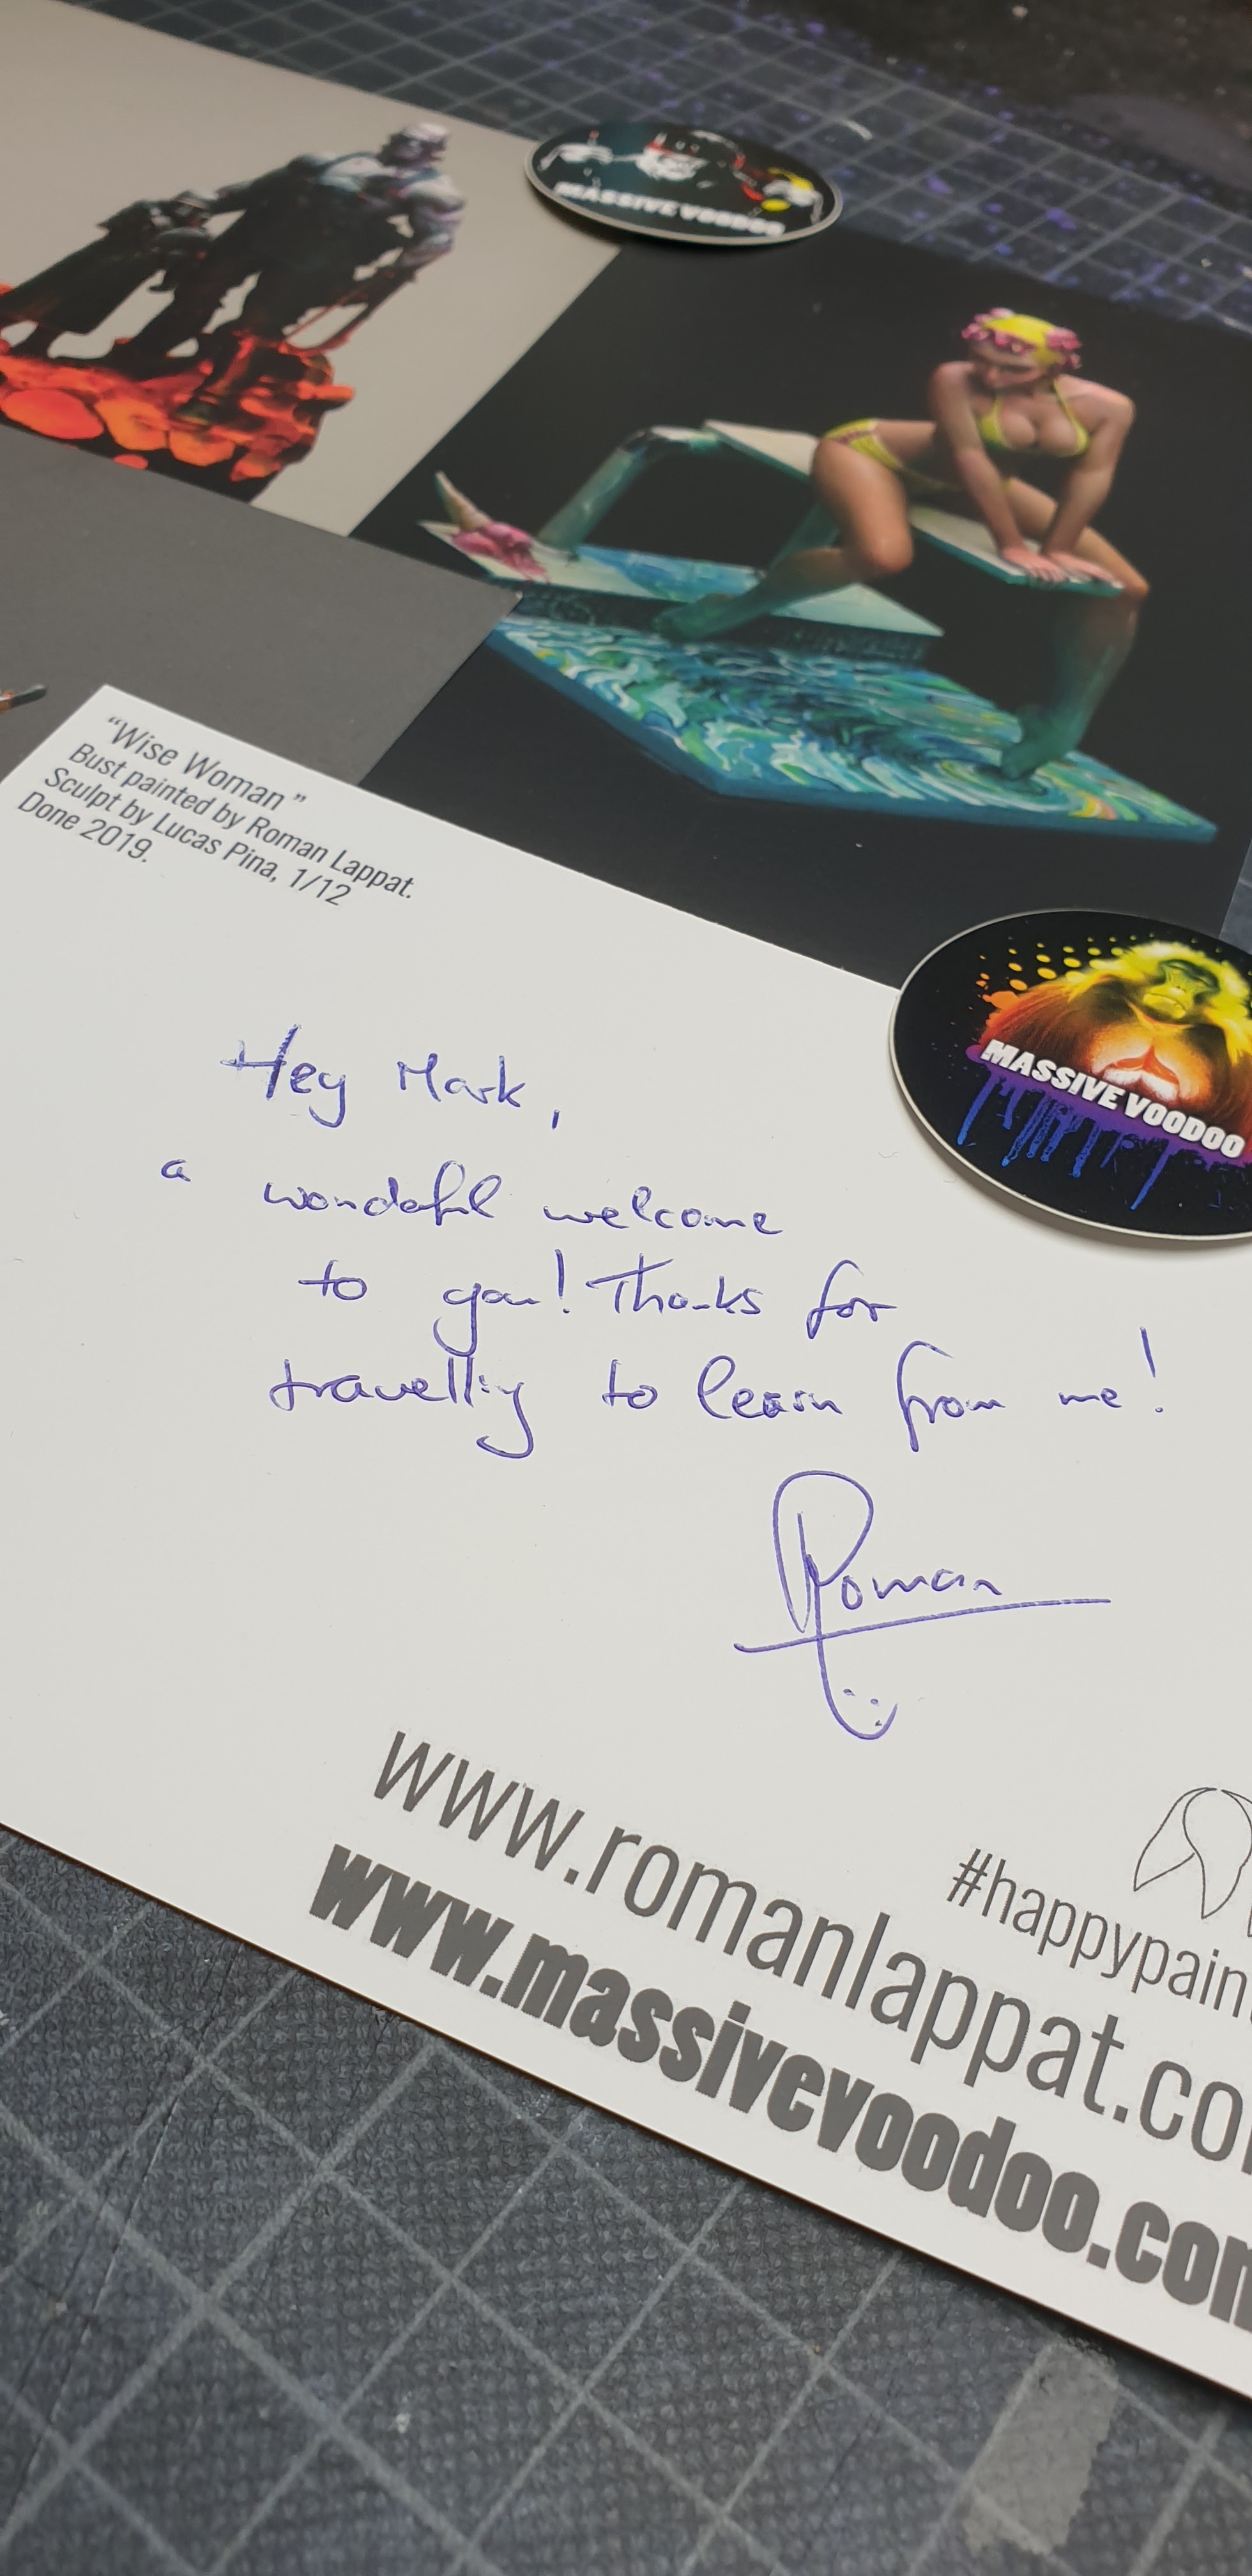
This is what Mark says:
"While having a family trip to Augsburg I managed to get a 2 day private
tuition with Roman Lappat.
This was a marvellous opportunity for me to slay my dreaded Nemesis the Skin Tones. I went with some of my previous attempts at skin tones, and other models etc so Roman could see where my painting level was currently at, and to let Roman adjust the training to suit my current skill level and comfort zone.
The 1st thing is the way that Roman puts you at ease
as in treat his studio as your studio for the time of the tuition. But it is mind blowing the amount of cool stuff
he has created and not just that many other artist for other inspiration etc.
Roman then go through and finalises the goal we were trying to
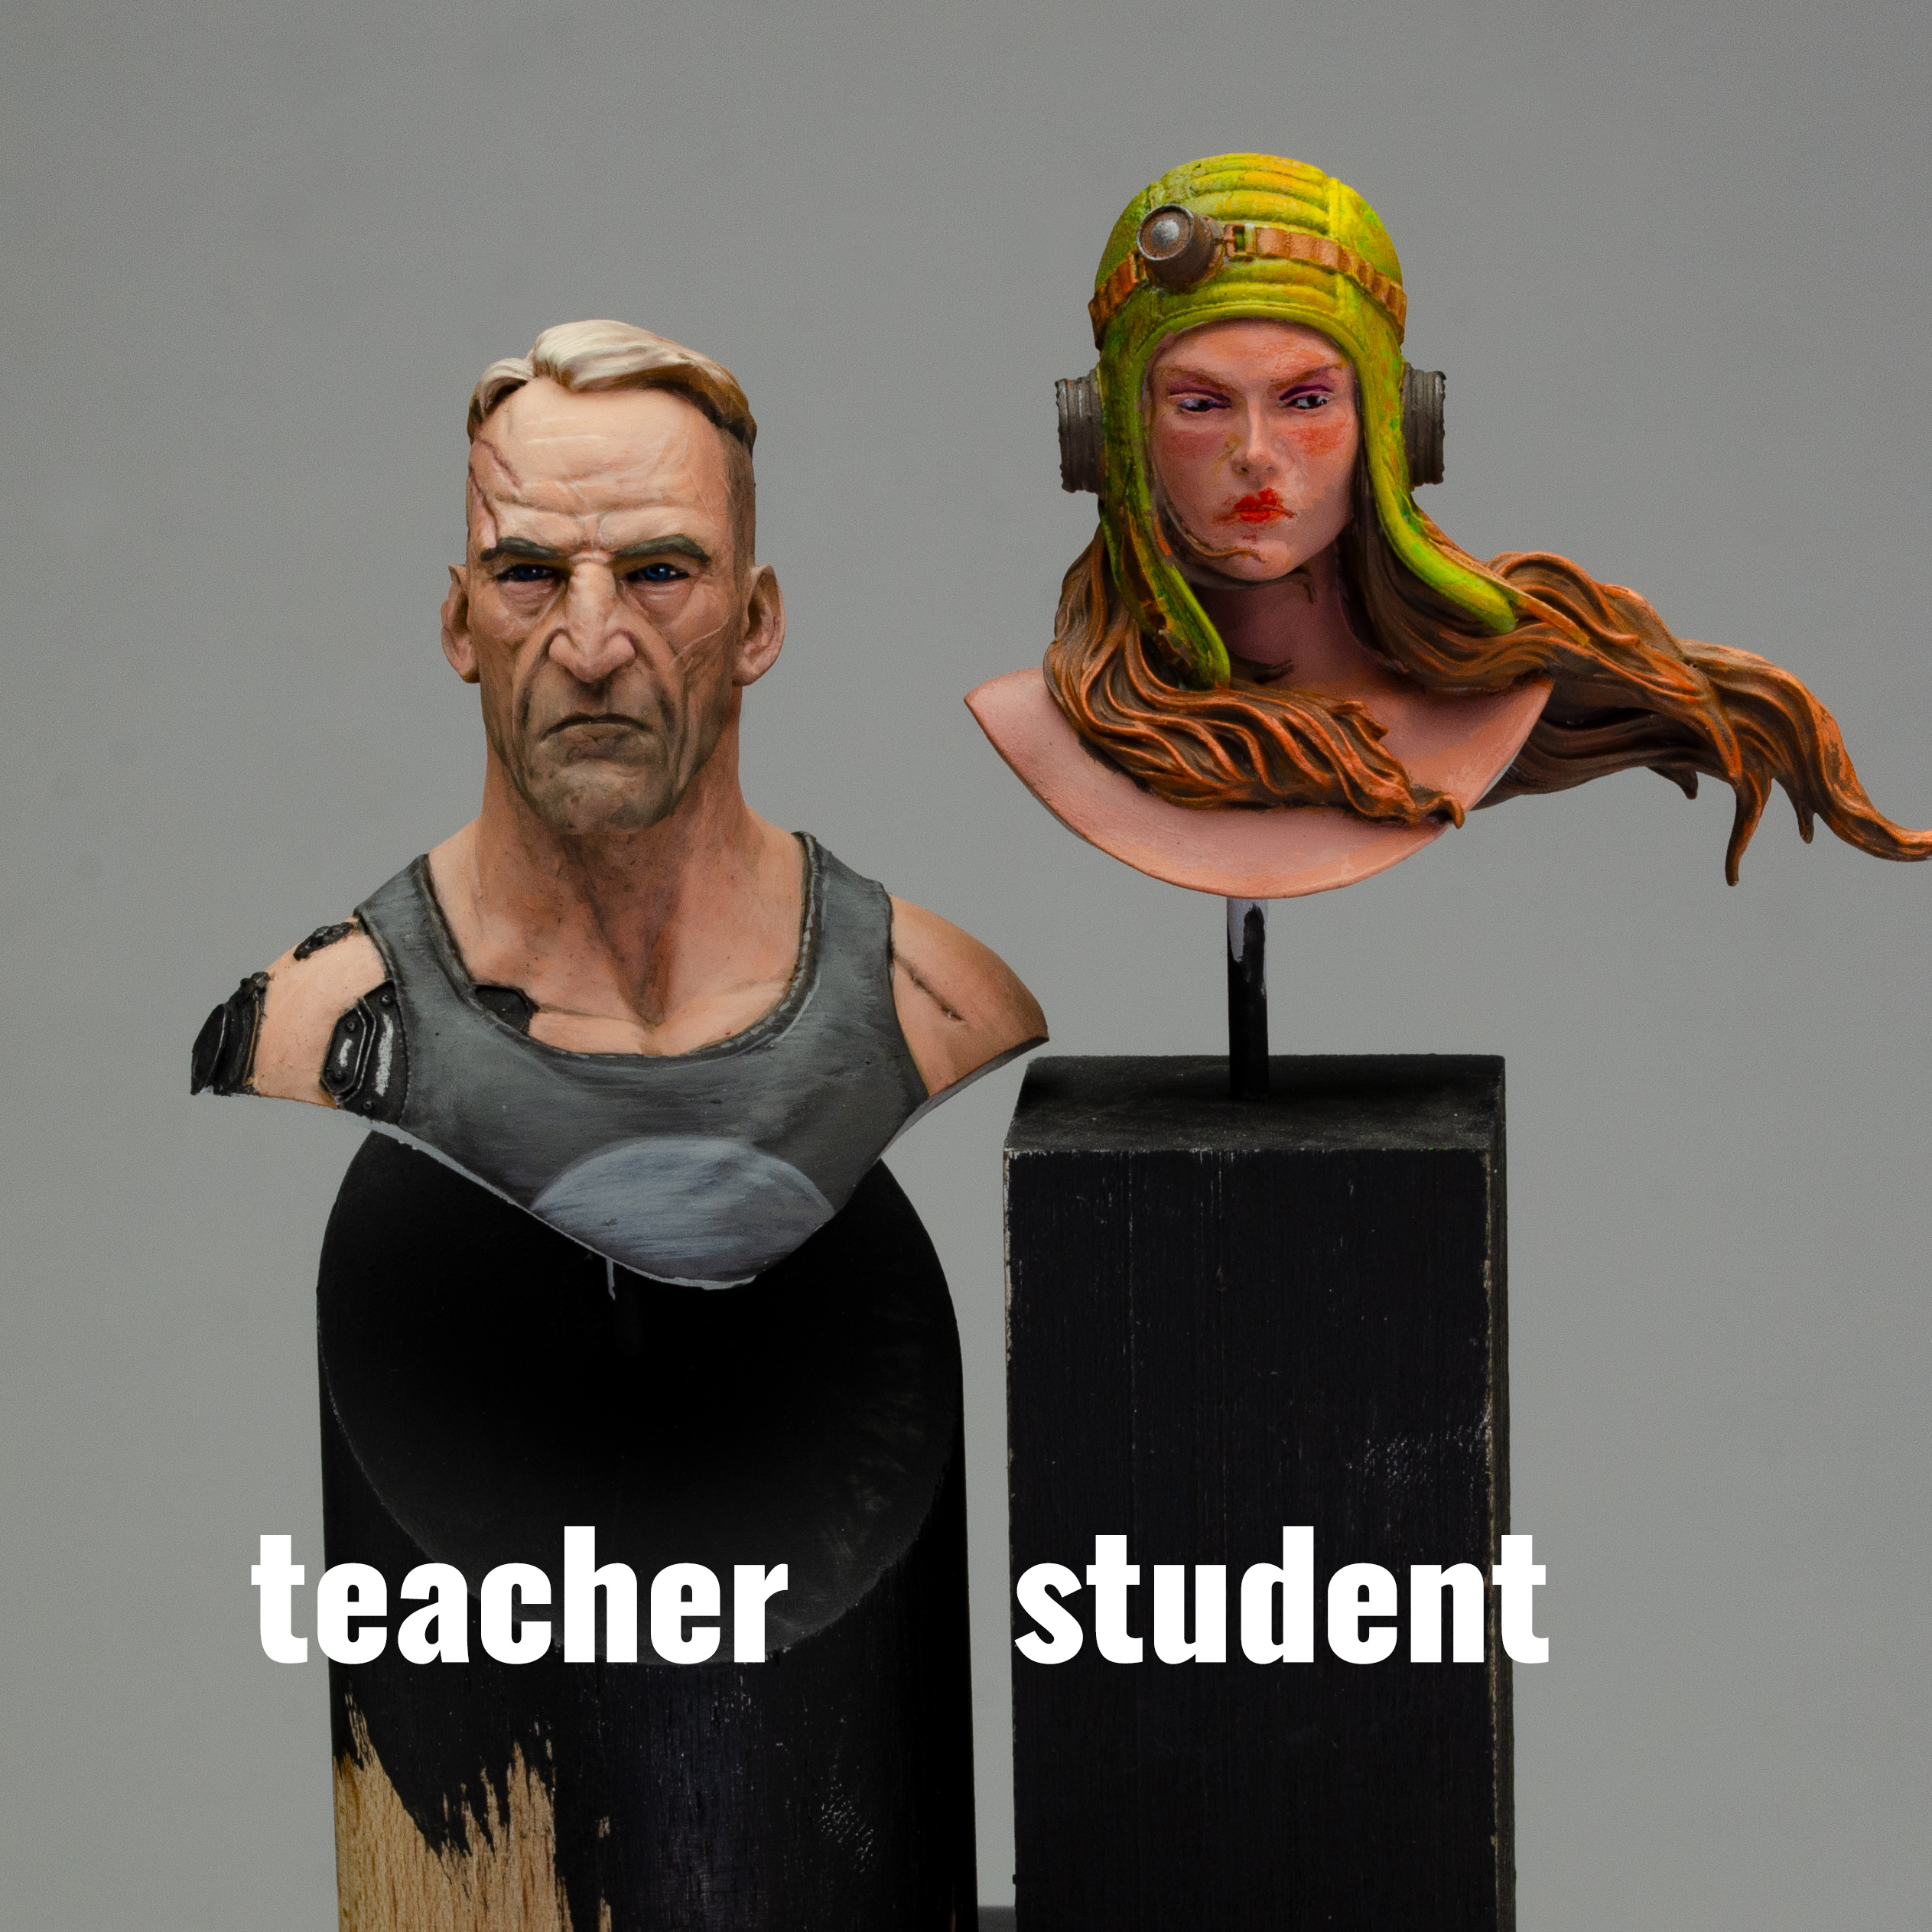
aim for. Class started with some basics like
colour theory paint mixing etc which really helps you settle into the teacher student
roles. You then go away and duplicate his
lesson by your self and as the lessons progress they push your understanding of
the process and what can be done with a few techniques and a growing amount of confidence
and control that you learn on the 1st day and the test piece.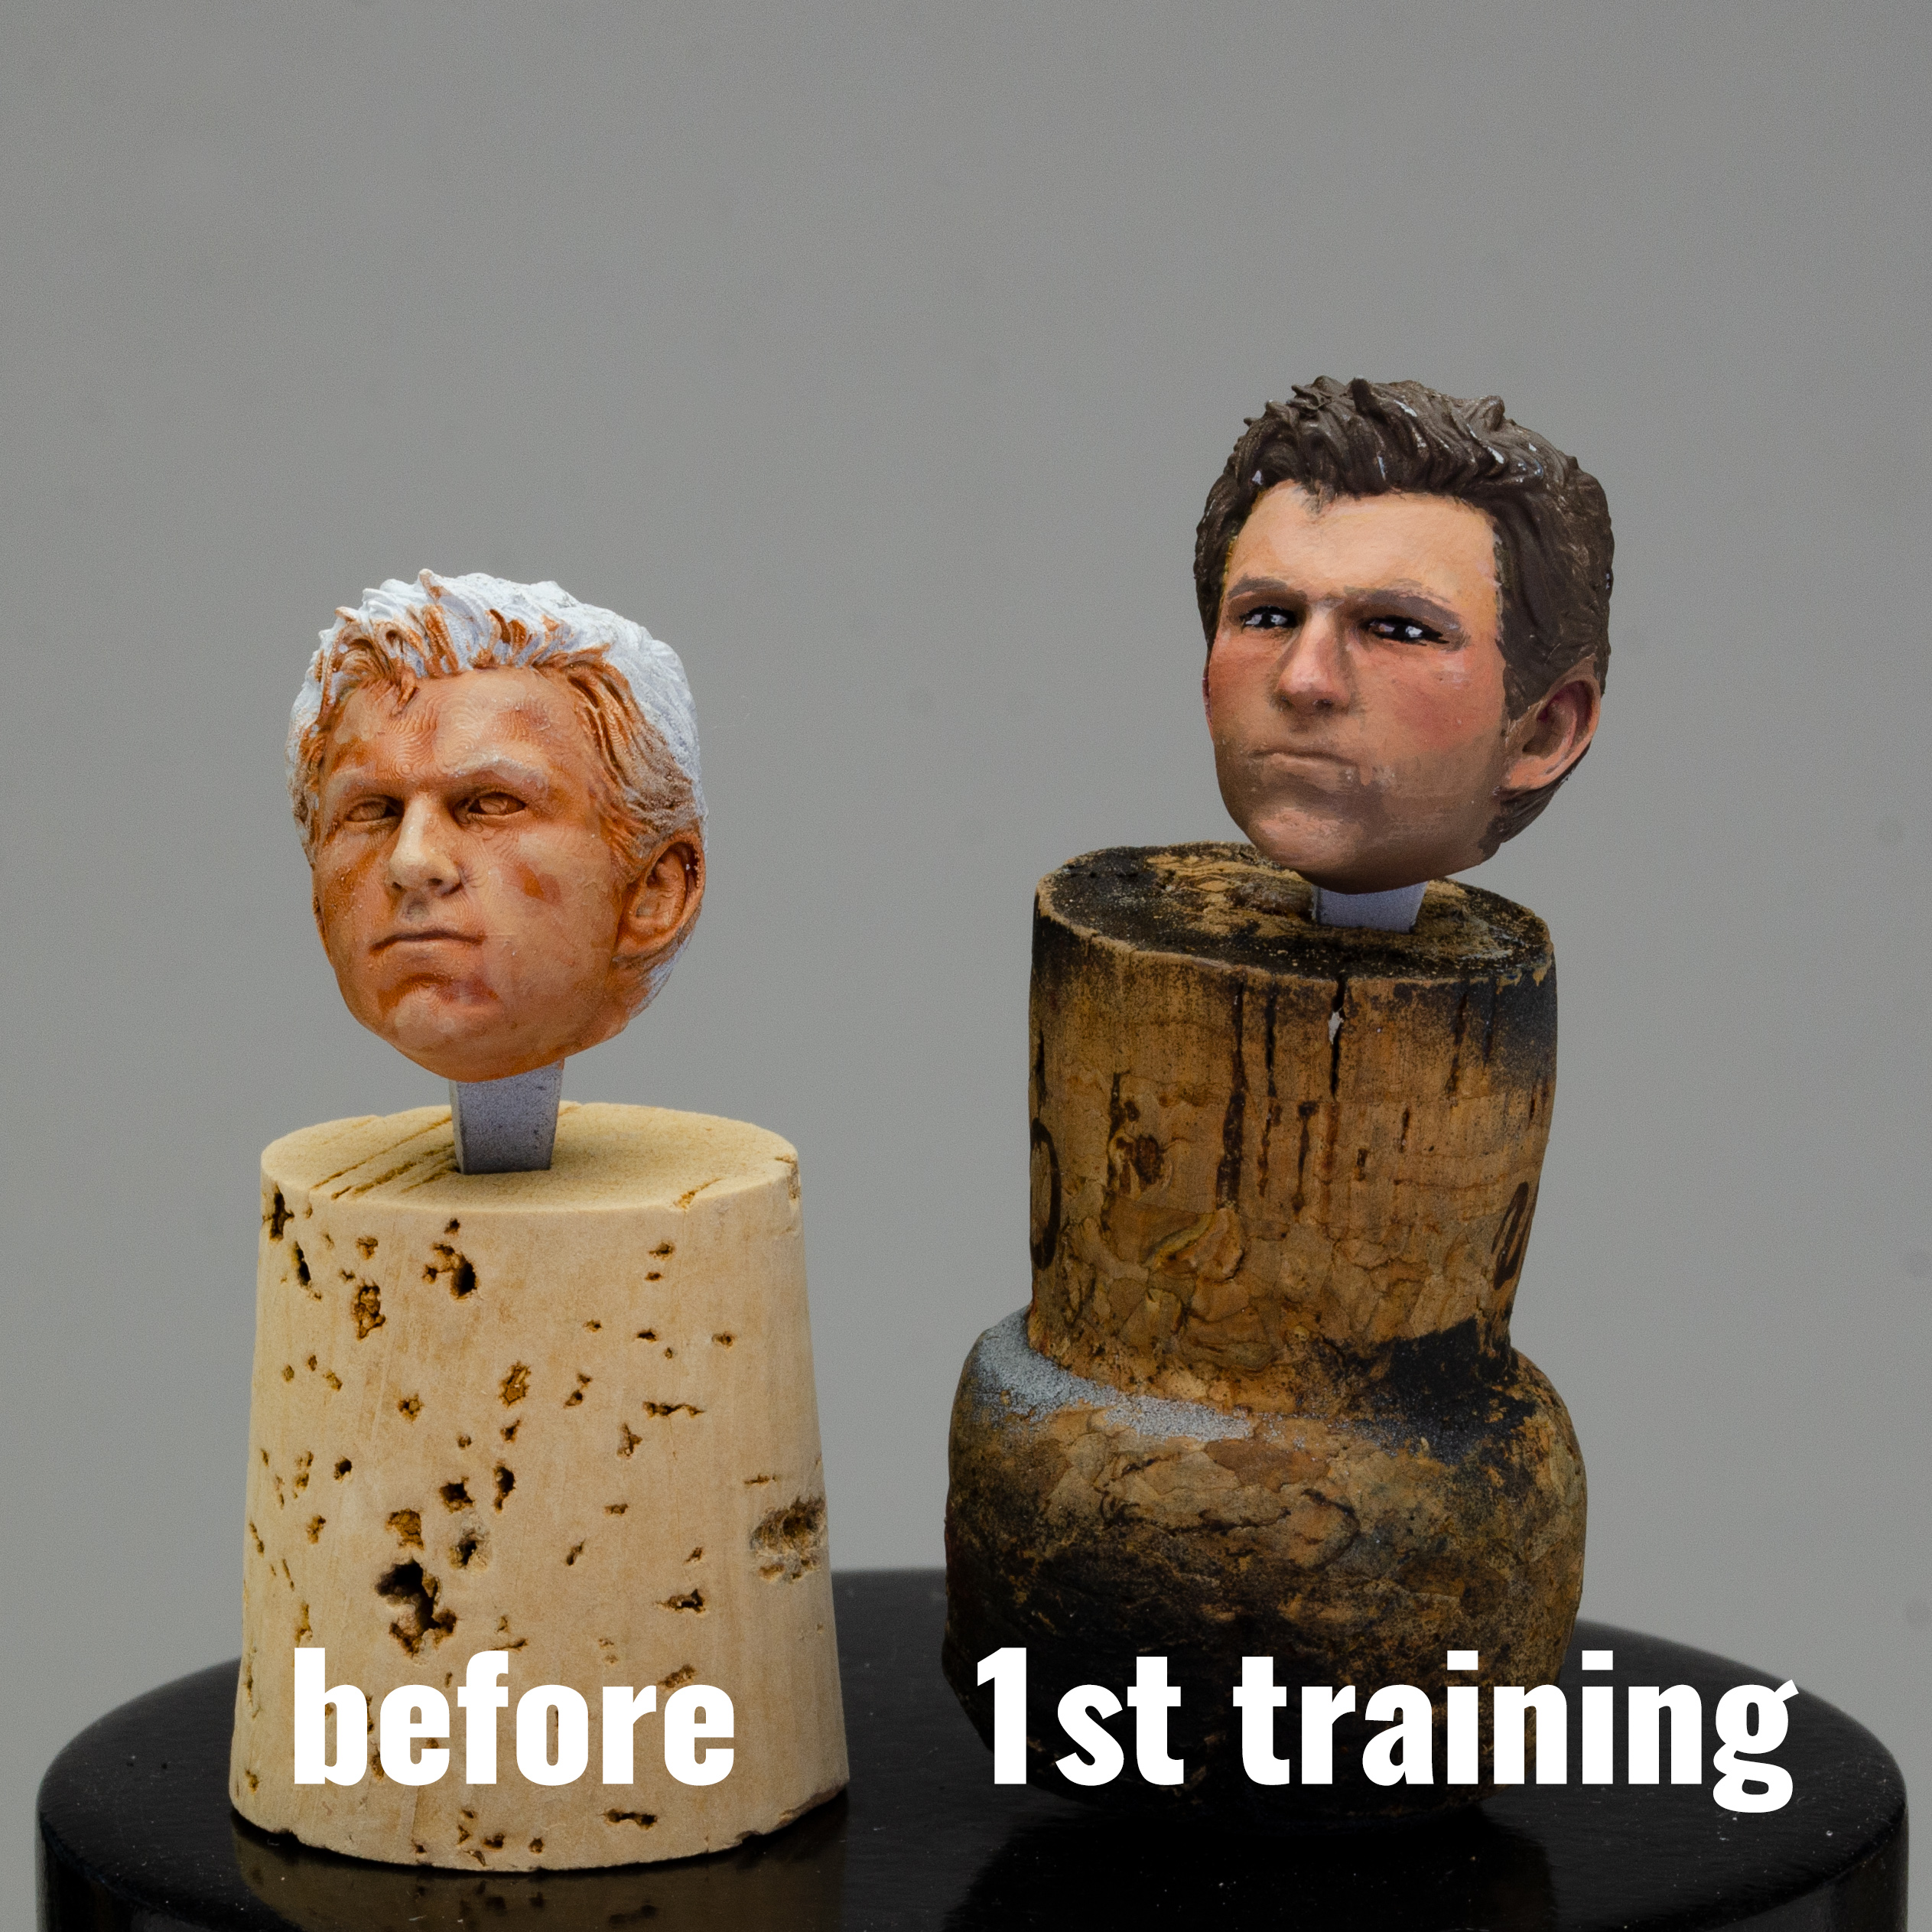
On the 2nd day I was let loose on my project piece with roman in the background more to give support and answer any questions that may arise and help you solve any mistakes by making you think of day 1 lessons and use your newly acquired knowledge.
All in all my skin painting went from a 2/3 to at least a 7/8 as I still have a lot of practicing to streamline and solidify my new skill that are in my Tool Box. If you ever need help on a technique or process then hand on heart I would recommend Roman hands down because his teaching style is exactly a match for my learning style.
I am already thinking about more lesson in the future with Roman as I already know I will come out a better, more skilled and confident person.
Roman also set me on a better road map for all my projects and how to handle them.
Thanks again Roman for the great time
Mark"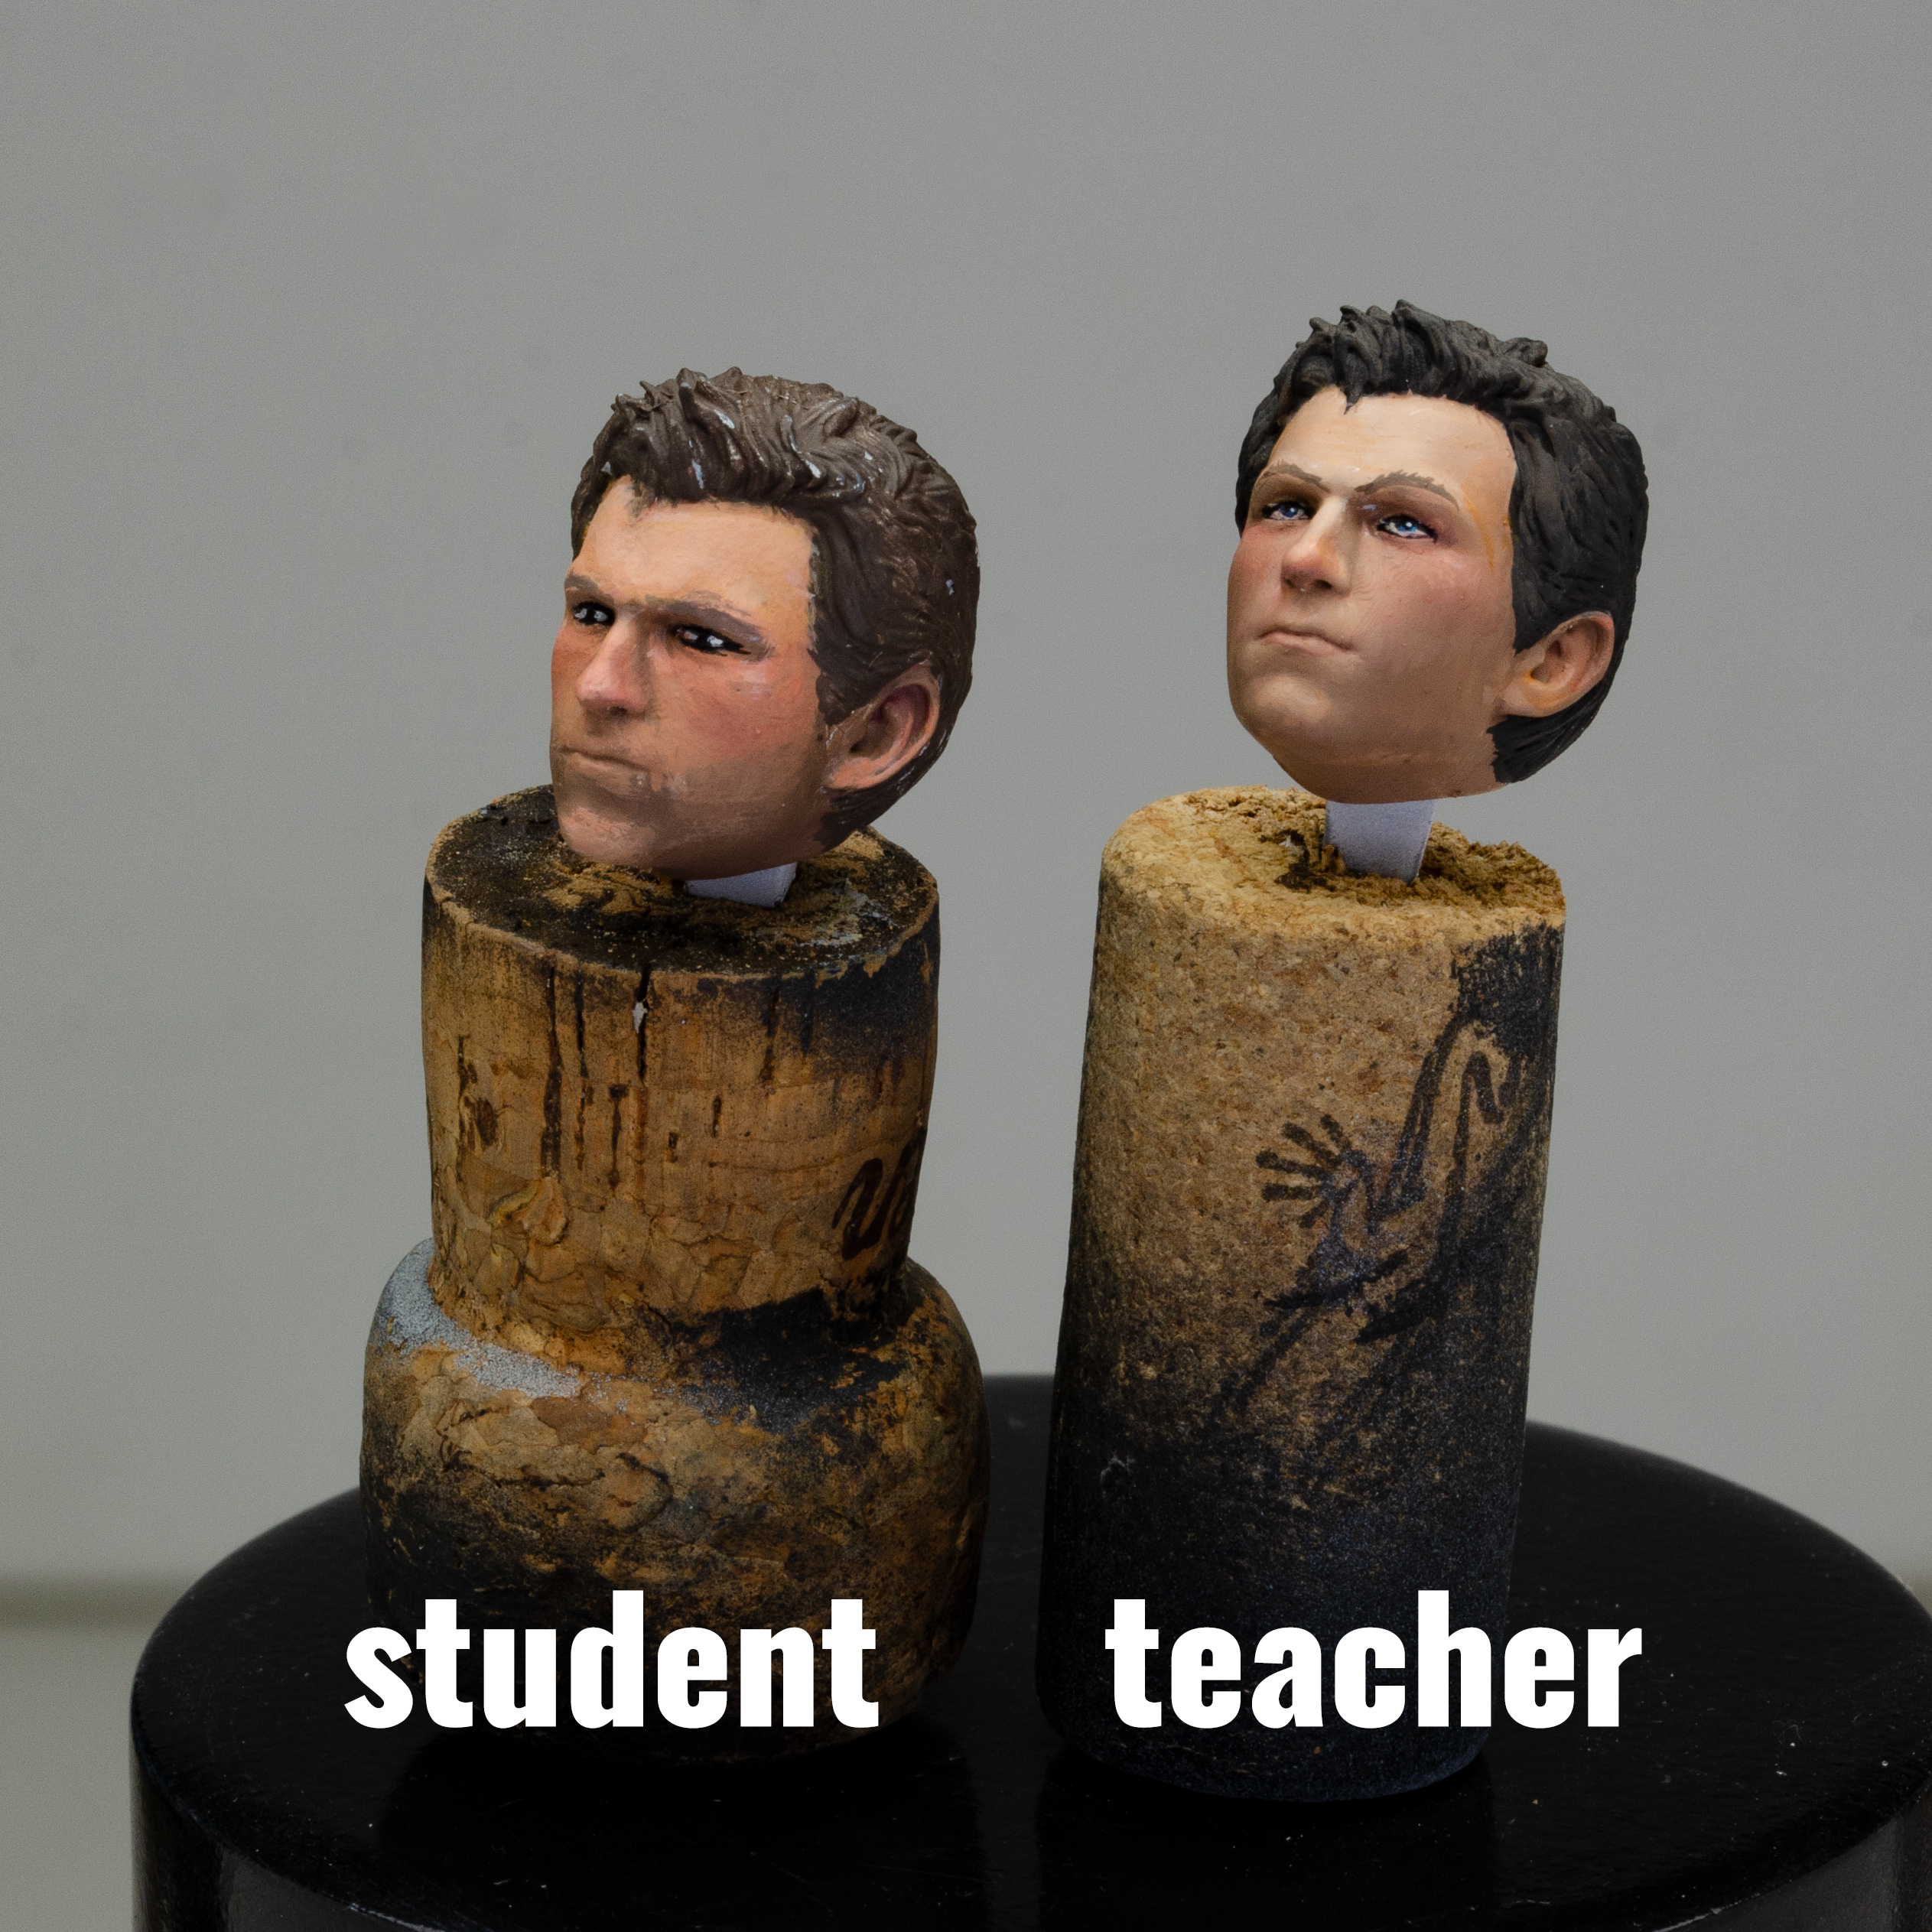

Keep on happy painting, Mark!
I am looking forward to see you in the UK for some more lessons and great chats!
Best Wishes,
Roman
_____________________________________________________________
Fully booked with Private Coaching lessons until Jue 2023. Unfortanetely I can not plan new dates yet, as I plan to see group workshops return in full force in 2023. More plans will be available in early Spring 2023. Until then: If you are interested in updates on workshop news, sign up for my newsletter:
Roman Lappat - Workshop Newsletter
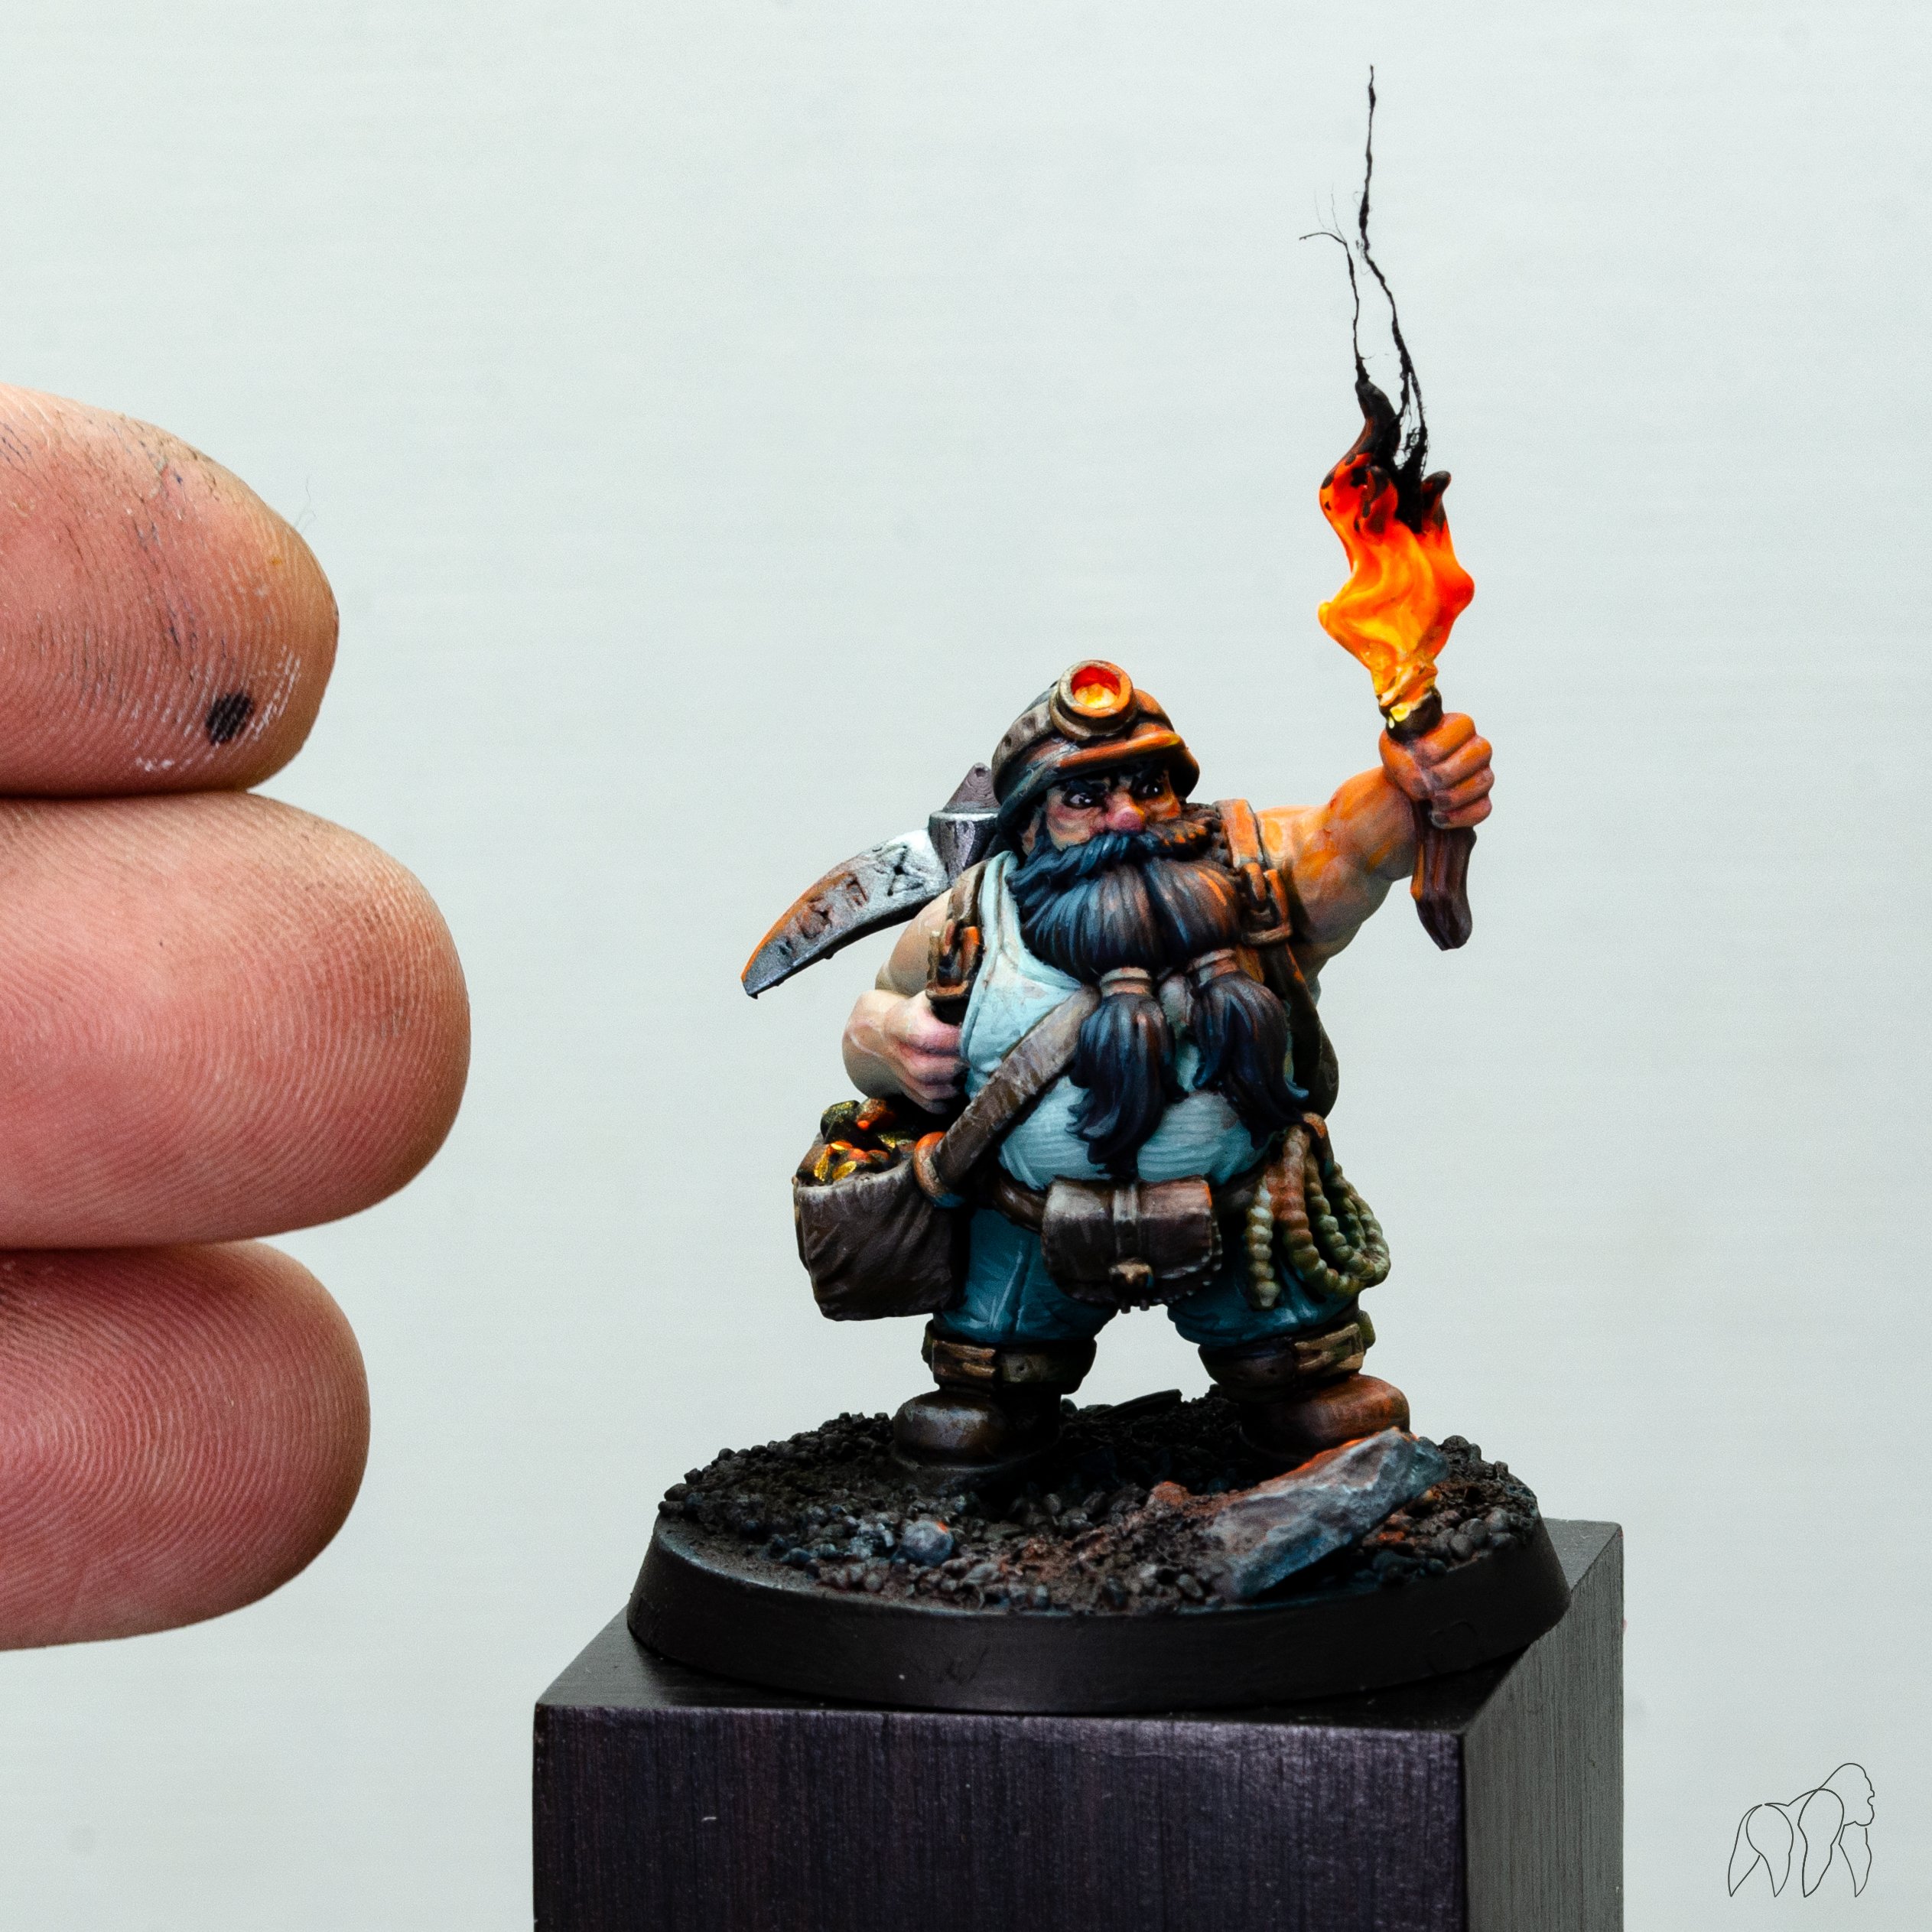
Aloa Jungle,
Let there be light!
Baldur, the Adventurer by @miniatures.of.madness
A true joy to paint for explanation purposes during my last two day private coaching with Lutz.
More about it soon! Enjoy!


Miniature is for sale via my cataloge,
feel invited to check back with all necessary information on how to make this miniature part of your collection: My Miniature Art Cataloge
Keep on happy painting!
Best Wishes,
Roman
Hey Jungle,
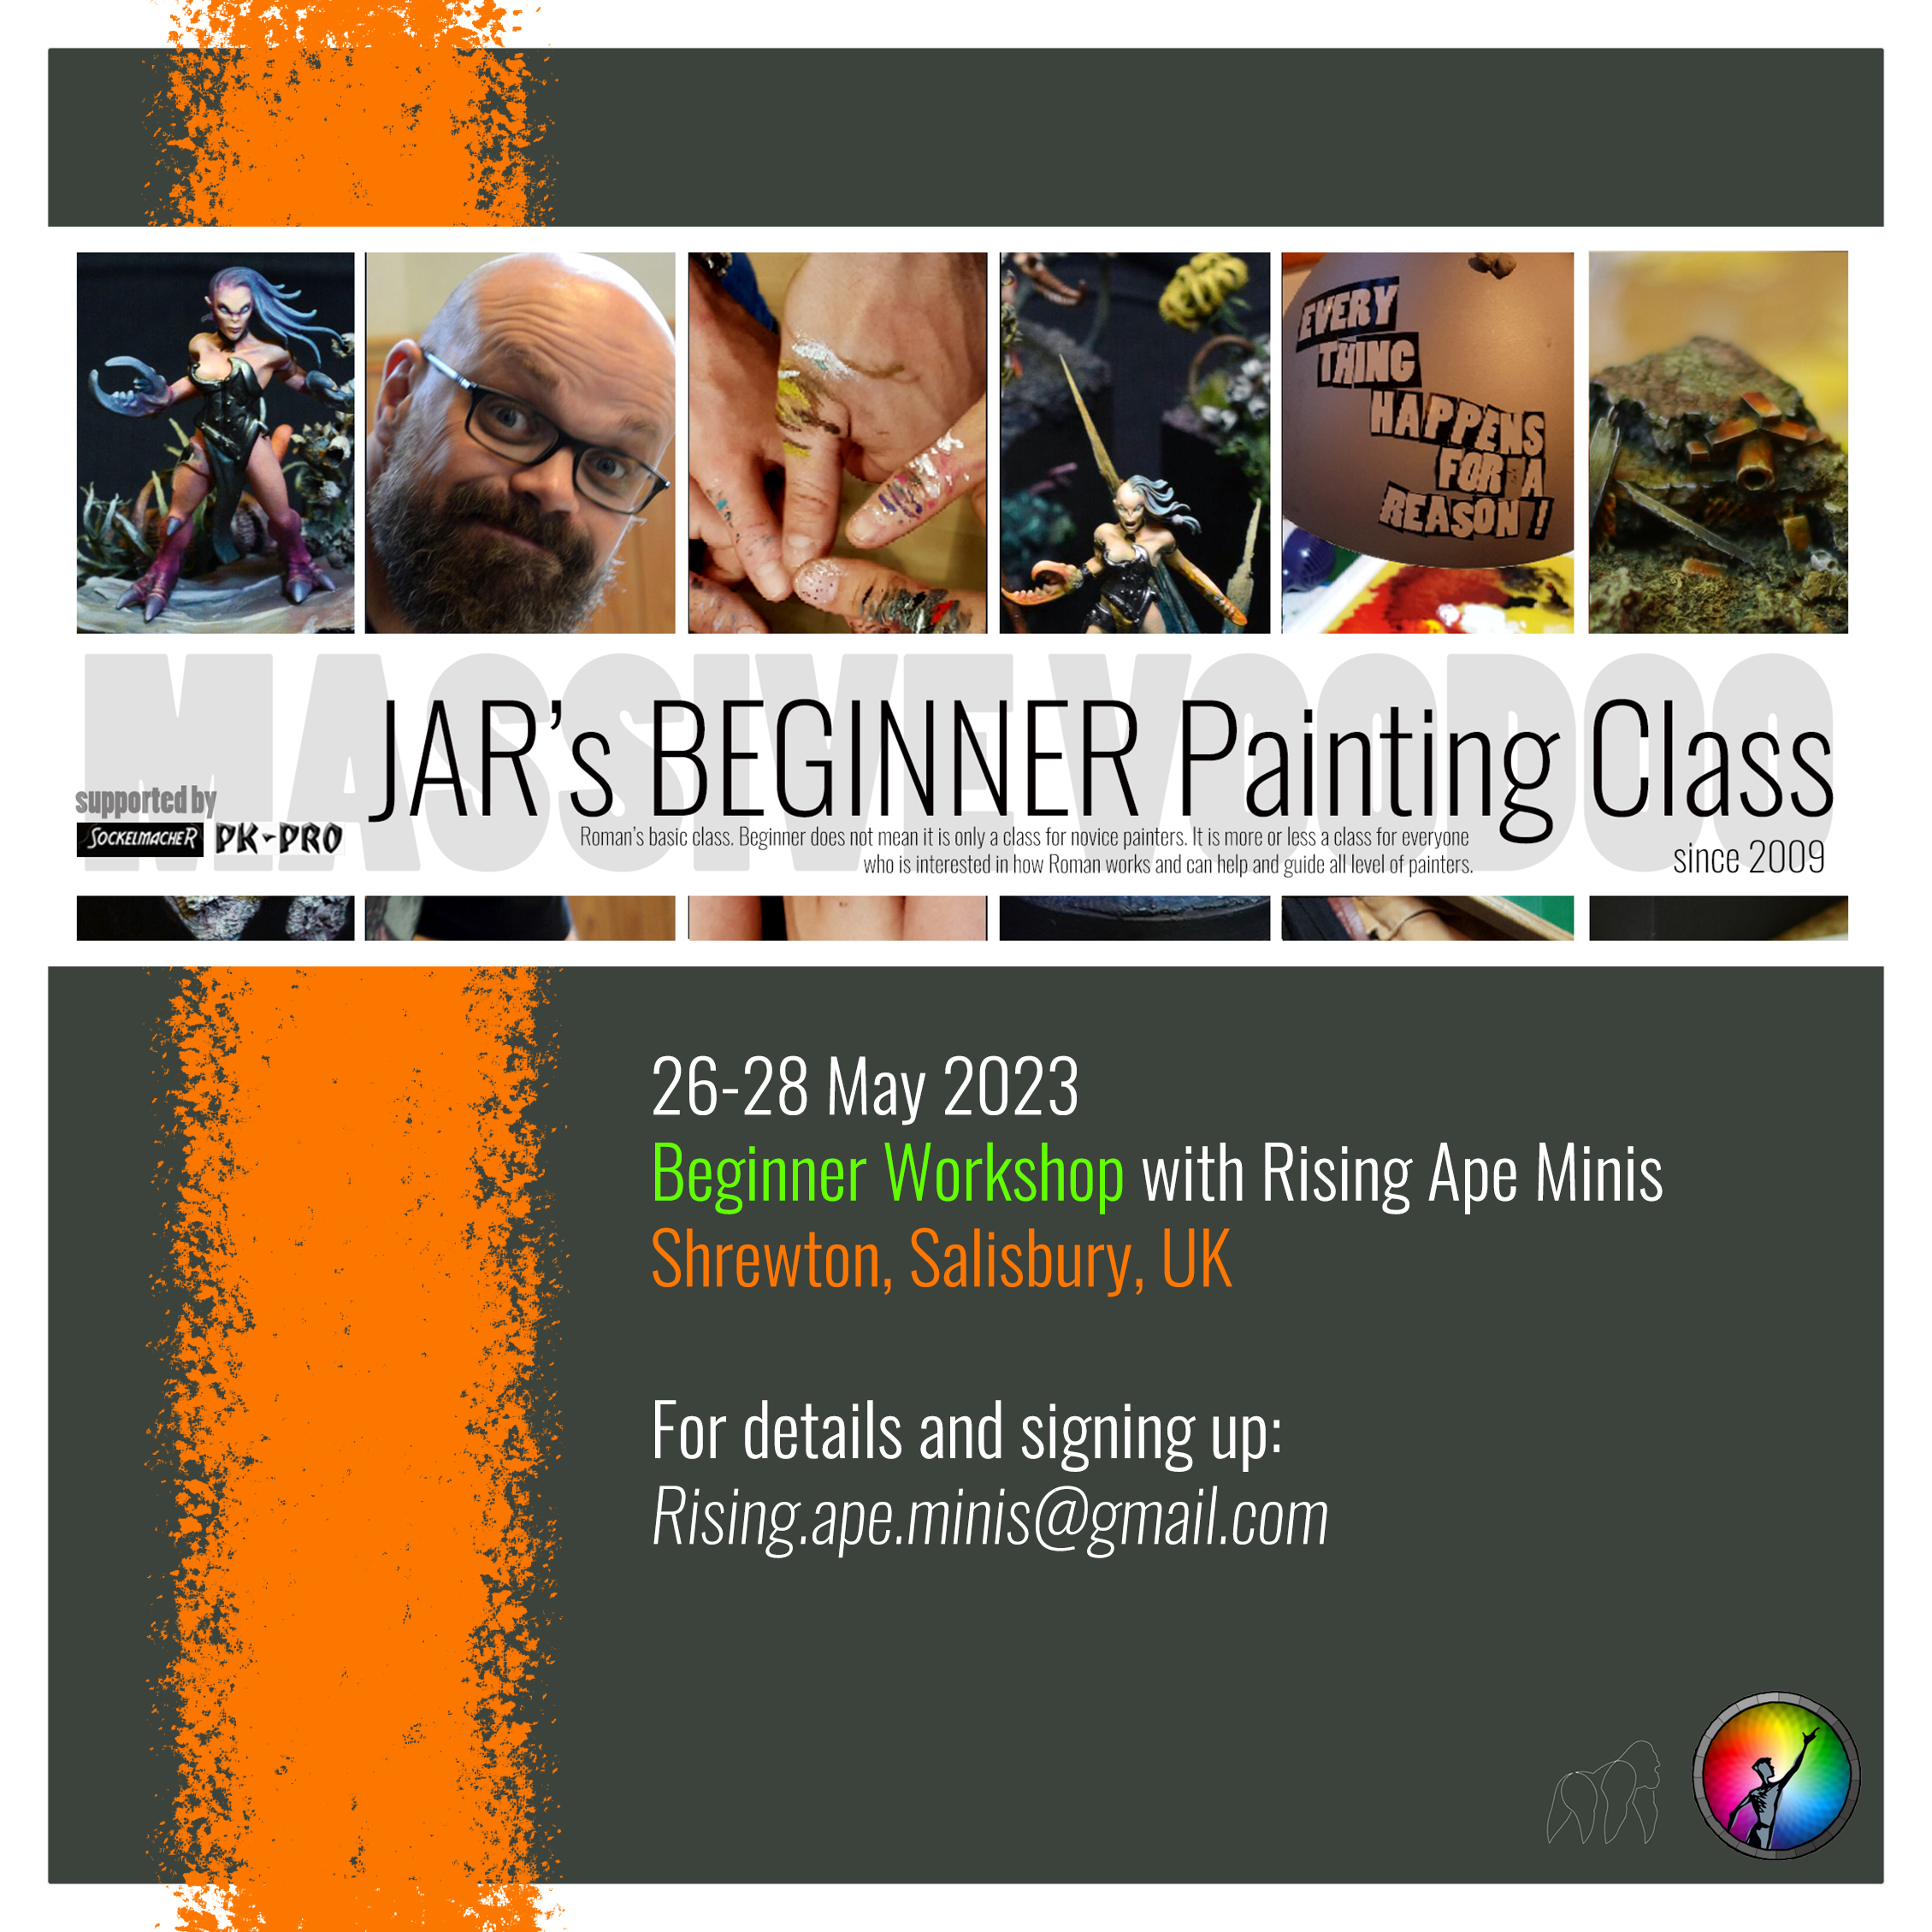
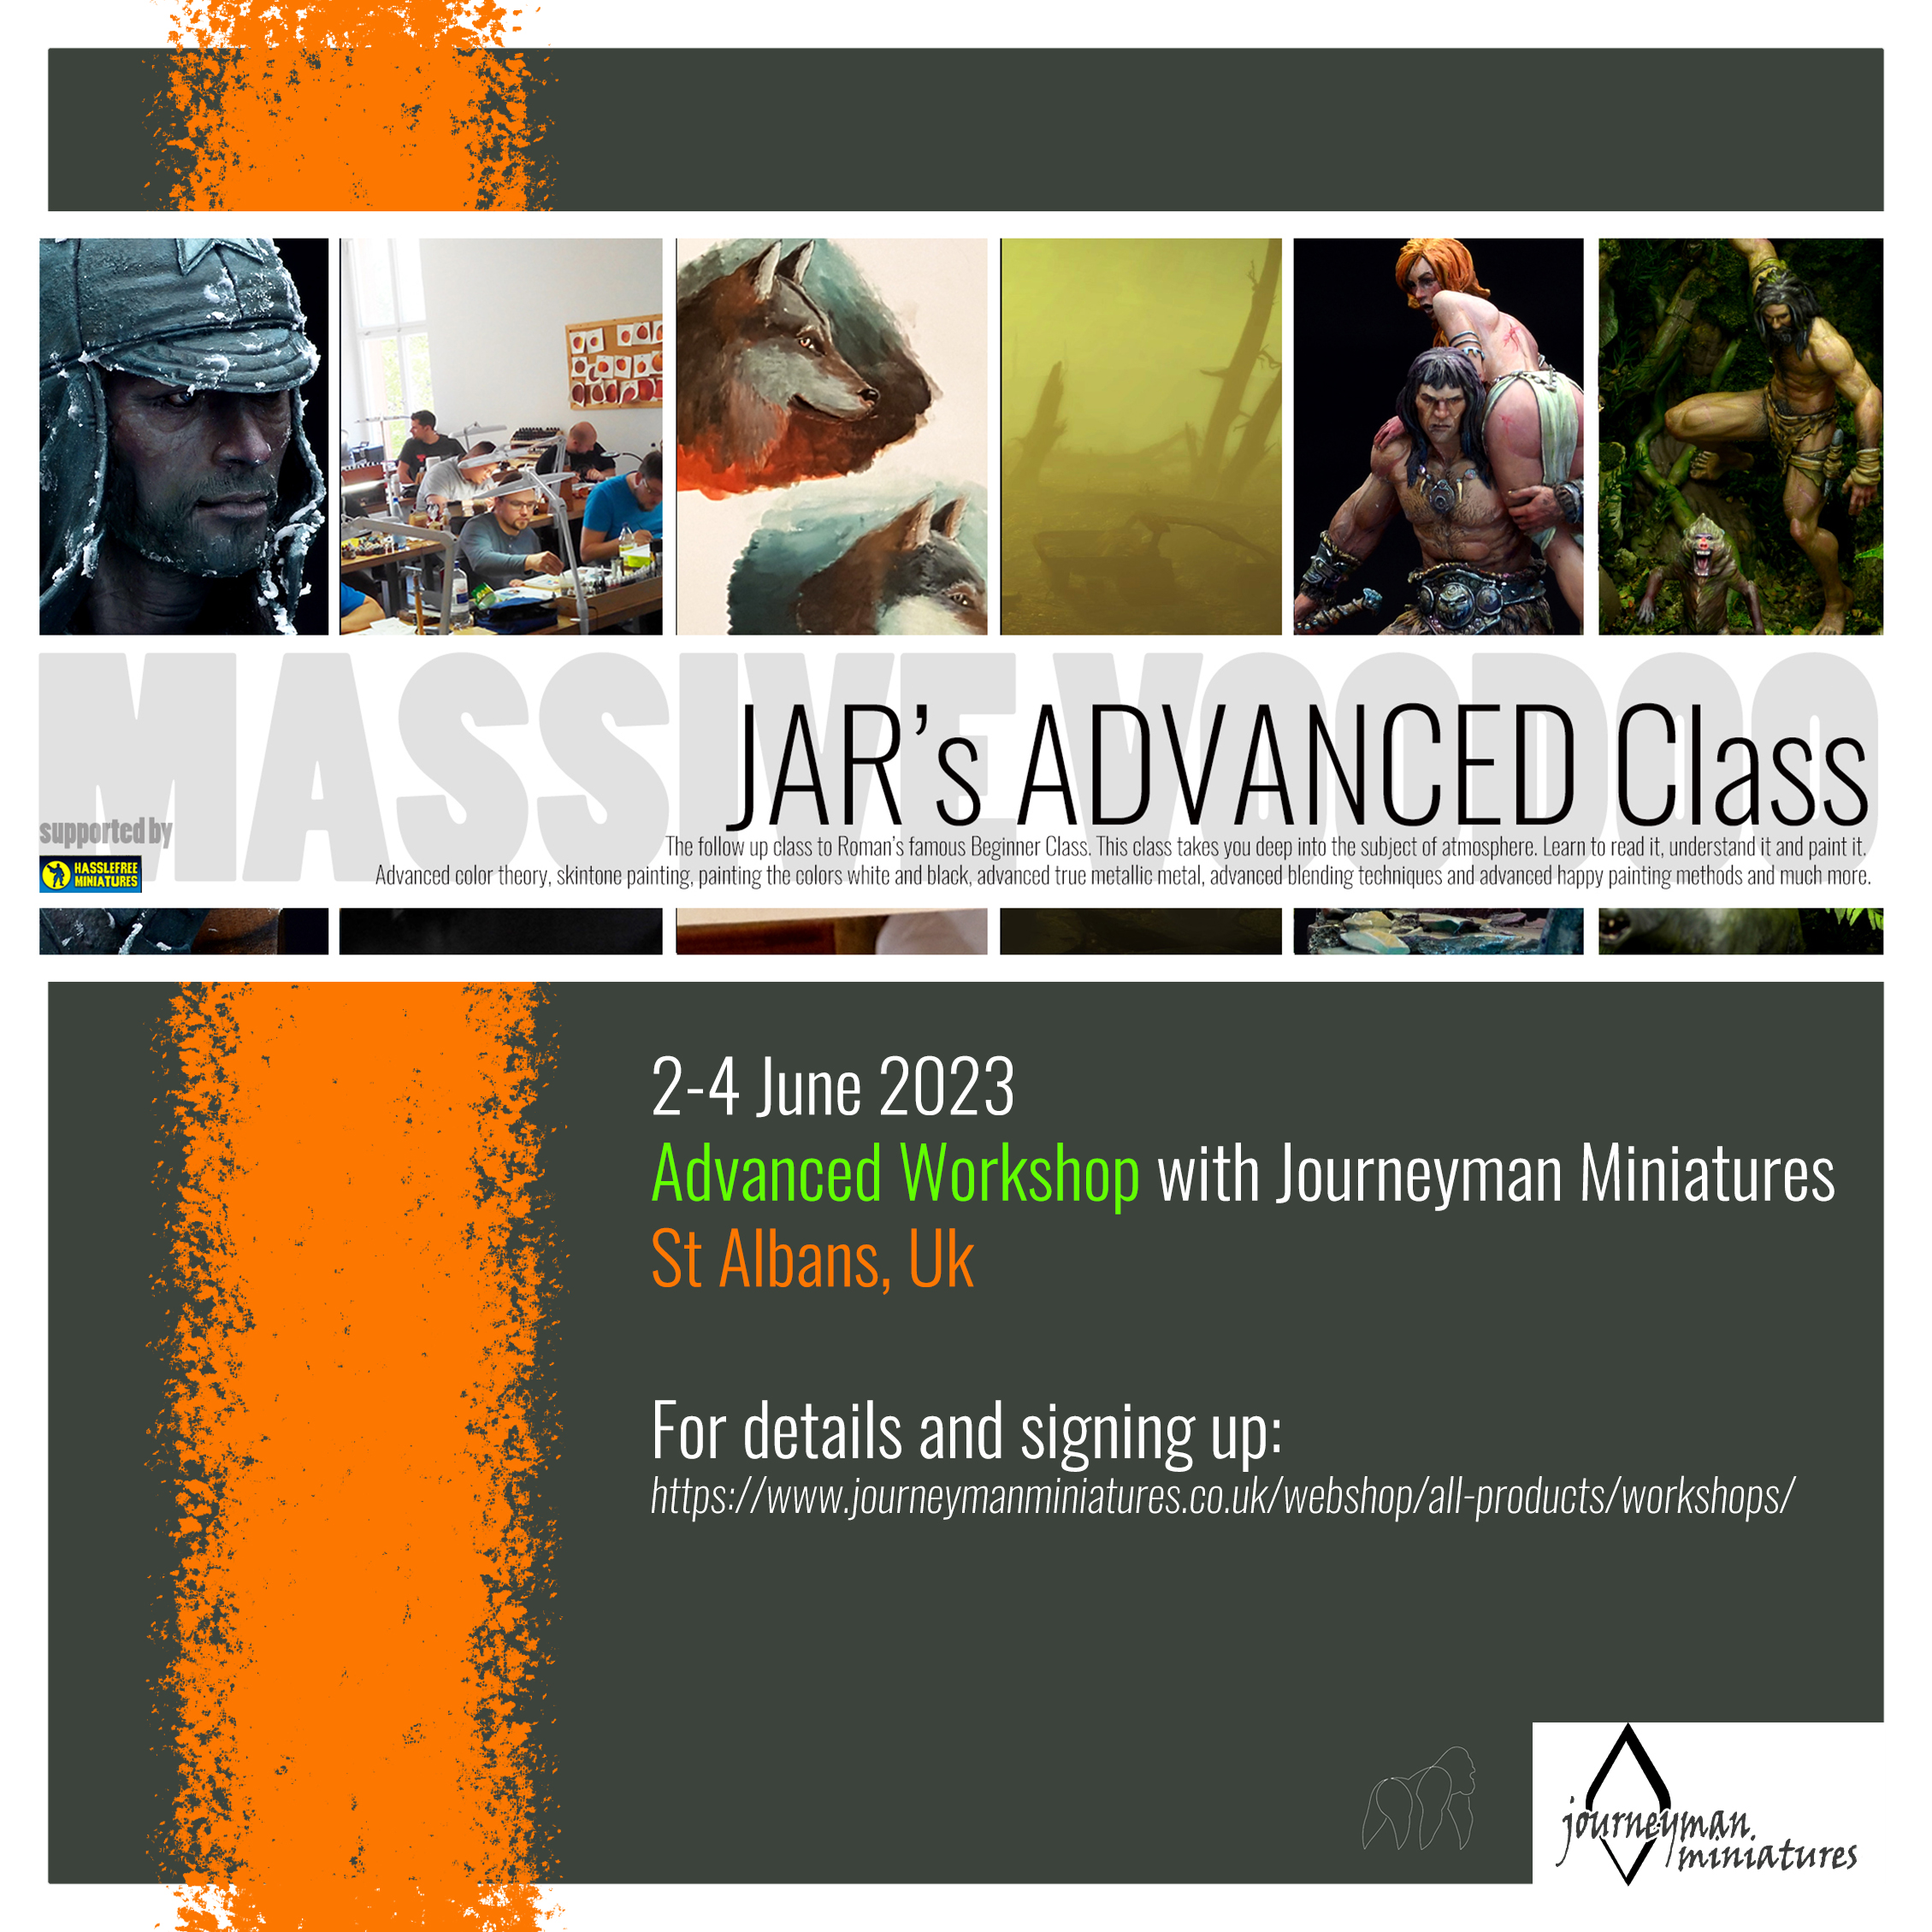
I will be teaching in
the UK:
Two workshops are available next year in May/June 2023.
Check
back with the information on the banners and sign up! Seats are limited
and go fast!
Thanks to @journeyman_miniatures and @risingapeminis for their massive help in organisation.
Upcoming
workshops in Germany will be announced in the next four weeks.
There is no waiting list, when it goes live on my homepge www.romanlappat.com you can sign up and get a confirmation of your ennrollment. Stay
tuned and sign up for my newsletter where you recieve first hand news on this:
Newsletter!
See you soon!
Roman
Don't forget and subscribe to
MASSIVE VOODOO TV
for more!
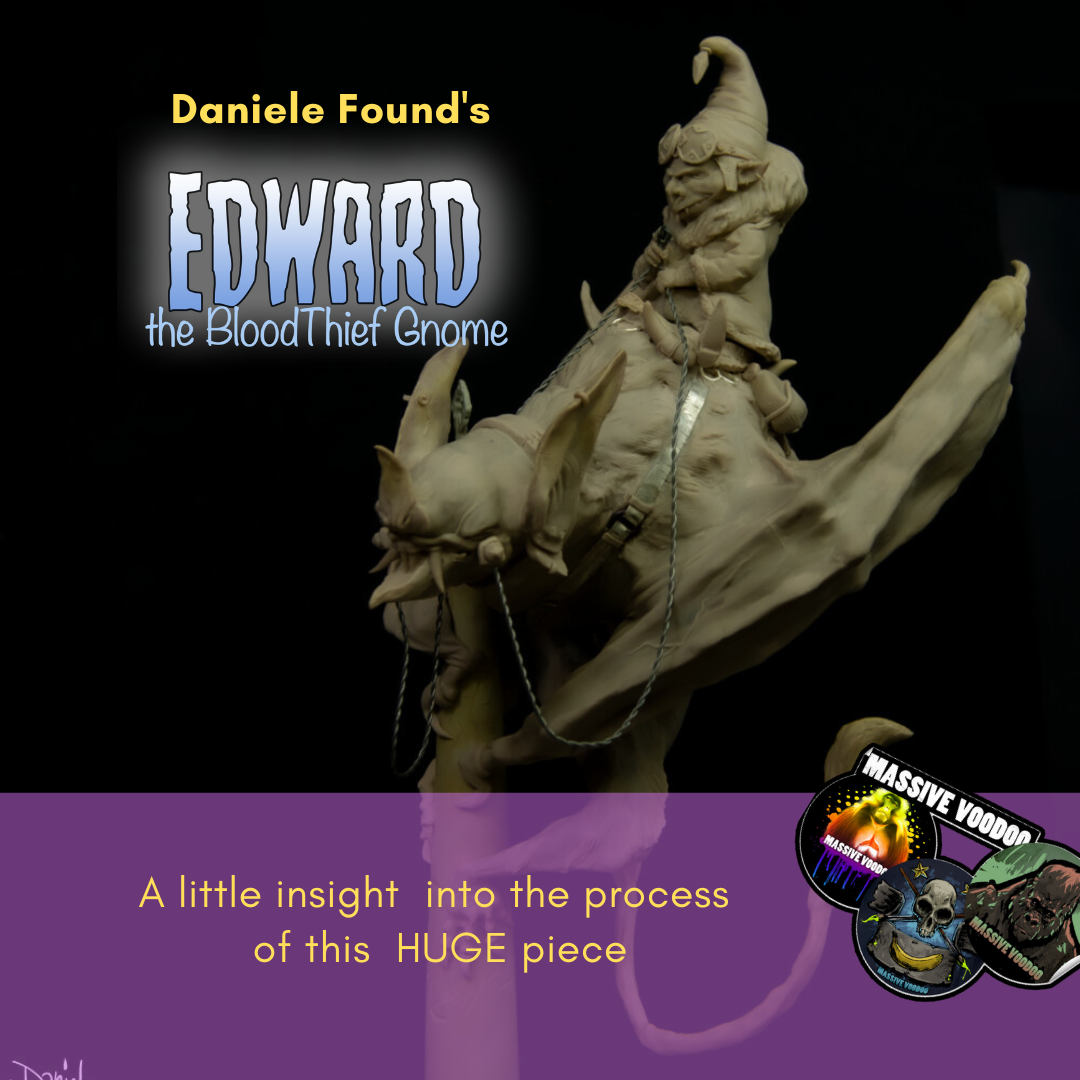
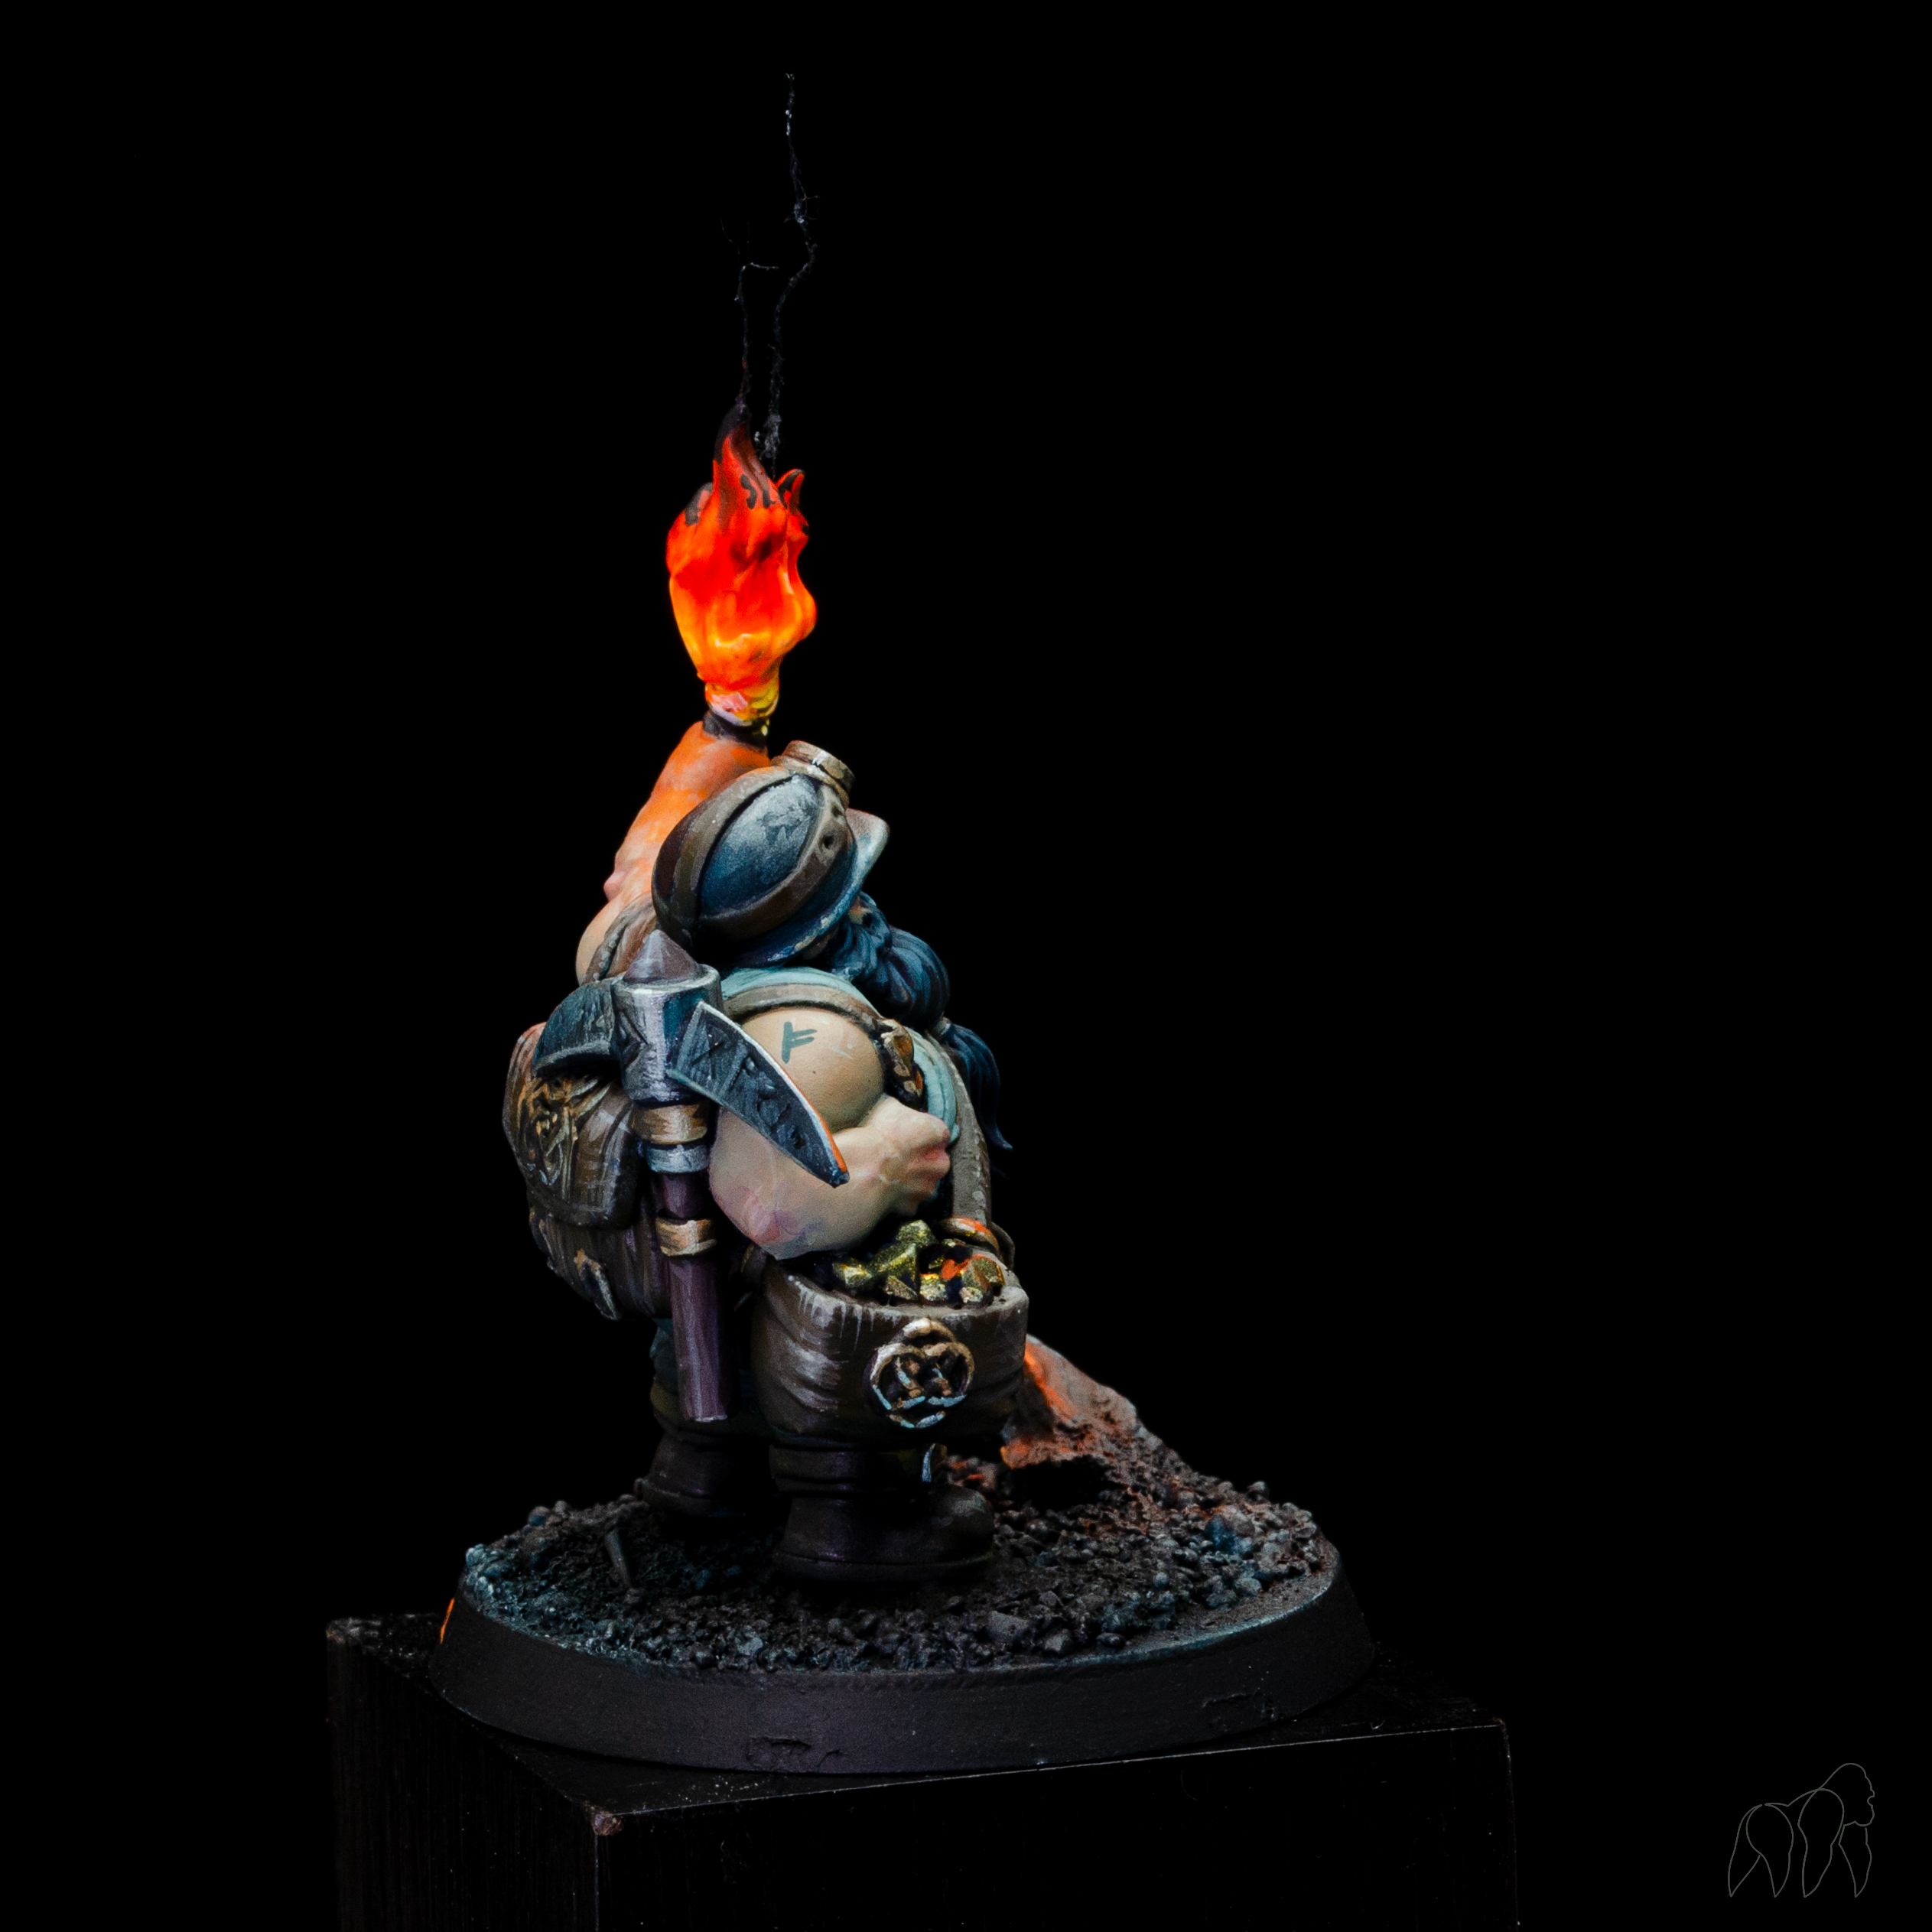
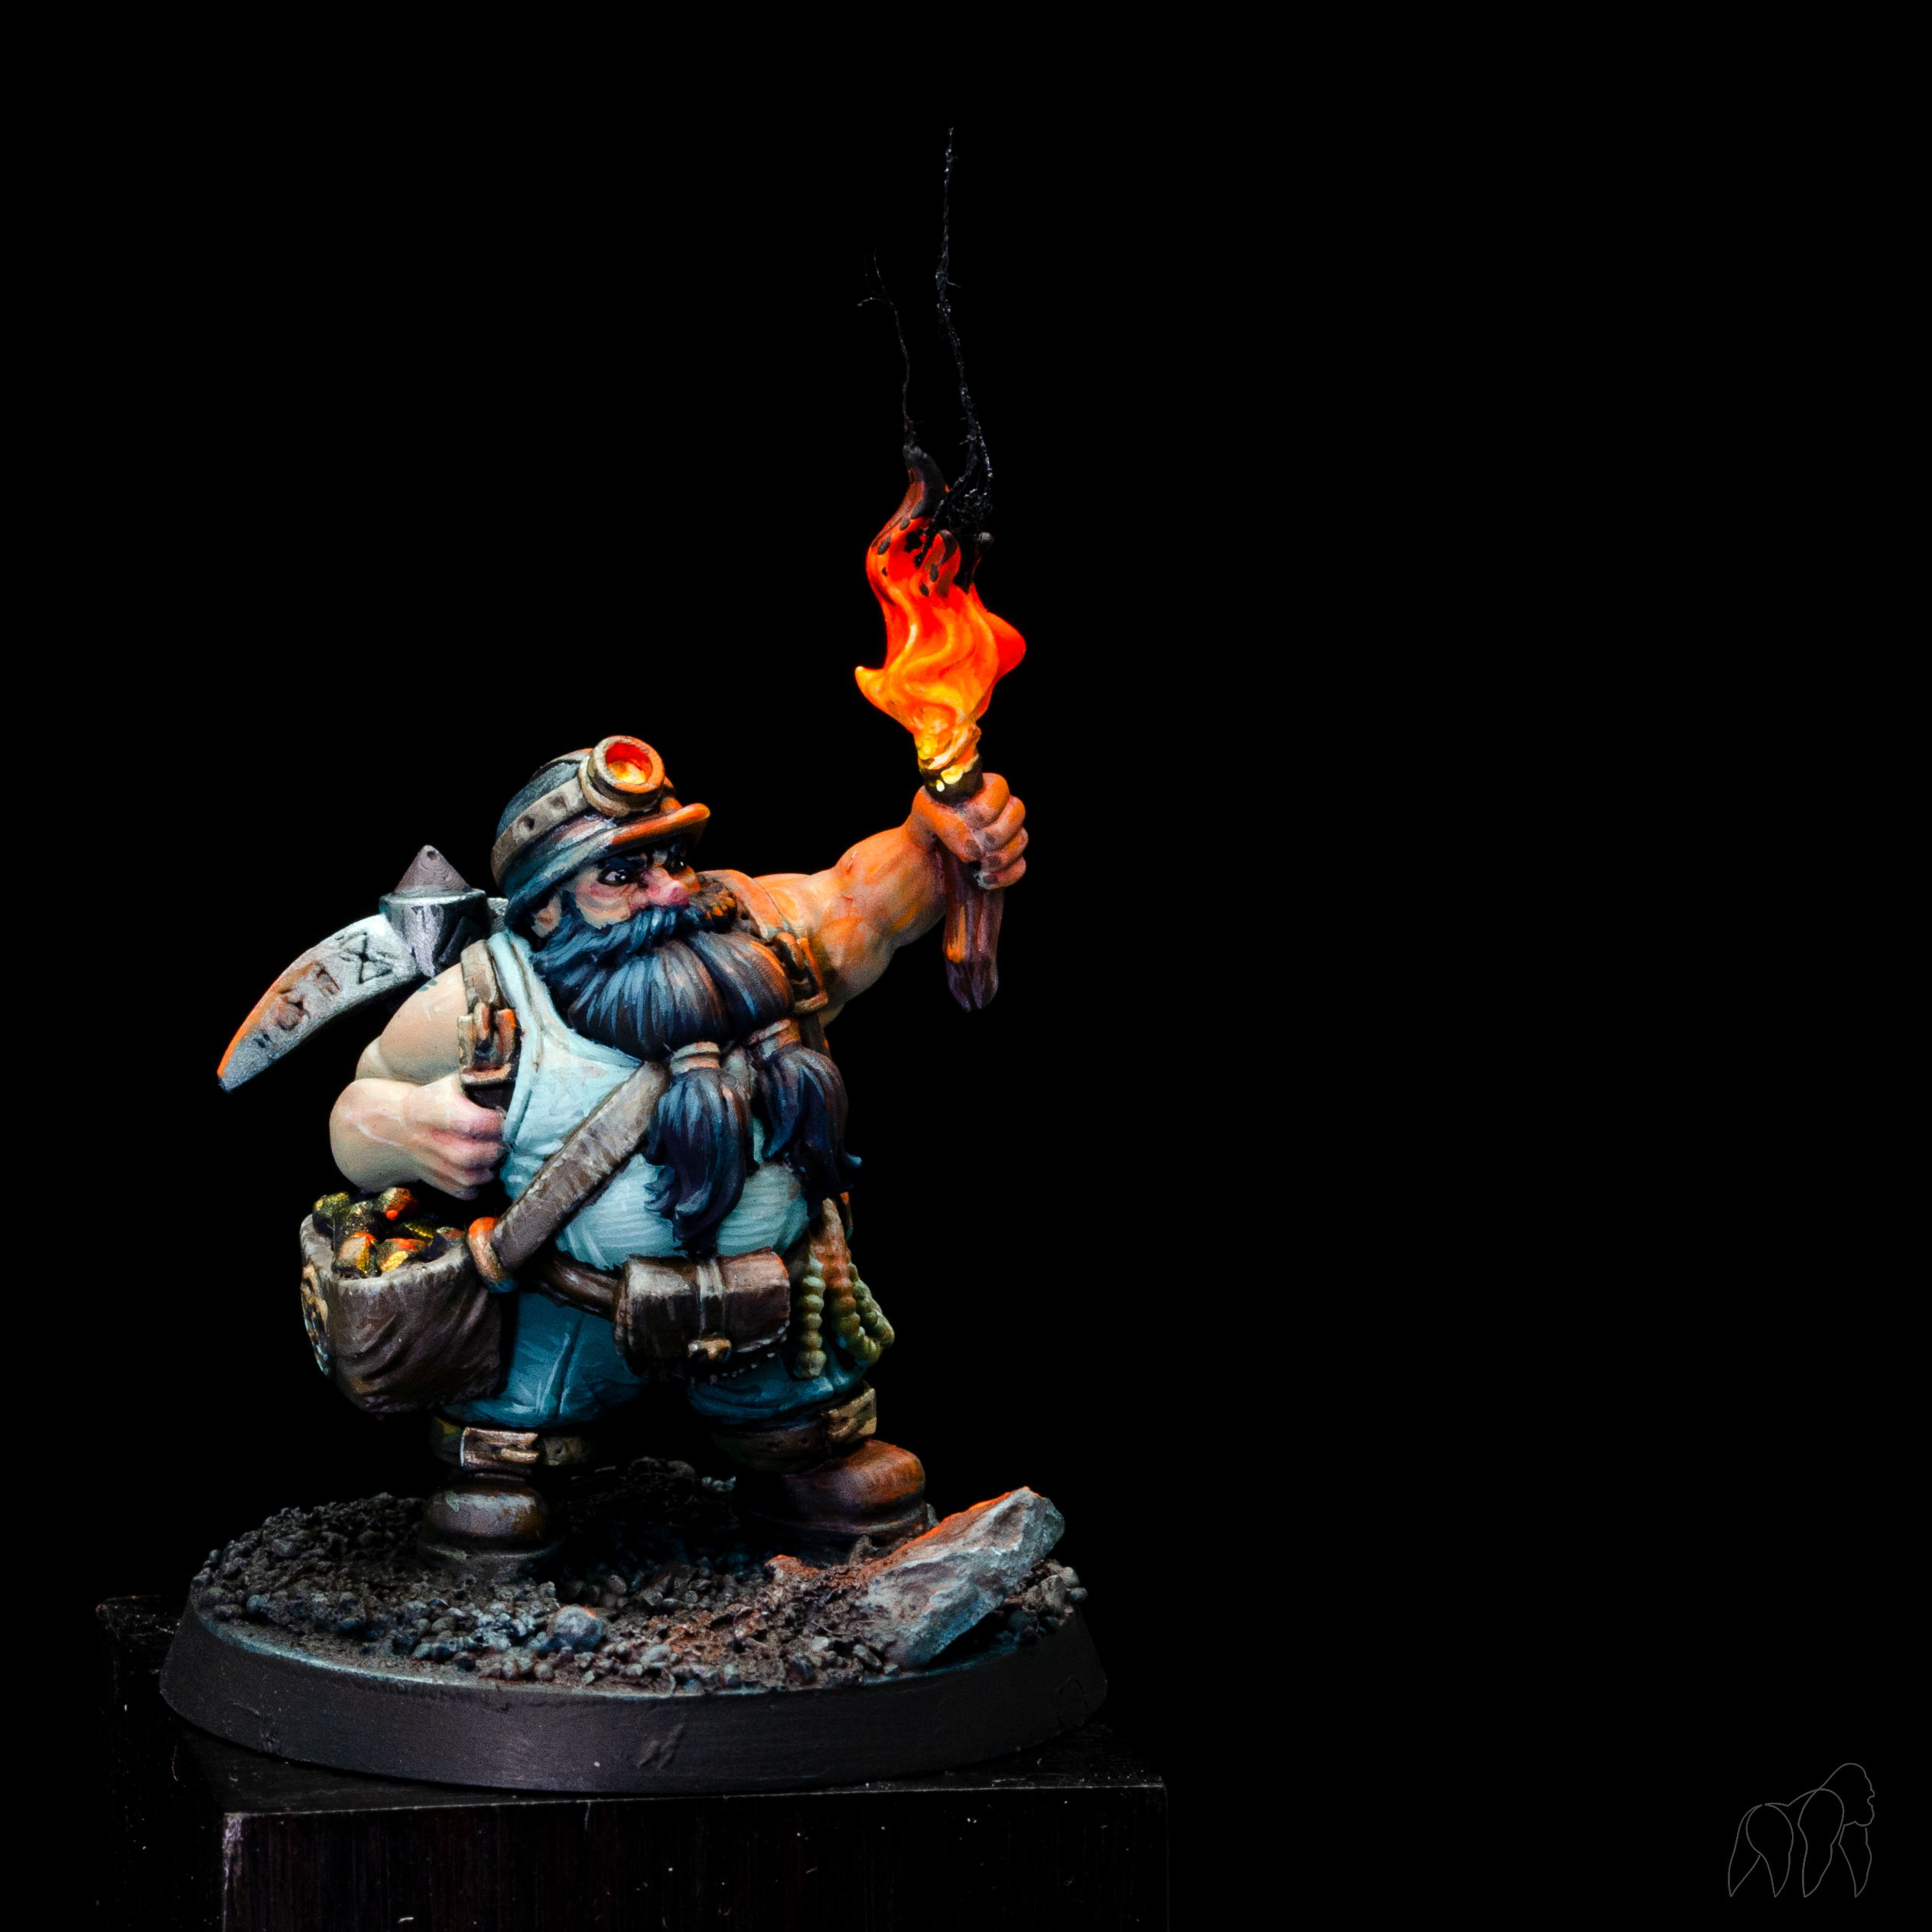
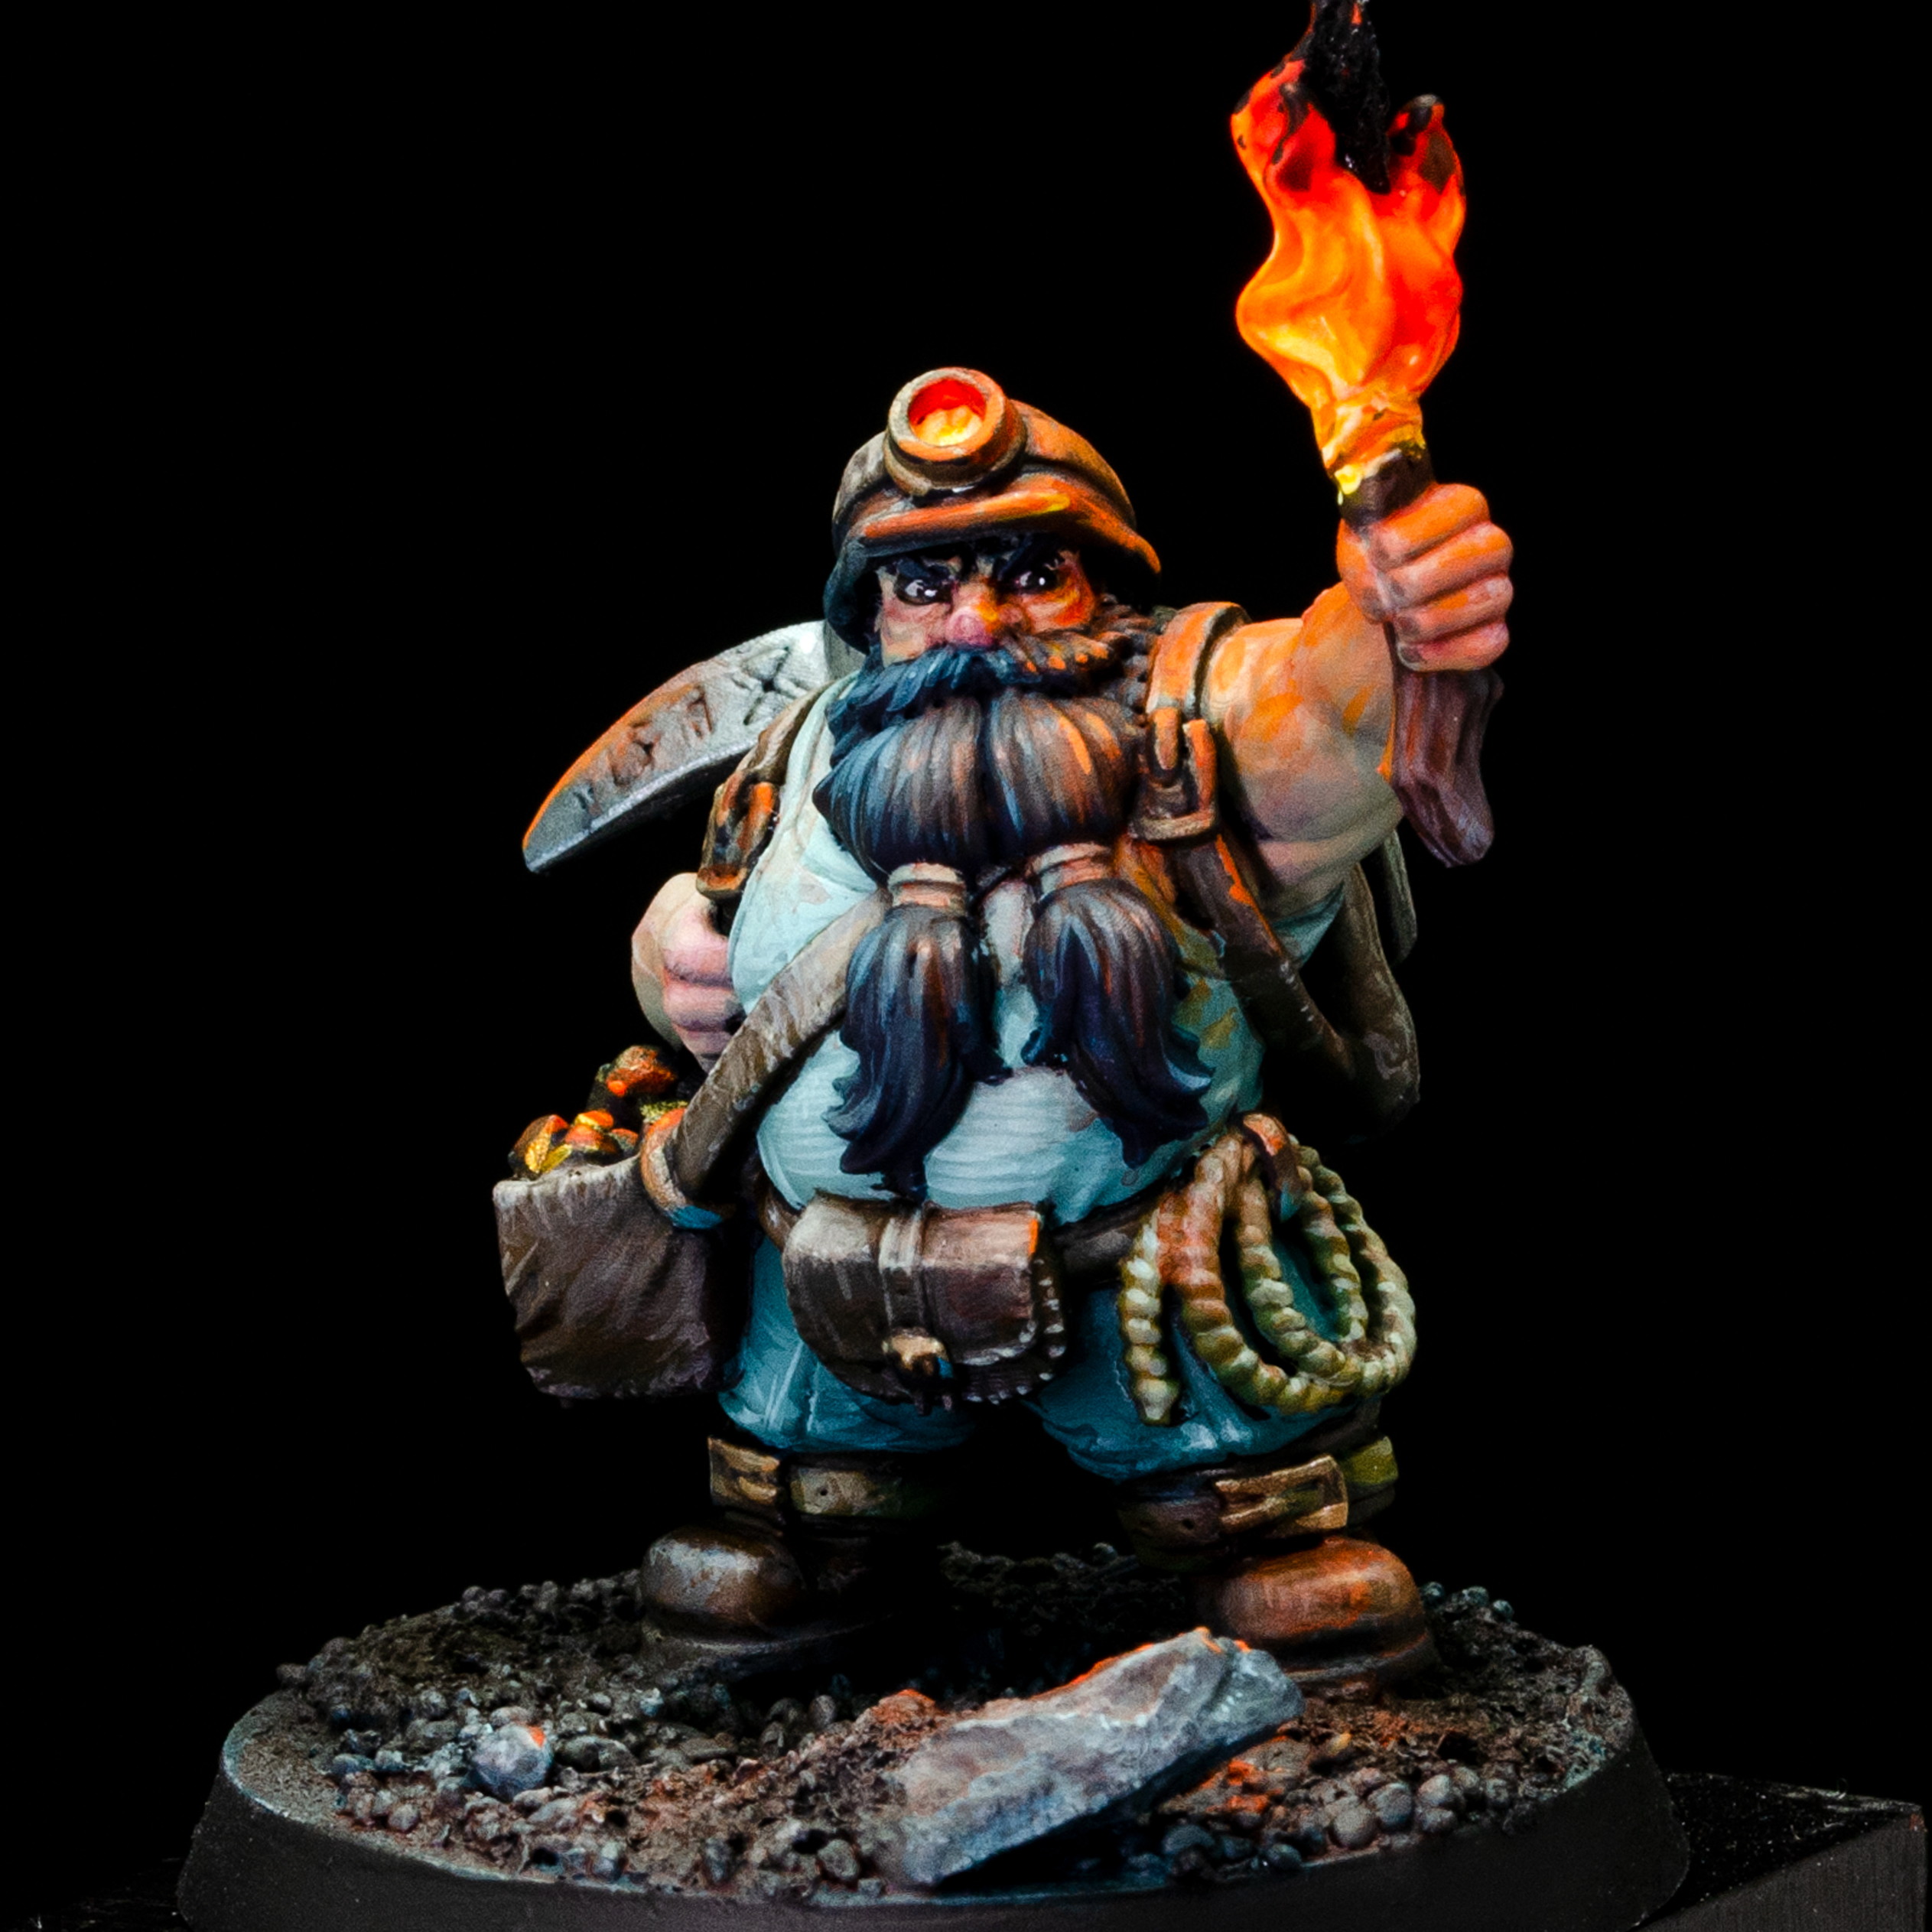
SBS: Edward, The BloodThief Gnome
Good morning artists!!
I am writing you a short tutorial on how I sculpted this mega bat.
I apologize if I have not written in recent months, but fortunately, I have a lot of work and I have very little time to write blog articles
You'are about to read is a step by step of a personal project :-)
Indeed a very different project, compared to my previous work.
The sculpture and the step by step of a very particular piece: a Gnome Bloodthief.
It's a very complicated sculpture that took me a lot of time, but it's worth discover the work in progress because I'm sure it will be helpful to many aspiring sculptors and painters :-) :-)
Usually, when I sculpt something from a concept, I print it in real size, just to have a real time feedback while sculpting.
Reference for sculpting
Always before put my hand in work I'm going on Internet finding some useful references.


The Idea
This concept was an idea by me and was drawn by a talented artist and friend


I create some balls of Super Sculpey Original (very soft clay) and linked with some solid metal wire.
I created a basic cylinder of clay and baked it, just to have a real size piece of stand for the bat.

To smooth before turpentine I use a Loop tool made by myself.
I used a little hacksaw.
I heated the blade with a lighter then I bent the blade and I placed it on old brush with some Milliput.
It is very useful because the blade has small teeth, which are perfect for sanding the surface
I heated the blade with a lighter then I bent the blade and I placed it on old brush with some Milliput.
It is very useful because the blade has small teeth, which are perfect for sanding the surface

I polished with some turpentine (but this is just a trantum mine :-) Lol )


As a joke I created something similar final texture (but this isn't the definitive piece, of course) I need it just to have a reference for sculpting the bat.


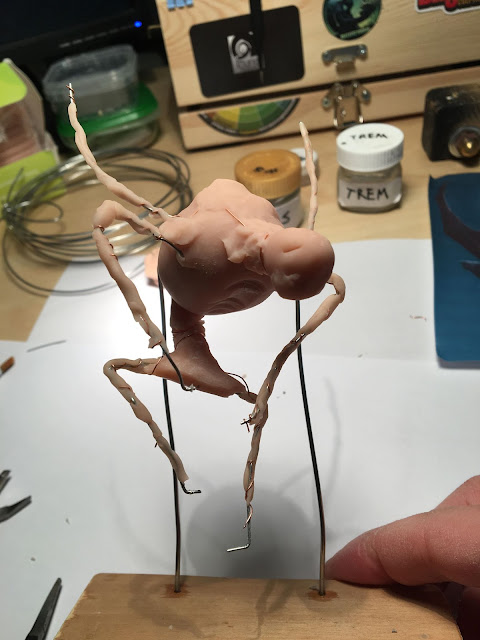
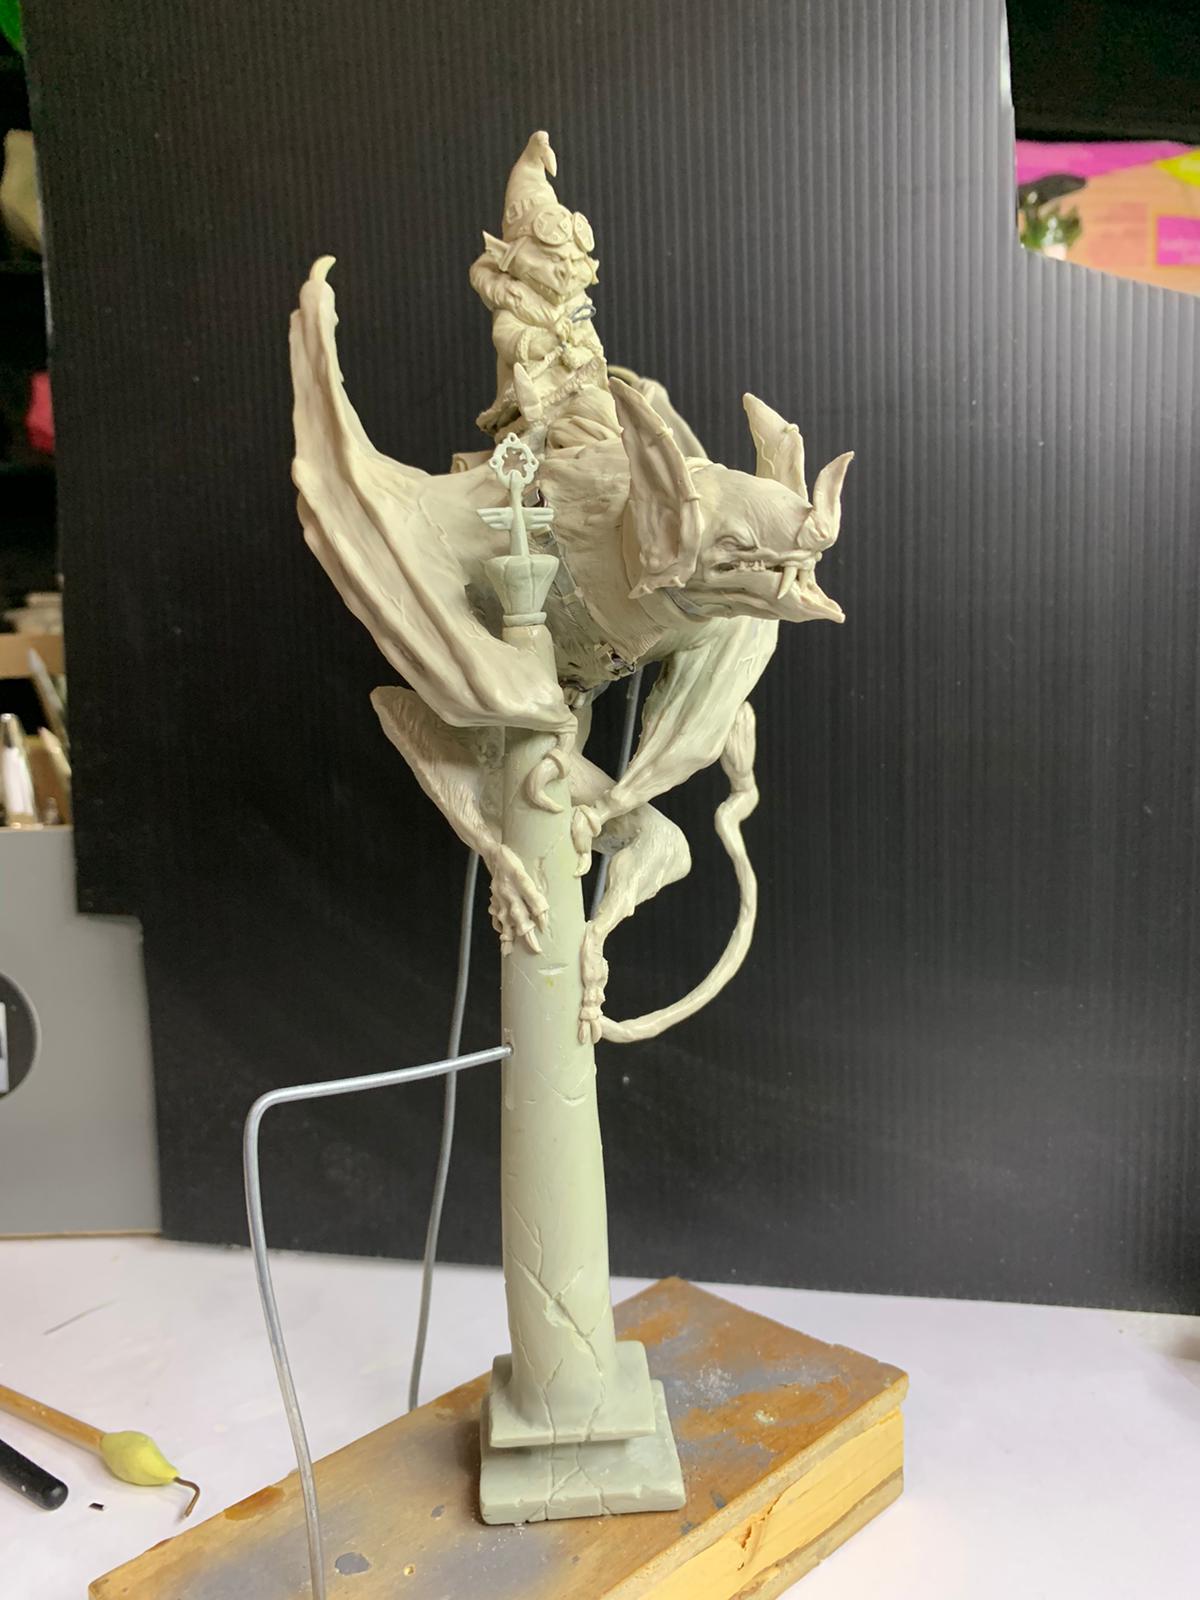
I started posing the mega bat.
Initially I used pieces of wire which allowed me to keep the sculpture stable.
I started placing the first masses.

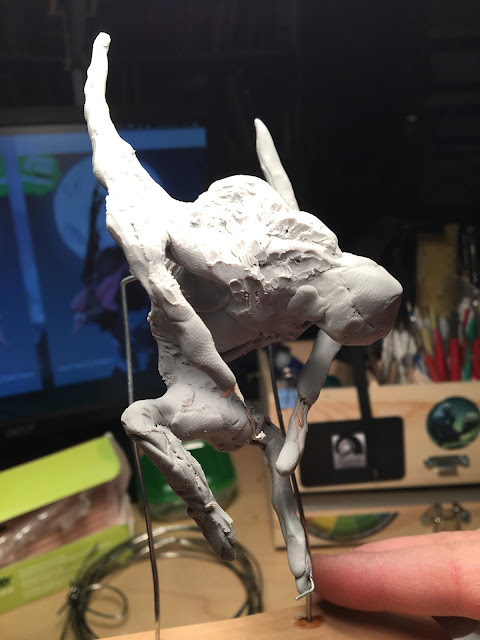
The column was then replaced with a less detailed one.
Too many details are not good.
The piece was already full of very complex elements, increasing the number of details would have weighed down the composition and made the sculpture too "loaded"
To attach the bat to the column, I made small holes with the Dremel and used glue to hold the bat firmly.
The rear wire has always remained attached to a wooden base throughout the sculpting process.
It was then cut after the more than 25 times baking I performed.
Wire is used to maintain the sculpture stable and firm


I sculpted the little gnome separately, baked, then put on the bat


just imagine the amount of time to sculpt all this :-) LOL

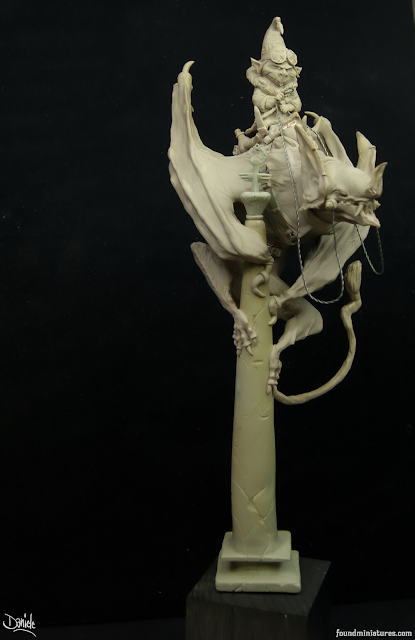
Final Result
I am particularly happy with the final result.
It took about 18 months of work, but not continuously working on it
Limited Edition
Edward The BloodThief Gnome
designed and sculpted
by Daniele "Found" Trovato
Check availability here


THANK YOU ALL :-)
Link and resources:
_____________________________________________________________________________
We could watch the newest TV series on Netflix, instead, we're here to write articles for you!!
Support NOW Massive Voodoo!
If you like to support or say thanks the monkeys of Massive Voodoo in what they do, please feel invited to drop a jungle donation in their direction via paypal or check their miniatures they got on sale here.
Subscribe to:
Posts (Atom)


