


Heeeeeeeeello again!
First, thanks to everyone commenting on my posts on Facebook and here on Massive Voodoo. Those kind and nice comments really fill up my creative battery that was drained after the project! Thank you!
At the moment I am at home and working up some mails that were lost in the bermuda triangle of project madness. But I am also finalizing photos, cutting video material we still had to edit and some more stuff... Be sure to watch the blog the next days! :)

So, let's continue the journey of this project together.
In the first part I showed you that I broke the big project into a lot of smaller projects, I will just continue in this fashion.
One big part of the project was the base. It was very complicated to create the whole base because, as said earlier, it was made from many small projects. Every part had to be assembled at a certain point to give me the option to paint every part without having a lot of trouble because of blocking objects.
Just an example, if I glue the hanging robot into place to early I could not use the airbrush or pigments on the object behind it. Also the electrical wiring gave me a lot of trouble. I couldn't just glue the base together.... cables would block certain parts or I would risk airbrushing certain lenses or lights....
ok, long story short: planing and doing everything in the right order was extremely important.
I decided to go for a plastic card build front plate for the building.
 I used a lot of plasticard to build a construction for the basic shape of the building.
I also already build a door. I found out later that the door was too big for the scale...
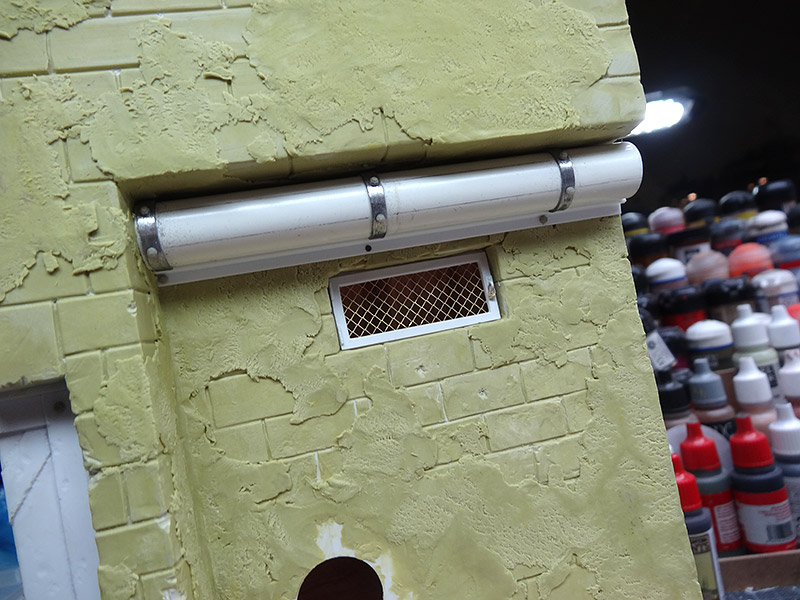
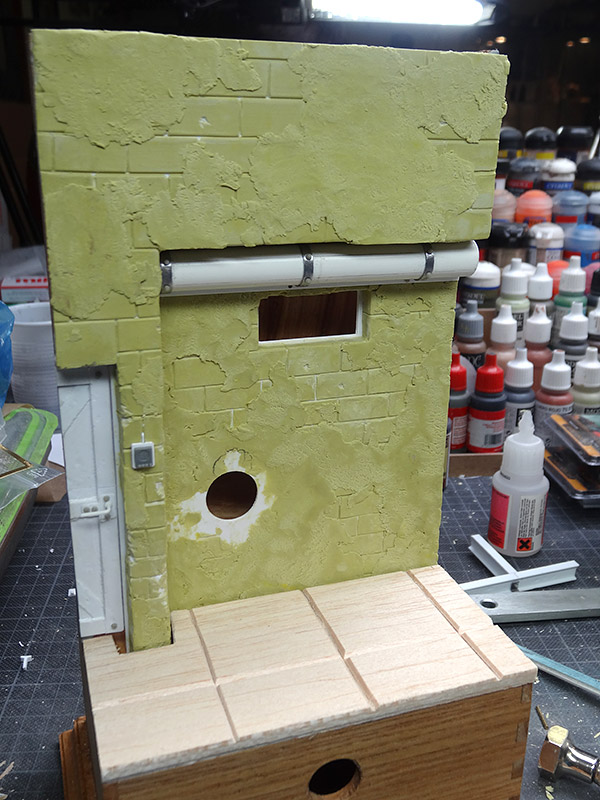
You can also see the cut out for the window and the hole for the camera lens.
 I added a pipe to make the corner more interesting. The window was build as far as possible. I could not add the transparent window itself (airbrushing the window would tint the glass).
 A first test fit of the objects I build so far for the project.
 I noticed, while checking scale, that the door was to tall for this scale. When doing a project it is very important to "stay in scale". If there is one object too big or too small the viewer will notice it and it can destroy the illusion. So I had to break out the door, cut it two times in the middle section and glue it to one part again.


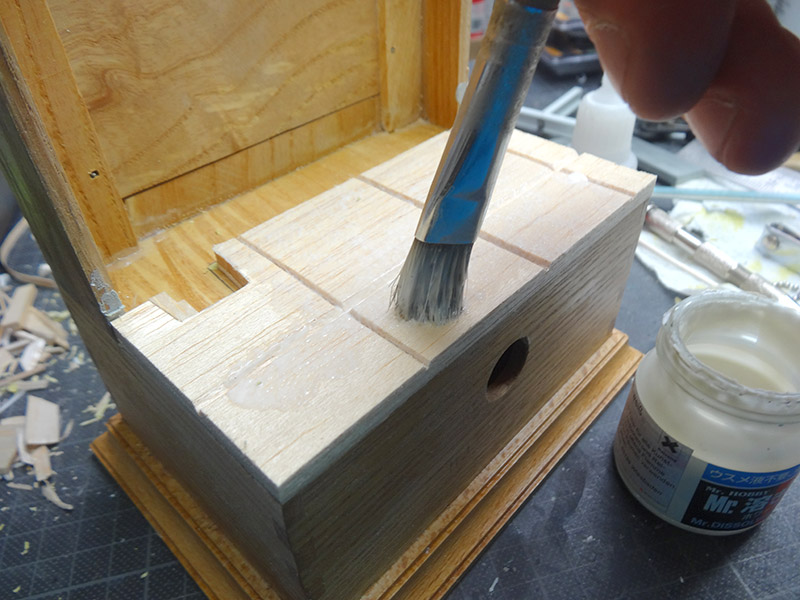
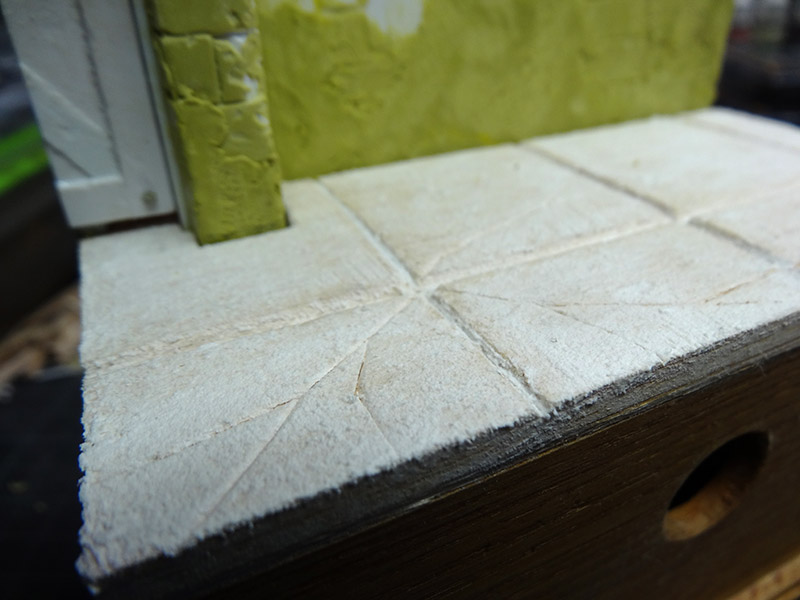
 Because the door was shortened and because I needed to do a floor anyway I decided to go for a taller concrete stone type of floor. I used balsa wood to create some volume and height. Using Mr. Hobby liquid plastic putty (smells like HELL!) I gave the floor some texture.
Using a sculpting tool I was able to press some cracks into the floor when the putty was dry.
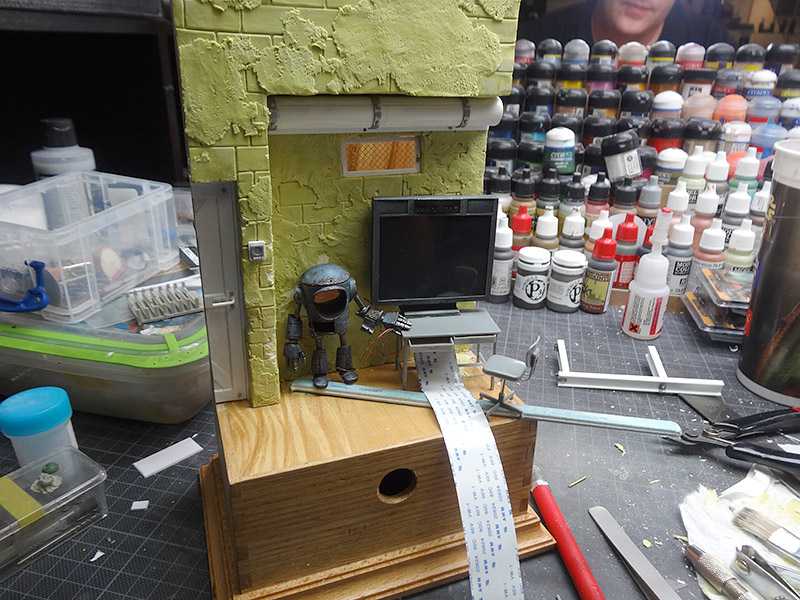
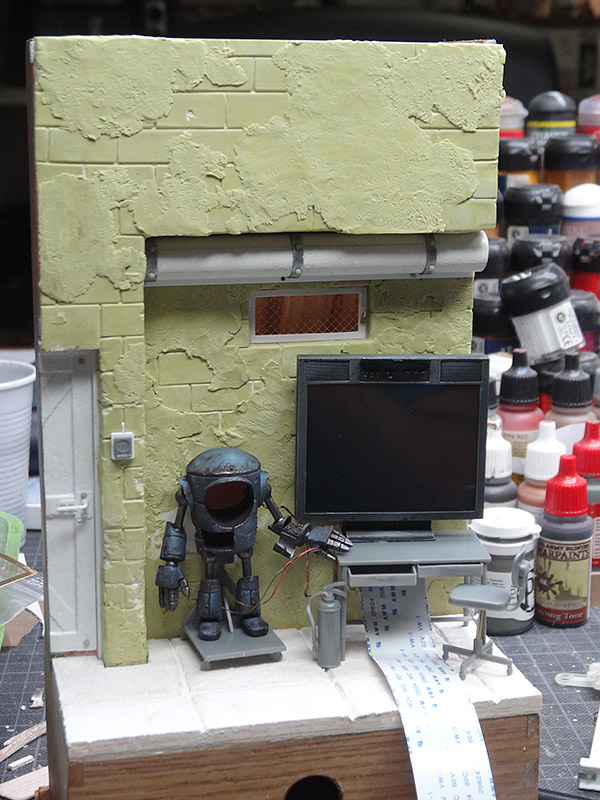
You can also notice on the middle photo that the front plate of the diorama was removable. This was very important to be able to work on the electronics and to add the camera later.
 Another test fit. Looks much better now!


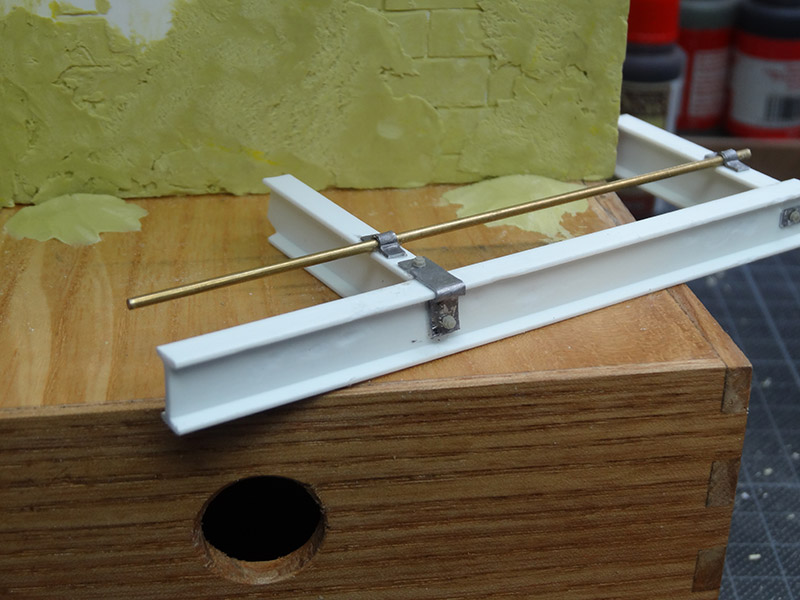
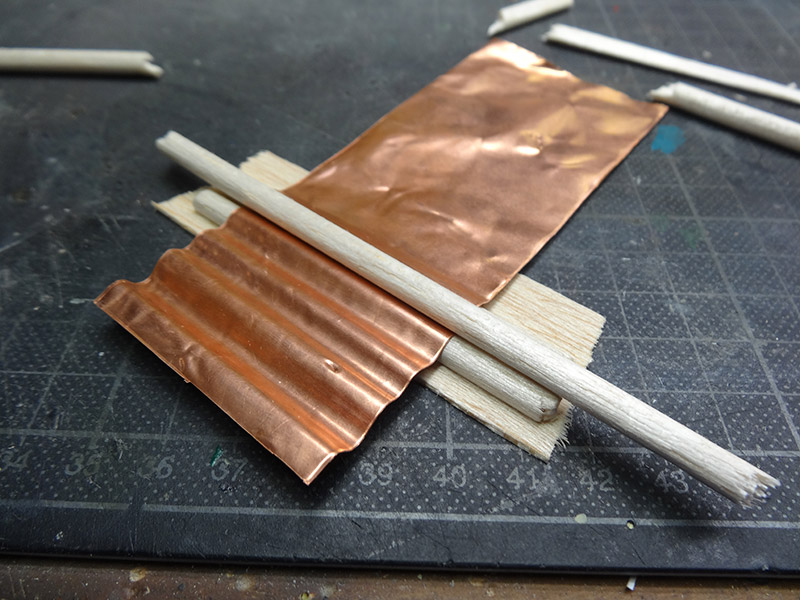
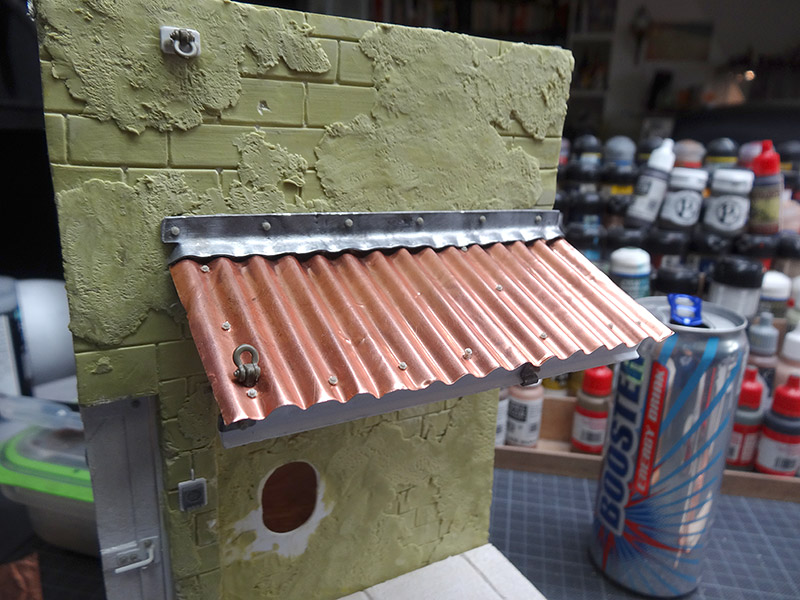
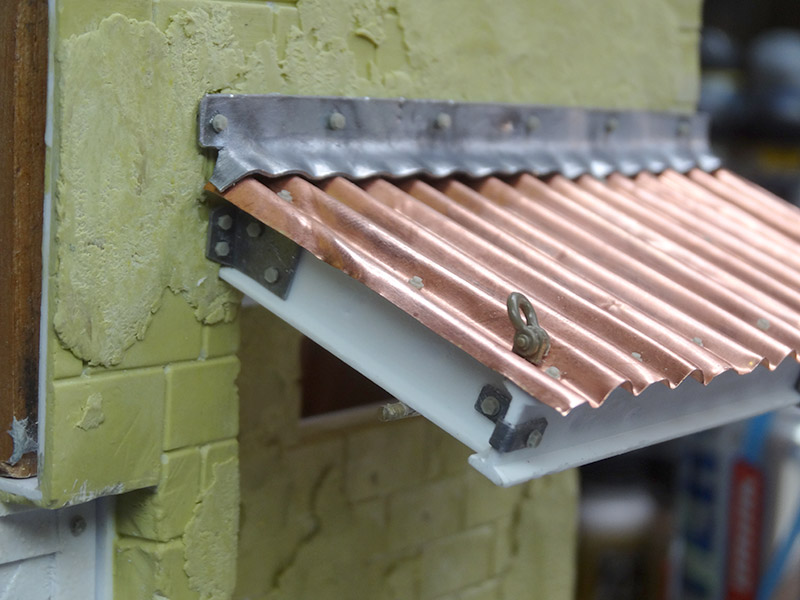
 Here I created the small roof. As this was another "small project" for itself the first photo was taken before I made the floor. The second photo shows how I made the corrugated iron roof. I added some details, like resin nuts and screws, two bails for a steel wire and different parts of lead foil. Lead foil is a very nice material to work with, you can cut it with a scissor and it looks like metal in the end, perfect! It was important to me that the construction looks convincing, that is why I created connections to the wall and on the steel construction holding the roof.
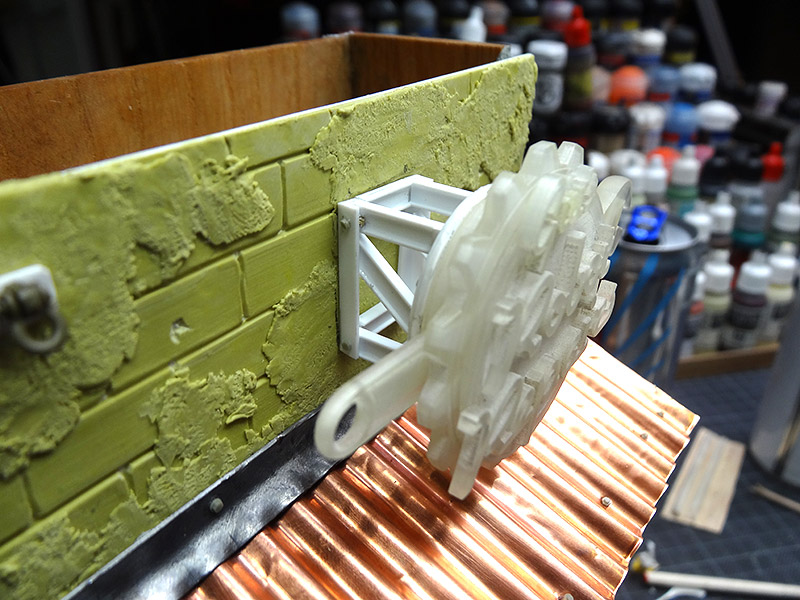
 I created a construction to hold the 3D printed shop sign in place. More on the shop sign later...
 A roof was added to the building, the roof is magnetized and removable and stays perfectly in place without any glue. This was important to be able to do the electrical wiring and, in case of a problem, do some maintenance work without having to rip other stuff apart.


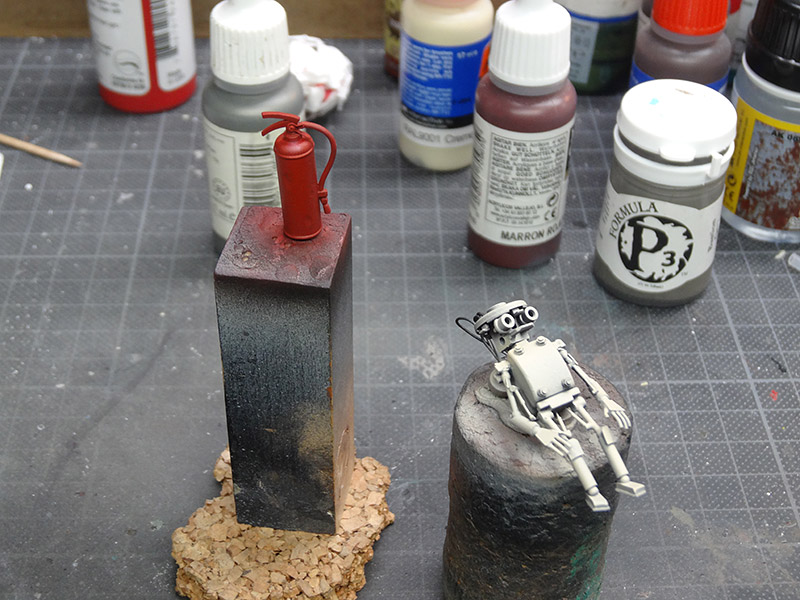
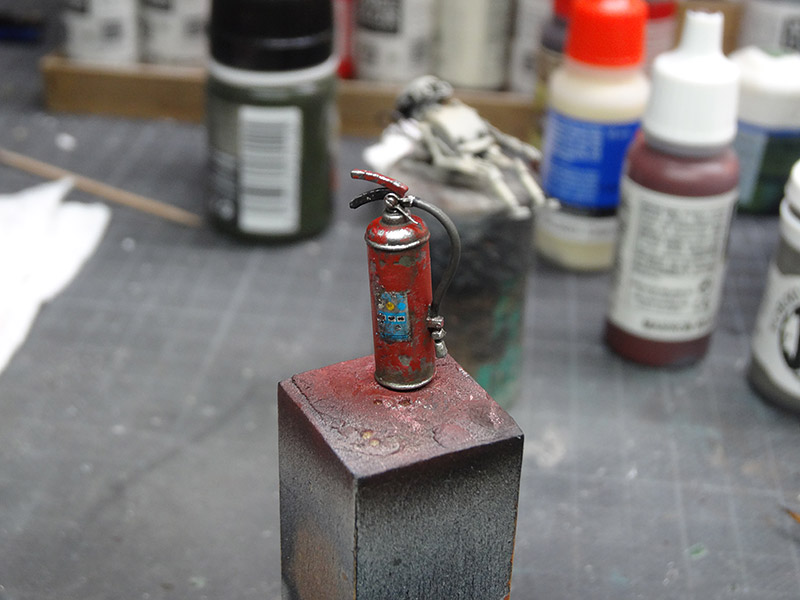
 Now the base was pretty advanced in it's process I needed to concentrate on painting and finishing all the details that were put on the base later. Nothing much to tell here... I love AK Interactive's chipping effect medium. The lenses were done with a secret ninja technique I found out... will be told later :D


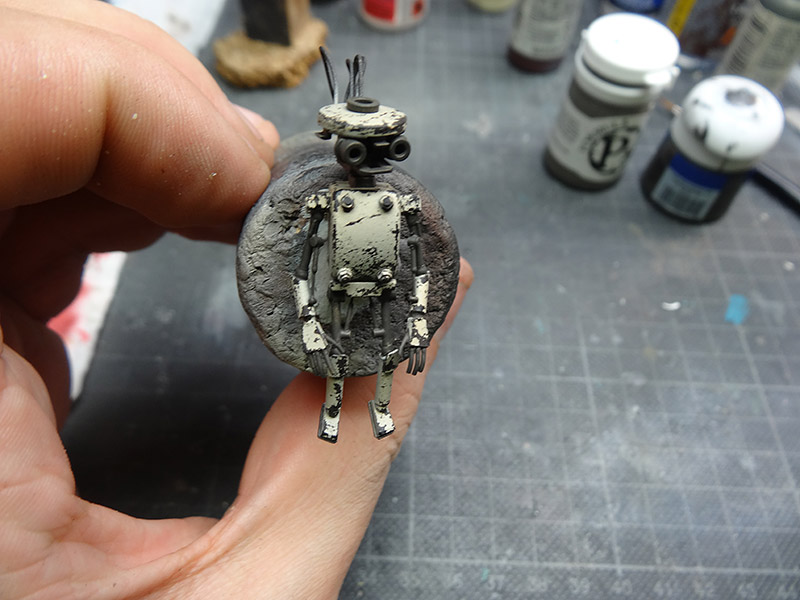
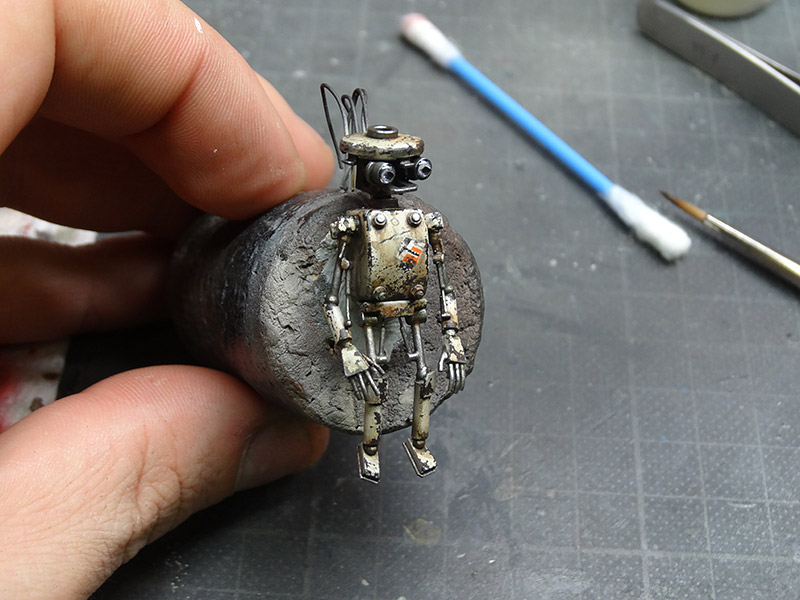
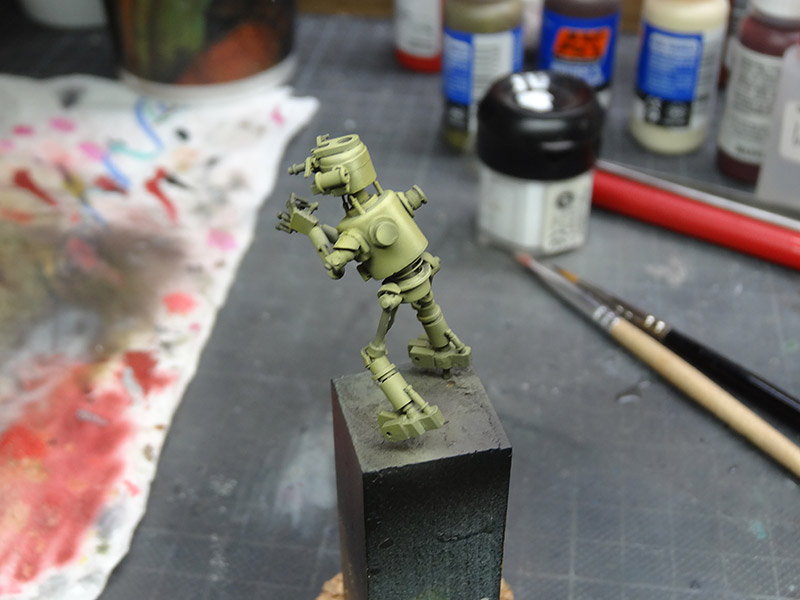
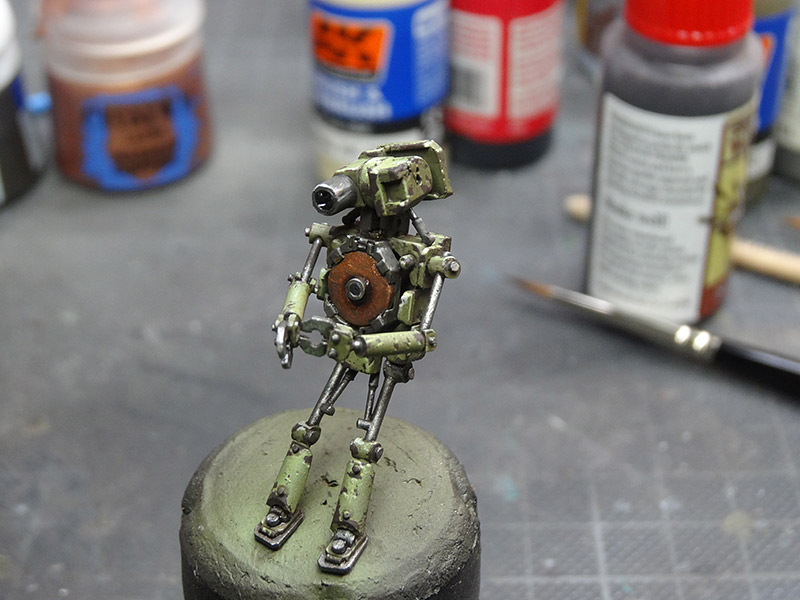
 More robots got painted... They all received the same treatment, a mix of different fast painting techniques and a little bit of weathering. The robot on the last photo is the "flashlight robot".
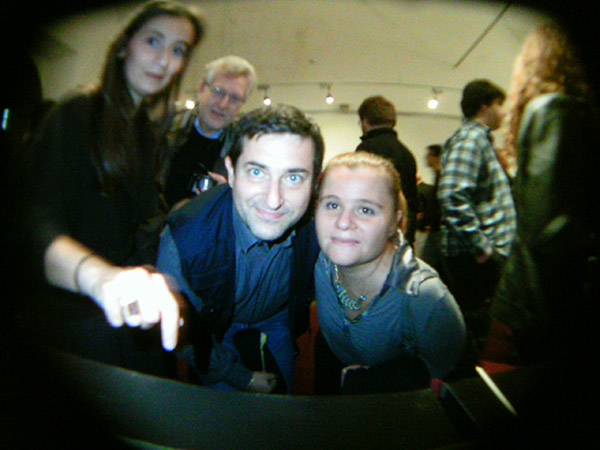
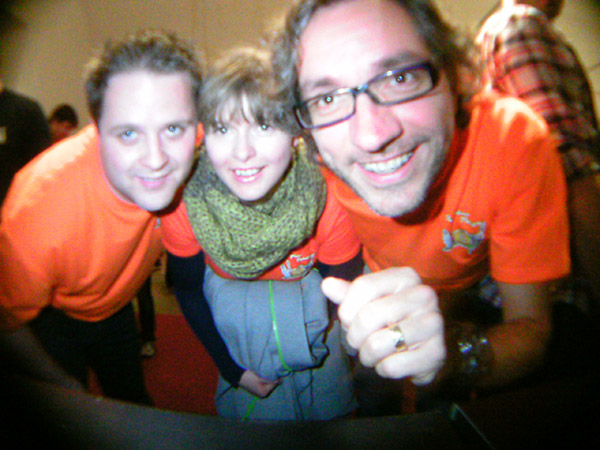
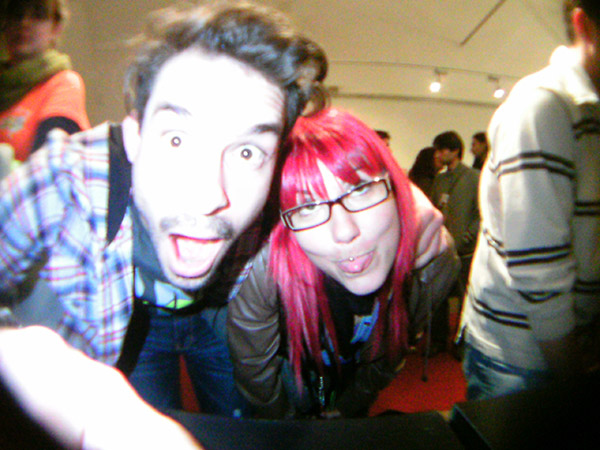
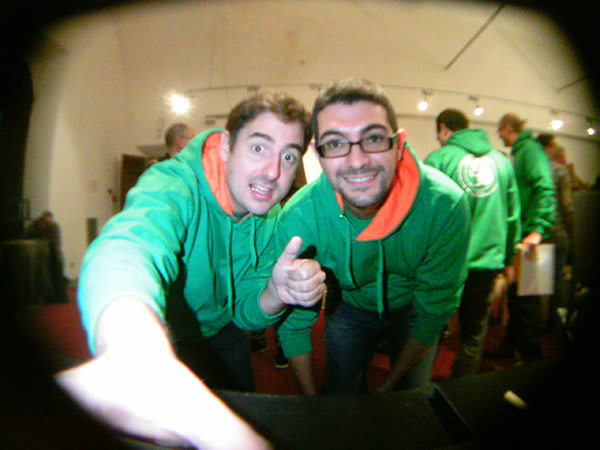
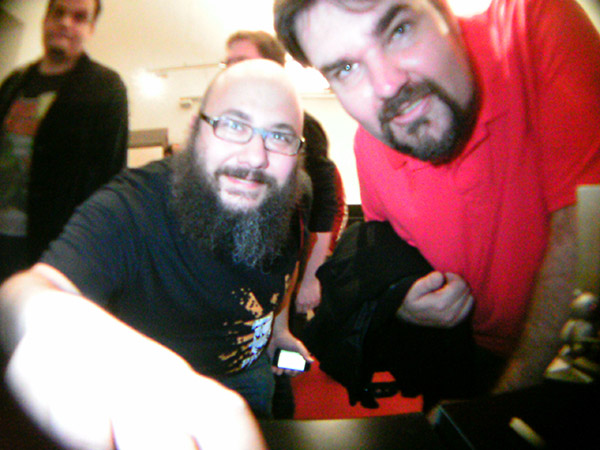
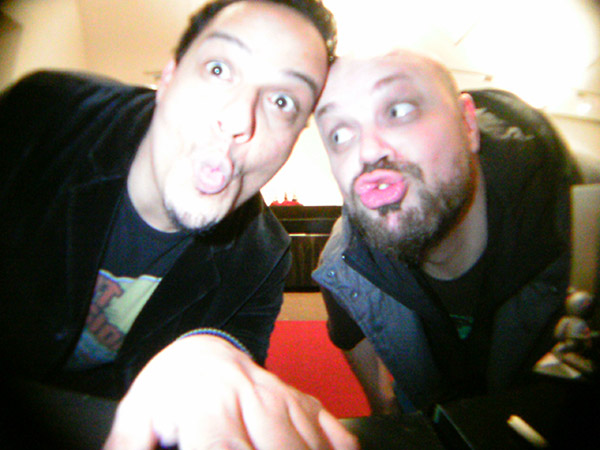
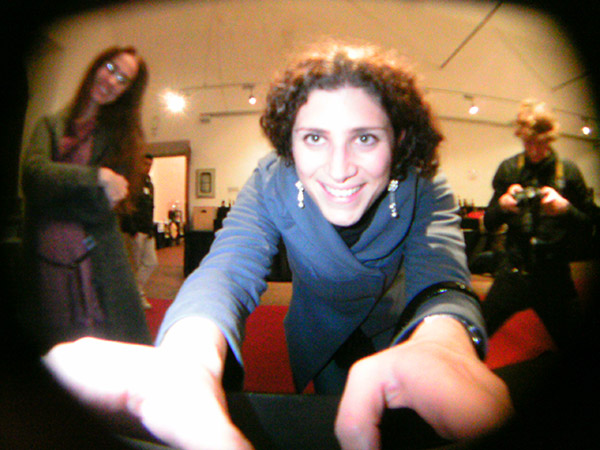
The flashlight of the camera was converted into this shape, so I could use the flashlight as a working part of the project. I didn't plan to activate it though... but in Monte I noticed that the flash was a real important part of the project.
Many times people got very close and the photos were very bright... BUT it was so important to give the person pressing the button a direct feedback that a photo was taken, and what was better than a flashlight?
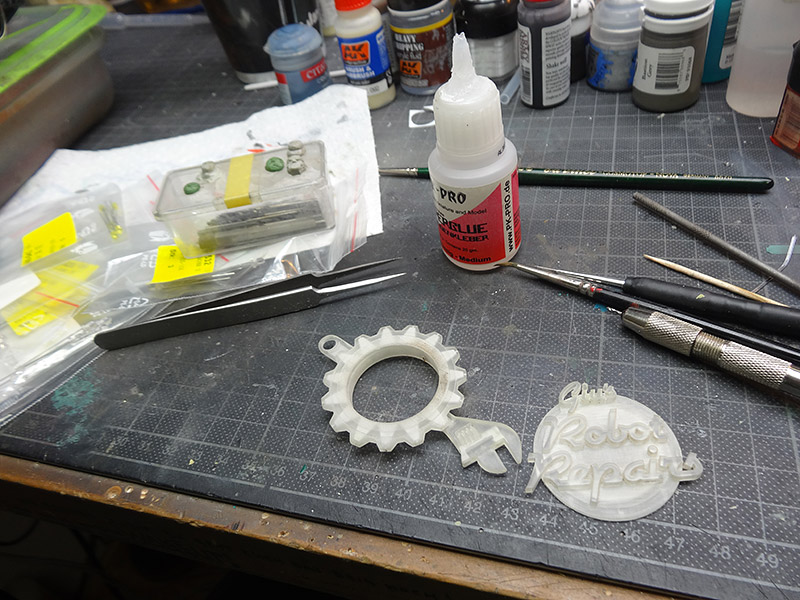
 The next bigger part of the project was to finish the shop sign. I wanted to have flashing lightbulbs around the shop sign. I used different techniques to create the lightbulbs at the end of fibreglass strings. The technique I used in the end worked very well and gave a nice effect. Above is an early prototype.


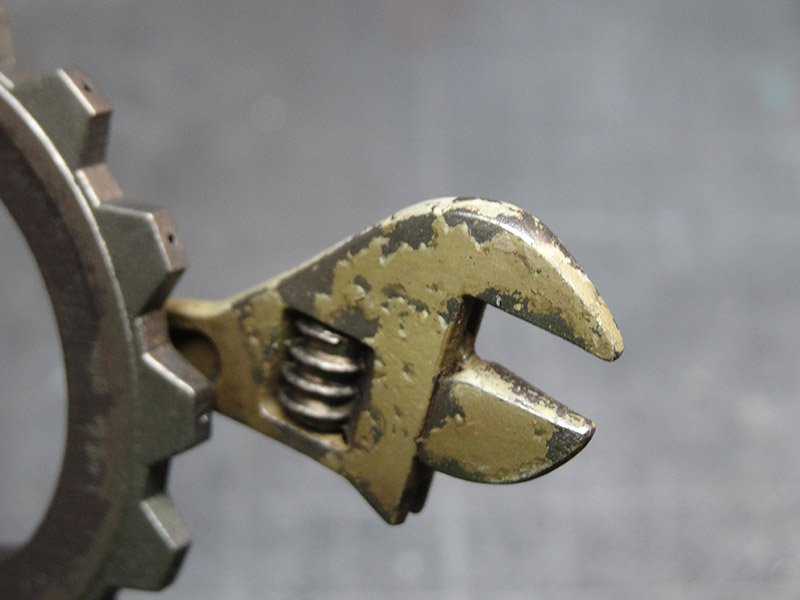
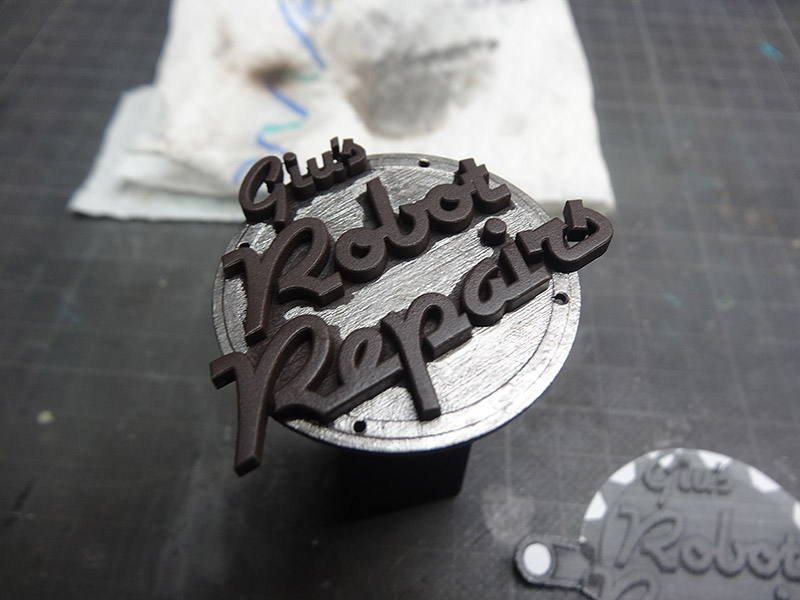
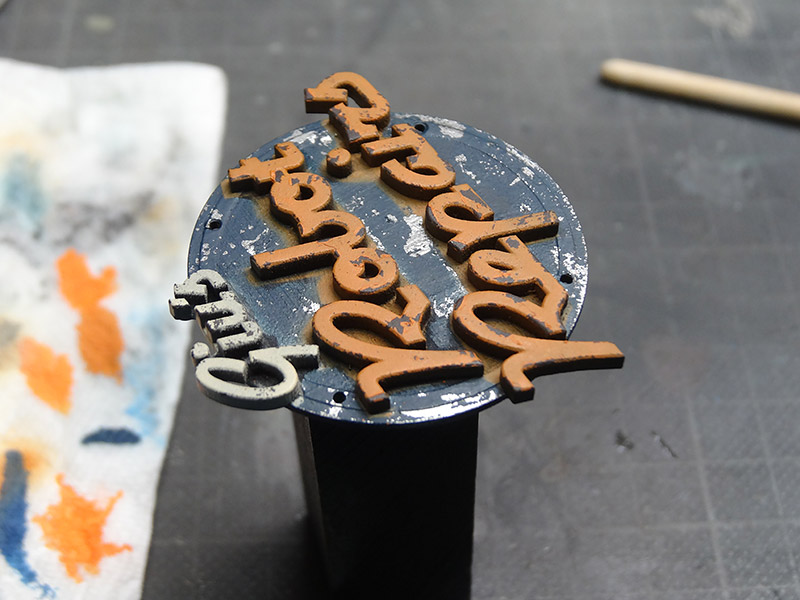
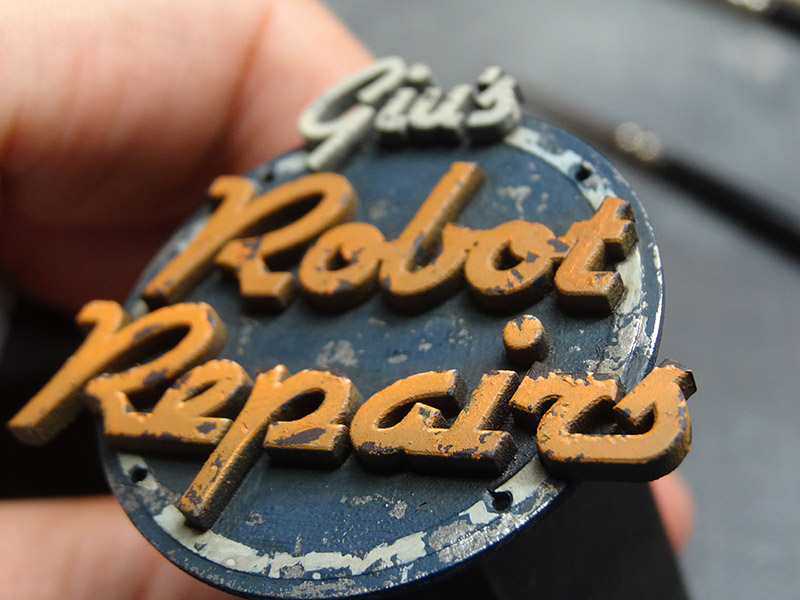
 Here are some steps of the Shop sign. First was the rough, 3D printed object. I sanded it and cleaned it before basecoating and spraying it silver. Painting the big wrench was a lot of fun!
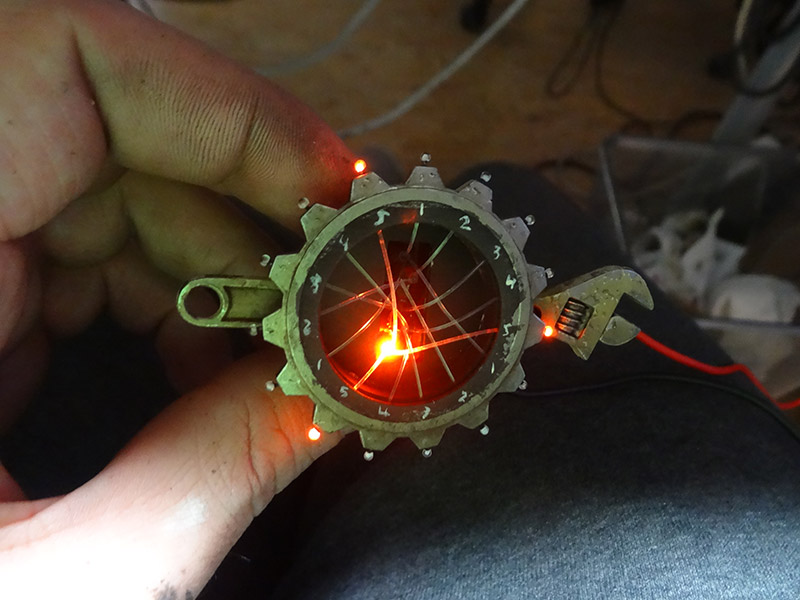
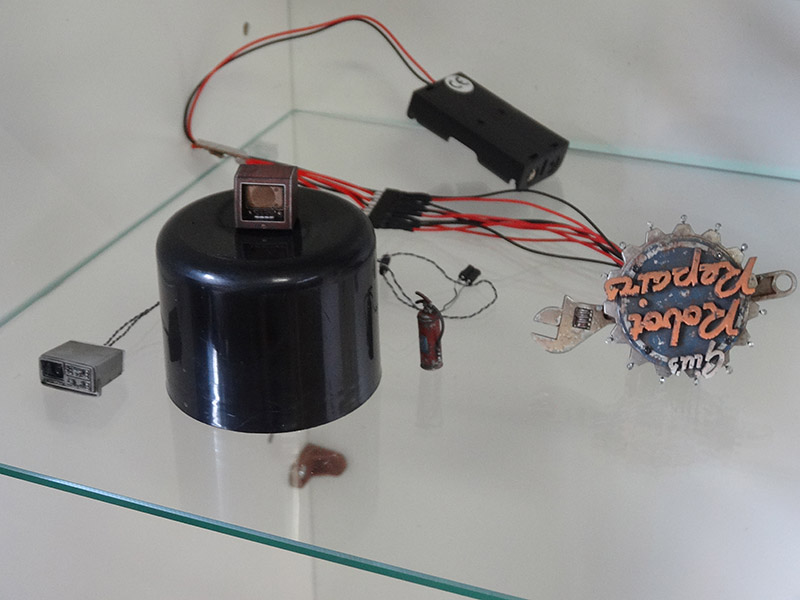
On of the most frustrating moments of the project was to finalize and install the light bulbs into the shop sign. The sign is not very big and installing 5 led lights and 15 strands of fibreglass wire into it was a real pain. Painting the face plate was fun again, the precision of the printed part was awesome.
 Here you see some of the finished parts in the cabinet.... now that's enough tinkering for one post, more will come soon! I hope I don't bore you :)
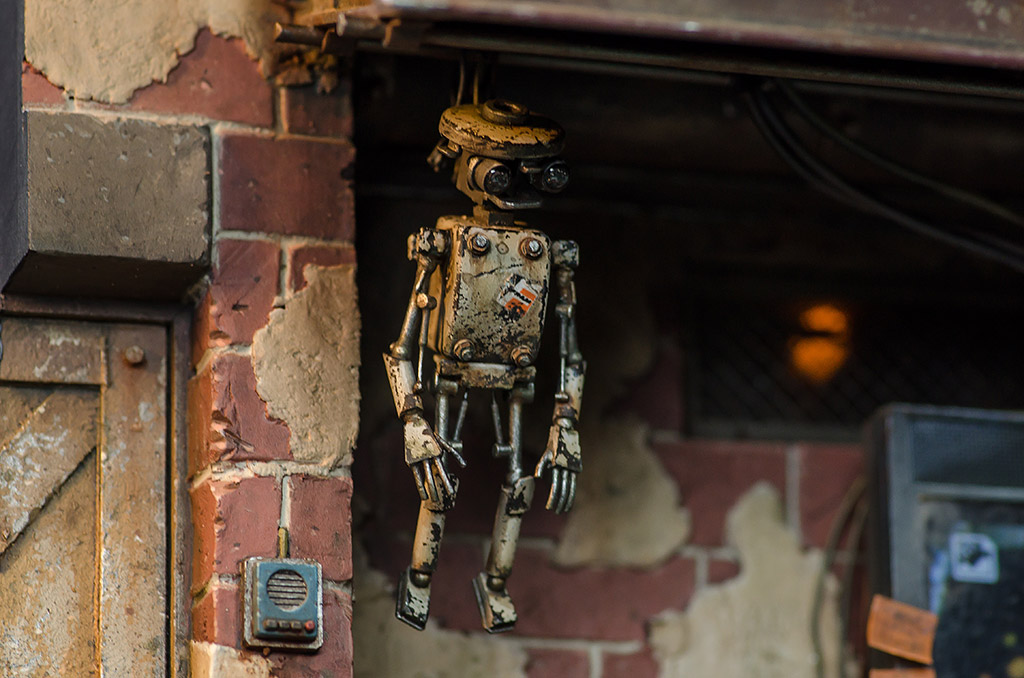
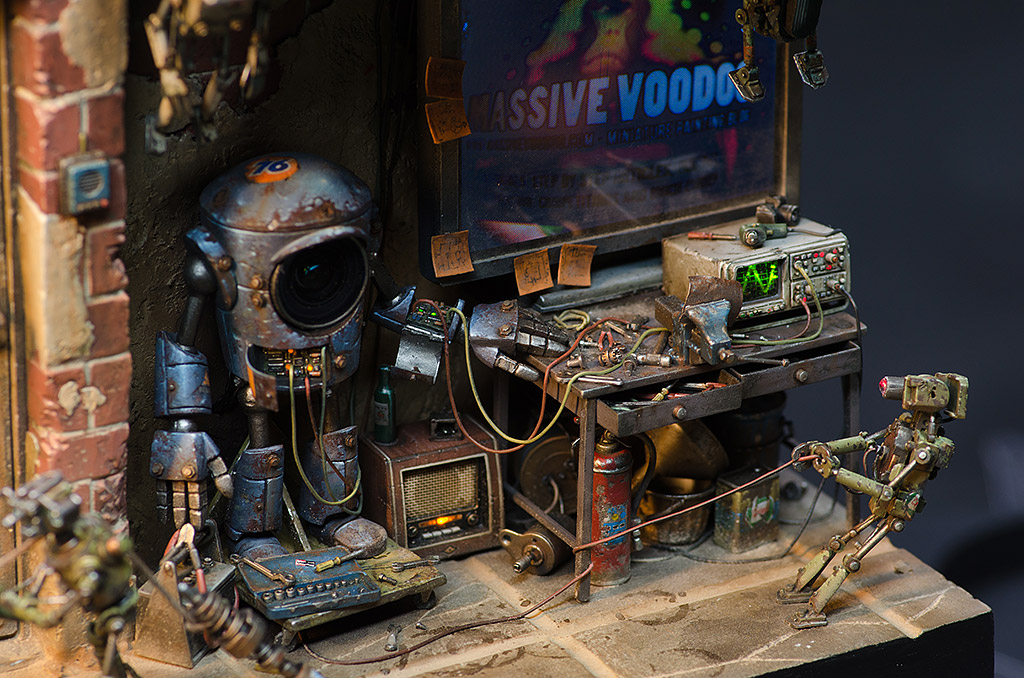
To keep traditions, here is another preview photo of the finished project!
 And some more photos from the project in Monte!


I hope you had a good time reading the article! I can't exactly tell how many parts are remaining... the project was a lot of work and I still have tons of photos!
Stay tuned!
Best wishes,
Raffa
First, thanks to everyone commenting on my posts on Facebook and here on Massive Voodoo. Those kind and nice comments really fill up my creative battery that was drained after the project! Thank you!
At the moment I am at home and working up some mails that were lost in the bermuda triangle of project madness. But I am also finalizing photos, cutting video material we still had to edit and some more stuff... Be sure to watch the blog the next days! :)
So, let's continue the journey of this project together.
In the first part I showed you that I broke the big project into a lot of smaller projects, I will just continue in this fashion.
One big part of the project was the base. It was very complicated to create the whole base because, as said earlier, it was made from many small projects. Every part had to be assembled at a certain point to give me the option to paint every part without having a lot of trouble because of blocking objects.
Just an example, if I glue the hanging robot into place to early I could not use the airbrush or pigments on the object behind it. Also the electrical wiring gave me a lot of trouble. I couldn't just glue the base together.... cables would block certain parts or I would risk airbrushing certain lenses or lights....
ok, long story short: planing and doing everything in the right order was extremely important.
I decided to go for a plastic card build front plate for the building.

I also already build a door. I found out later that the door was too big for the scale...
You can also see the cut out for the window and the hole for the camera lens.

Using a sculpting tool I was able to press some cracks into the floor when the putty was dry.
You can also notice on the middle photo that the front plate of the diorama was removable. This was very important to be able to work on the electronics and to add the camera later.


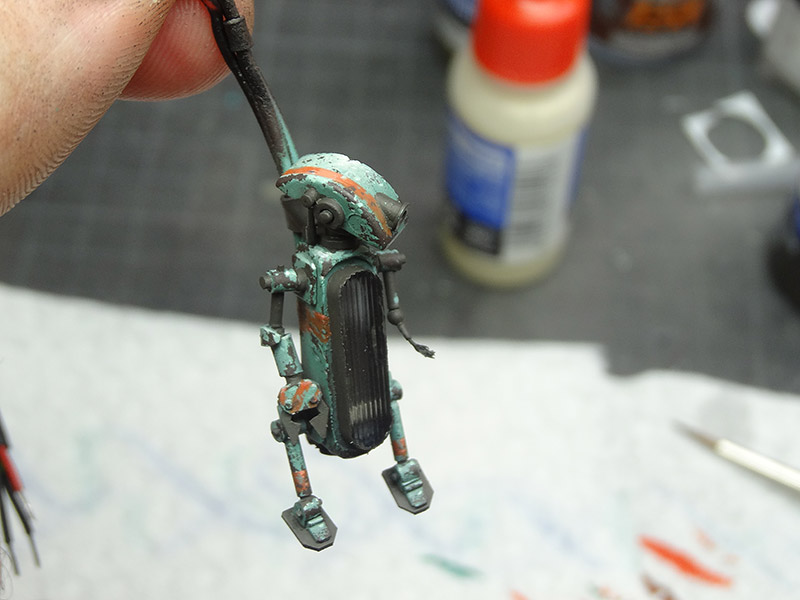
The flashlight of the camera was converted into this shape, so I could use the flashlight as a working part of the project. I didn't plan to activate it though... but in Monte I noticed that the flash was a real important part of the project.
Many times people got very close and the photos were very bright... BUT it was so important to give the person pressing the button a direct feedback that a photo was taken, and what was better than a flashlight?
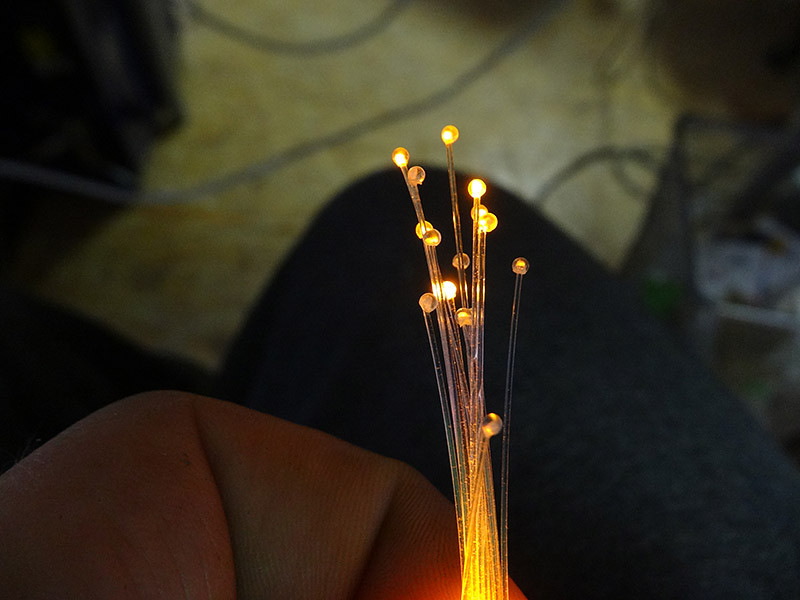

On of the most frustrating moments of the project was to finalize and install the light bulbs into the shop sign. The sign is not very big and installing 5 led lights and 15 strands of fibreglass wire into it was a real pain. Painting the face plate was fun again, the precision of the printed part was awesome.
To keep traditions, here is another preview photo of the finished project!
I hope you had a good time reading the article! I can't exactly tell how many parts are remaining... the project was a lot of work and I still have tons of photos!
Stay tuned!
Best wishes,
Raffa


So cool, a masterpice!
Genius genius genius........
So frikkin awesome! I love it! Can't wait for more!
An impressive work!
A big "Barvo" for your work but also four your twisted mind ^^
Great Work. Love it.
Bore us? You have to be kidding this is so inspirational!!!!!
Ian
Miniature Painting auf einem neuen Level! Das fing an mit dem Spieluhrdiorama und geht über "funktionierende" Komponenten zum jetzigen interaktiven Kunstwerk. Grandios. Die Liebe zum Detail ist überragend!
Amazing work, the idea is just perfect. Love everything about it