


The Lake Ferryman

Hi everyone,
in this short article I show you my personal step-by-step to create a really "different" miniature.
He is a lake ferryman, a commission that was given to me as a commemorative sculpture for the Verbania Model Show, 1-2 June 2019.
in this short article I show you my personal step-by-step to create a really "different" miniature.
He is a lake ferryman, a commission that was given to me as a commemorative sculpture for the Verbania Model Show, 1-2 June 2019.

Every year the contest has created a historical miniature for the occasion, but this year, the organizers decided to create even a fantasy miniature, in order to attract all the fantasy painters, just to give them a piece really unique sculpture. So they commissioned him to me.
Being the location near the lake, I was asked to create a "contextualised" miniature.
So I did a little historical research, just to have some ideas about it.
I noticed that an historical figure, he was the "lake ferryman", a person who had the task of taking people from one side of the lake to the other, using a small wooden boat.
The concept
When I have to create a concept by myself, I used some pictures reference, just to fix in my mind what I could sculpt.
So I looked for Ferryman/boatman/fisherman on Google.
Firsly I had my idea that I draw while I was in a flight suddenly:
 |
| fast Sketch while I was in a flight |
In addition, I found some pictures very useful for this, just to fix the idea in my mind.

I obviously didn't use all that reference, just as idea and inspiration.
My idea was to change the character, with a my personal Gnome/Hobbit/Goblin/Halfling
The choice in that case was an Old Hobbit Ferryman and Fisherman :-) :-), that I called "Saro"
My final idea was the Hobbit.
Yes, an Old Hobbit/Halfing Ferryman :-) :-)
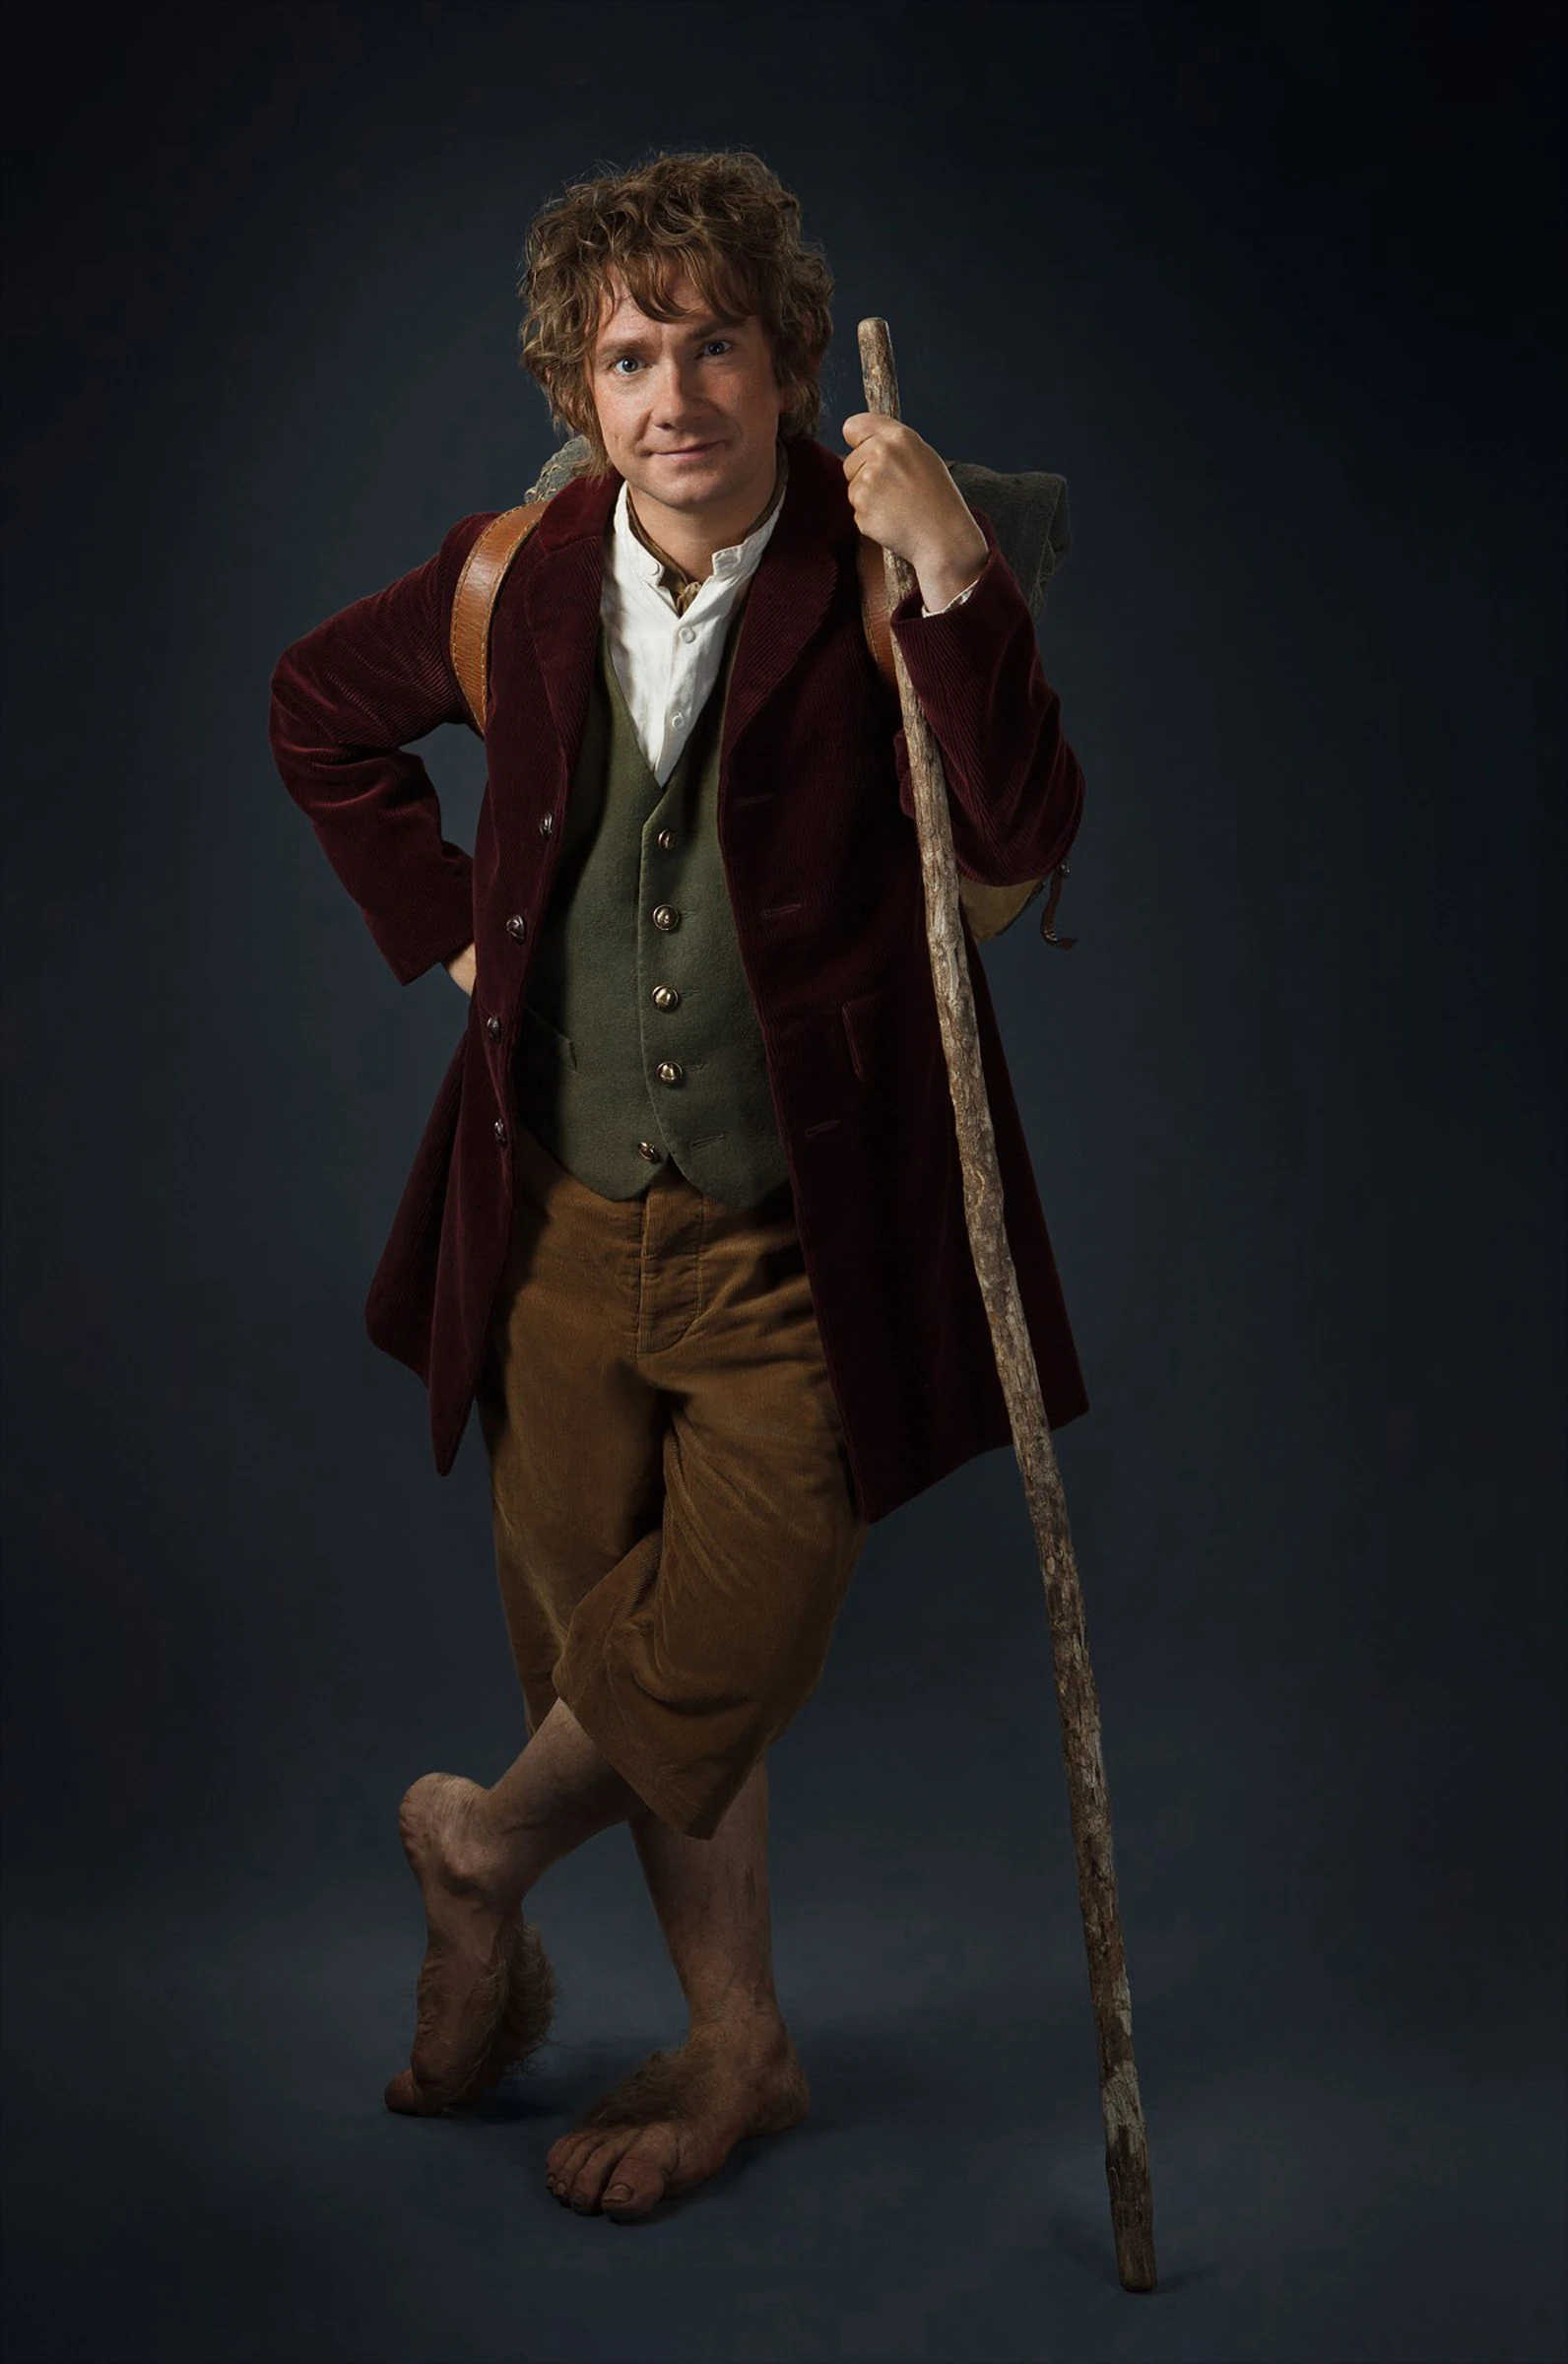
First of all, I noticed that around the lake there are some bird and fisherman, so i linked Bird and Fisherman into my hobbit/halfling idea :-)
Rarely character designer create something from scratch.
They usually change or modify something existing yet.
The process
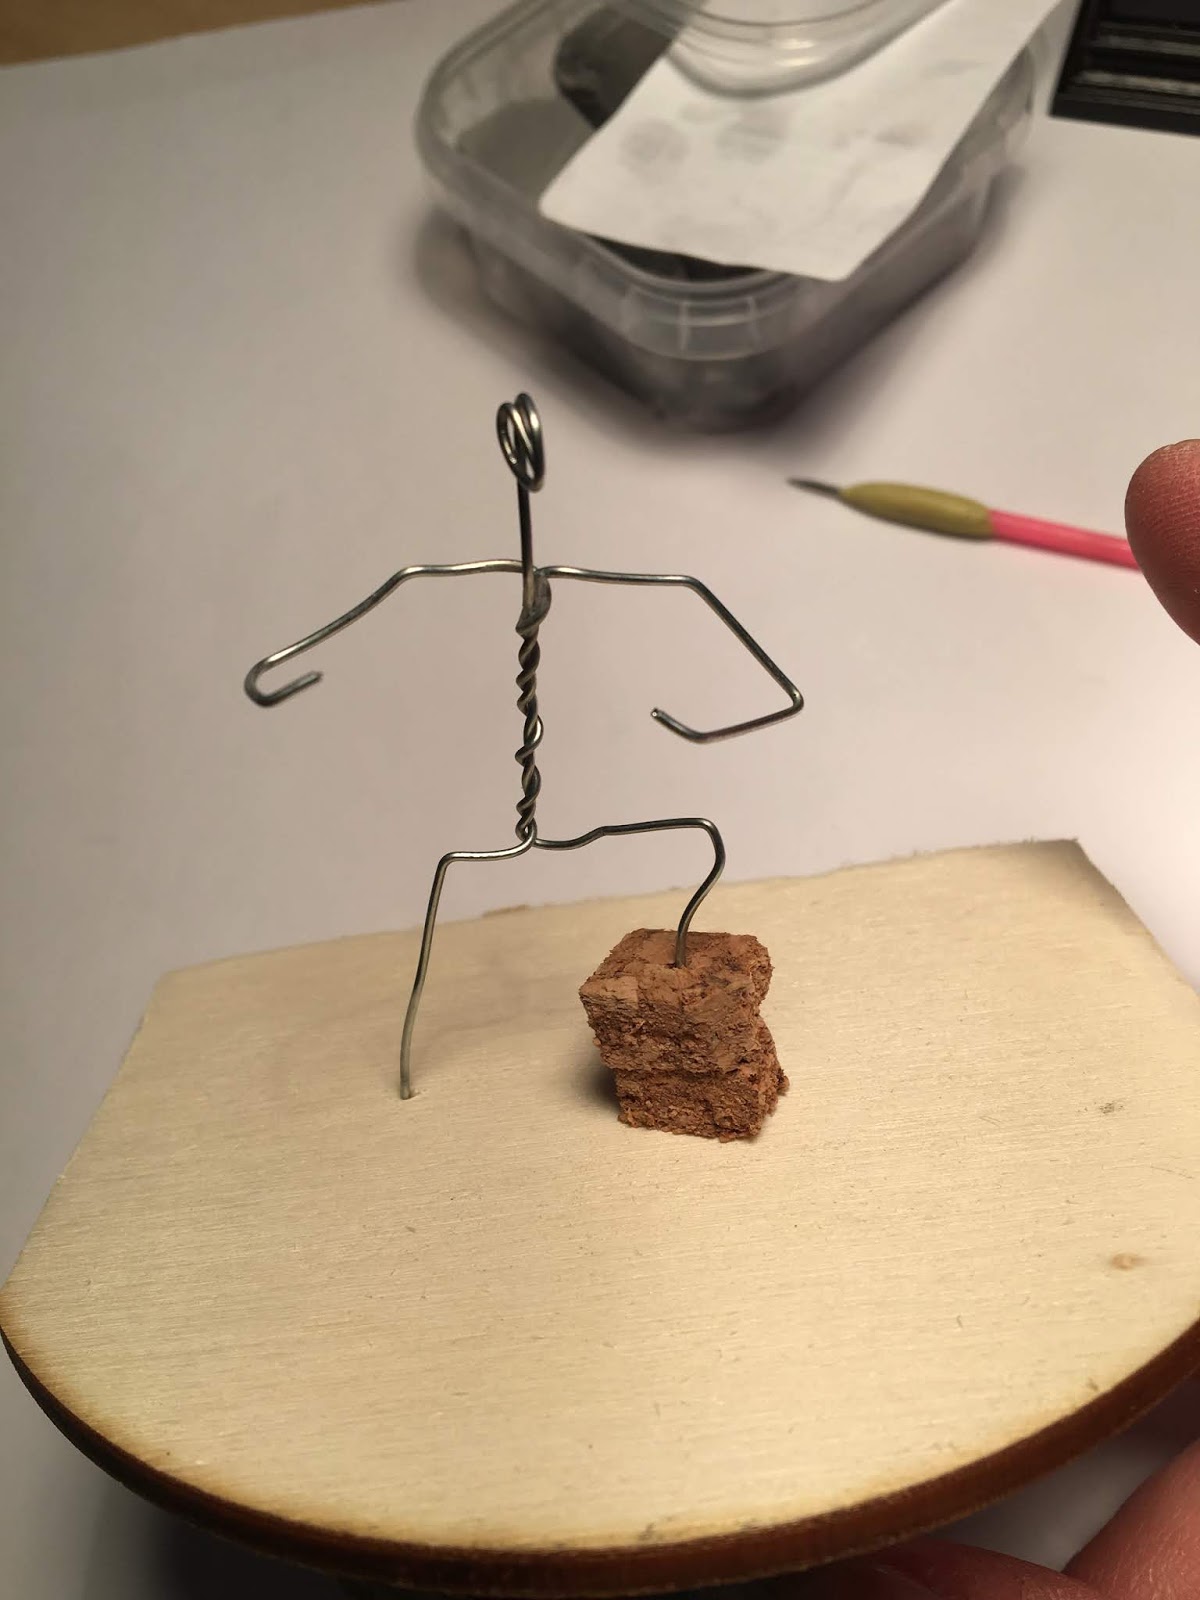
I used metal wire to create armature.
For the head, i used another metal wire piece, and glued with ciano-glue, using a ciano-glue activator.
So I put first layer of putty using Green Stuff.
I prefer to use Green Stuff because it's really sticky to the armature and this is really important while sculpting process.

For this sculpture I use the famous Zak Mix (suggested by talented sculptor and my friend Valentin Zak :-) a personal mix of Beesputty and Fimo professional (about 50%-50% used previously in The Cappuccetto.

I put come mix pieces to create basic anatomy structure.

My ideas is to create big head, big hands, big feet.
Tipical cartoon sculpture, with some variations.
I strongly recommend to always keep a piece of putty among your fingers in your spare hands, in order to keep it hot, so more soft and easy to work with it.

.
Go rough as much as you can. You have to find stability in your clay with your armature.
The more solid is your first layer of putty the more simple will be sculpting process.

Work with little pieces, one-by-one, using only hands and rarely tools in this stage.
You can add some ball clay or sausages clay, in order to fix your anatomy structure.
Anatomy is absolutely necessary to create a "realistic" sculpture even fantasy figure has is own anatomy.
Anatomy is everywhere in figure sculpting: there's no difference between fantasy or historical.
I suggest you to keep the habit to draw every day in order to fix anatomical structure in your mind (at least 20 minutes per day) :-) :-)

I created first sketch of the head.
I used to spend most of the time in the head.
 |
The cane is created by single wire with some green stuff then Zak Mix, and baked before all.
|
The head is the focal point of the figure, together with hands. I highly recommend to spend some time in.
In this stage, I don't spent more time to create details, or facial expression. Just want to create basic shape in order to aproximately complete the figure. Then I'll work on facial expression, details, drapery, details and so on.

To create the belt, I cut a little piece of Magic Sculpt, polish it with some sanding paper and cutter, in order to get a square shape. Then I make a hole inside, with my little rotary tool (Dremel )

Created a thin layer of putty, and add to the back to create the long jacket. This would be split, in order to create the mold correctly.

So I totally focus on facial expression, then created it with some tools and patience.
I moved the neck towards, because I noticed that the head was too close the body, and worked to better create the pose.

Than I add a little funny bird just from my imagination, to keep him company :-)

Size test: 58 mm on the head 85mm on Bird

After first baking, I close the hole under the clay and repair some mistake

The stick was too thick, so I cut it, then resculpted it.
Final sculpture
Saro - The Lake Farryman
-Original concept and sculpted by Daniele "Found" Trovato
-58mm
-58mm
-FIMO+Beesputty, Magic Sculpt


I showed this sculpture for first time at EUROMA 2019, winner of Special Prize " Fantasy Original Character" by Michael Kontraros and Jinkoo Park, and Silver Medal in Fantasy Master Open Category.
I hope my process was an inspiration for you.
Thank you for watching and reading.
Keep Sculpting
Daniele
Link and resources:
_______________________________________________________________________________
We create awesome articles for you!
Could you support Massive Voodoo?
If you like to support or say thanks the monkeys of Massive Voodoo in what they do, please feel invited to drop a jungle donation in their direction via paypal or check their miniatures they got on sale here.
_______________________________________________________________________________


Post a Comment