posted by roman, jarhead, kongAloa,
this article will bring you my thoughts of painting True Metallic Metal (TMM), which means painting metal on miniatures while using only colours with metallic pigments in it. The other variant you can paint your metal up is called the Non Metallic Metal (NMM) and the future will for sure bring up a tutorial of this for sure on MASSIVE VOODOO. This tutorial will start from my Introducing thoughts over real basic techniques, quick options while working with metallics so you can easily realize those on your model and the article for sure goes up to options where you really can spent a lot of time on. In the end i hope every question will be answered with this tutorial if still some may appear - simply ask in form of a comment. For sure this is not the perfect way or the "Have to way", it is simple the way of the banana addicted guy writing this. It is not aimed to some special metal, like "How to paint up gold?" or "How to paint chainmail?", it is more aimed to understand how you can work every metal tone you wish for and understand light and shadow on metals. Further articles will describe metals in special variants. For sure you must chose if the miniatures you paint up are for the use on the gaming table or being showcased afterwards. When painting up a hundreds of spearman i would not perform high end quality metals on every spear tip. I guess you got what i mean.
Introducing thoughts
Always get some references... :)
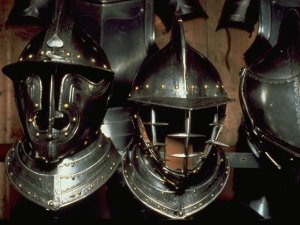
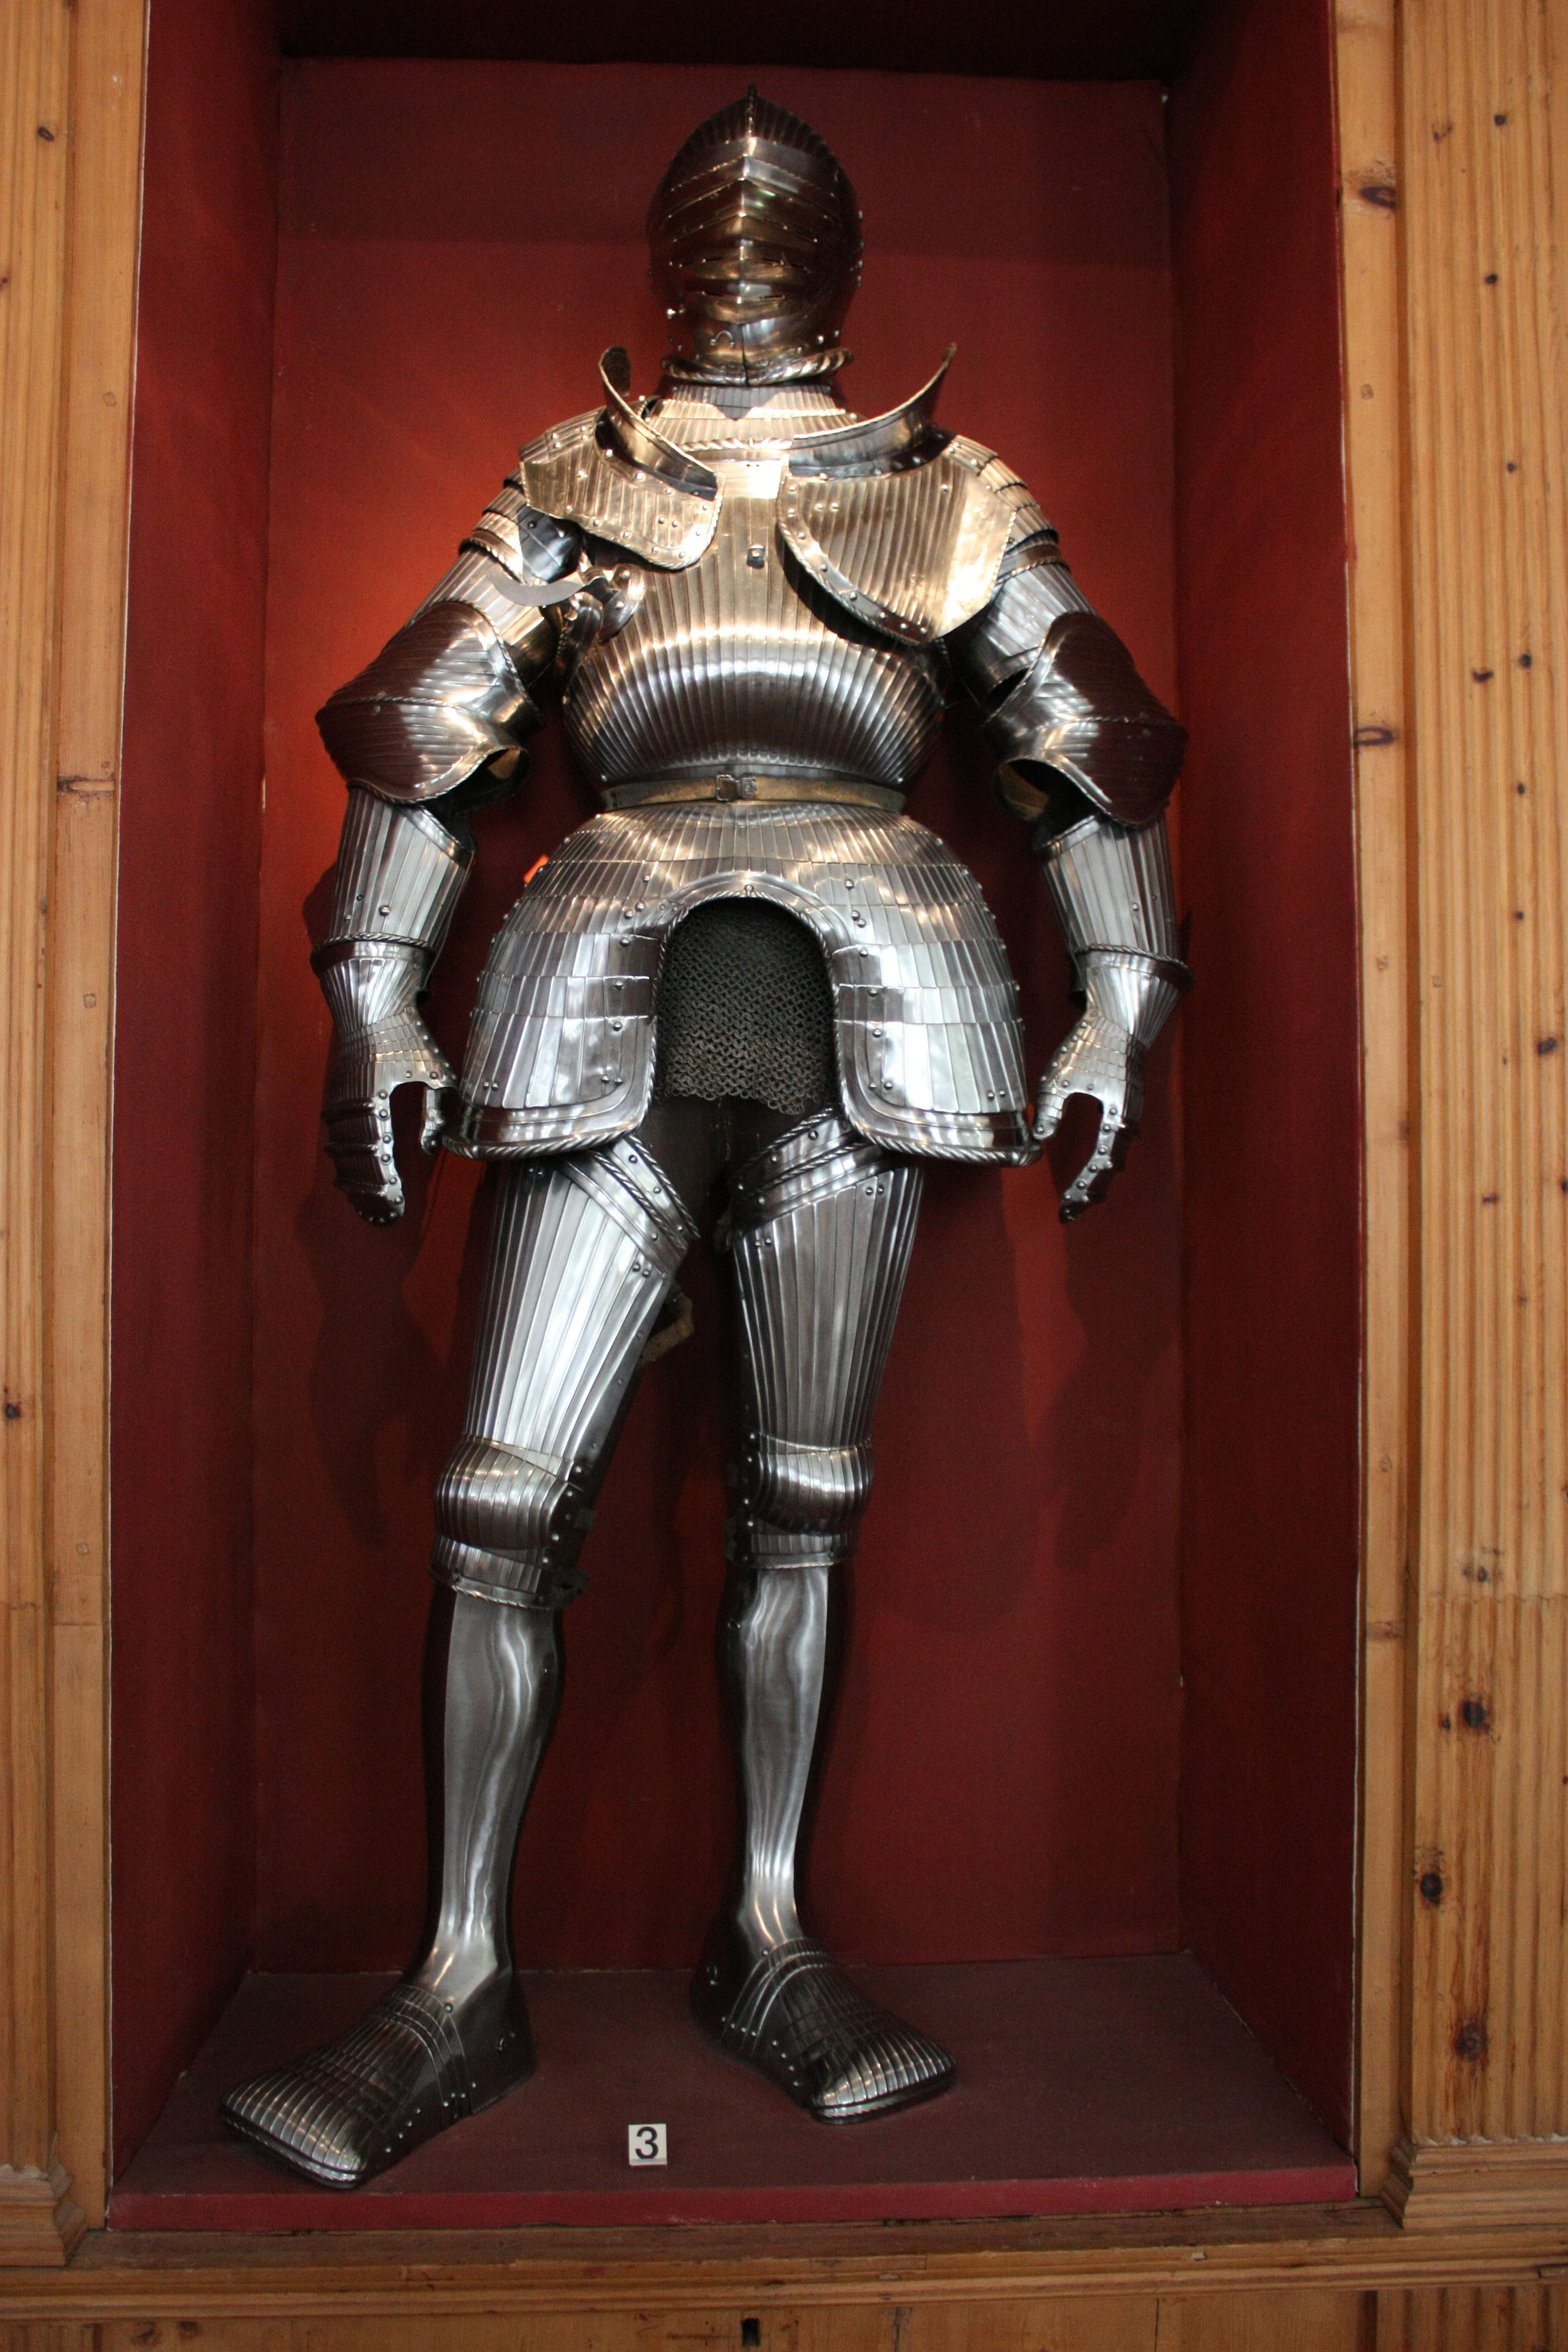
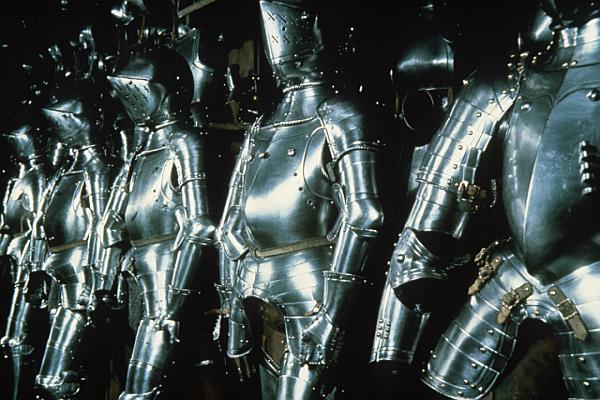
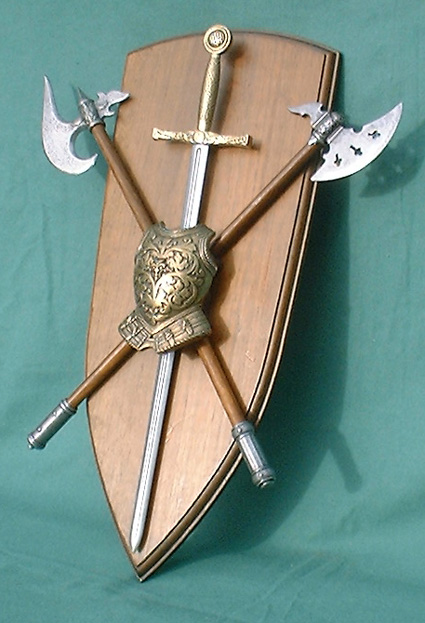
If you got an area which shall be a metal piece, like a sword or armoury it is always important to get hold of some real inspirational material or at least some material on photos. I did collect some links over the years i want to share with you in here - go have a look at different metals and try to see how the light and shadow works on them - we mostly get to paint metal on armoury or weaponry at our miniatures here are some examples of these objects:
http://www.jacamart.de/bilder/schwerter.jpghttp://www.bueker-gmbh.de/pics/l/alias2/V21-excalibur-king-arthur-u-2-streitaexte-deko-.jpgAs you might see, light and shadow works different on metallics than it does on other materials like clothes or skin. Metall always reflects the light very intensive, hard edges from light areas to dark areas, for sure depending on the direction your light comes in at the area and for sure depending on how the metal area is standing in that light source. For sure it is also very important what metal object you are looking at.
Here are some examples of different metal objects reflecting light very intensive showing what i have mentioned above:
http://www.schwertshop.de/media/images/501100b.jpg
Also polished metalls reflect the sorrounding areas, again some more examples to this:
http://www.kleine-fotoschule.de/dateien/bilder/Reflektionen/Fanny.jpgNow this is a lot of information and inspiration. Please keep in mind that we are still painting miniatures and not hyperrealistic things. In the next steps i want to share with you my thoughts i've made over the years when it comes to painting TMM on miniatures. From the simple thougths to the complex ones.
What colours i use for painting metallics
As i am always making experiments all the time i have worked my TMM in different ways over the last years. For sure i use a lot of different colours for it. I am sometimes buying new ones to test them and if i like the way the results end up i stay with them. Mostly i use Games Workshop Citadel colours, especially mostly Mithril Silver and some metal tones from Vallejo Model Colour, like Oily Steel (70865), Bronze (70998) and Gold (70996). Also washes from Citadel are very nice to bring in a coloury touch and shadows to your metals. Also i love smoke from Vallejo Model Colour 70939 for an afterwards shading or even "in between the steps shading".
Always remember that the colour of your metal (bronze, gold, steel, etc.) can influance your complete colour scheme on your model. I did stop thinking in painting pots to realize my metallics. I have learned for myself to mix the perfect tone i want to have by bringing in some "usual/normal" colours. For example i want to show you something i did also in a step by step article over here - i only worked with Mithril Silver here on my wet palette and did mix in every tone i want to get different results (if it is too bright mix in a brush tip of black):
A = pure Mithril Silver B = MS / Ice Blue
C = MS / Hawk Tourquise
D = MS / Camo Green
E = MS / Dark Angel Green
F = MS / Schorched Brown
G = MS / Deadly Nightsade
H = MS / Space Gray Wolves
I = MS / Snakebite Leather
J = MS / Liche Purple
K = MS / little Chaos Black
L = MS / more Chaos Black
Not shown: Gold can be made of from Snakebite Leather + MS, just for addition.
With this i just want to show you how easy you can change up your colour palette, even in metallics to achieve way more tones coming from one basic colour (Mithril Silver in this case). For sure you can use every other metal tone to start from. Meanwhile i do this often starting from Oily steel fro example. Have a go at it and find out for yourself what you like the most.
If you do so, then make sure that the lot of the metallic tone is always higher then the lot of the normal colour as if not you are stealing the metallic look of the colour.
Important: When working with colours that have metallic pigments in it, always use 2 different glasses of water to clean your brushes. One for normal colours and one for those with metal pigments in it. You don't want to have metal pigments in your skintone next time, really you will really dislike this accident.
Simple painted metallics
First i have learned that only painting something metallic doesn't mean it looks like metal. For example painting a sword only in mithril silver or Boltgun metal, will at last make it look silver. Now you got a silver sword, but when remembering the pictures/references above there is much more to it than only painting it with one colour.
A simple way to bring some depth and variety to your metal colour coming from the pot is by using washes on them. Here is a simple way to make this on 2 old Heroquest Chaos Warriors, basic metal tone of chainmail applied on the following picture:
Next step is a wash from badab black over the left one, Baal Red on the right one, both thinned with a drop of water.
Now i just switched the washes, Baal red on the left, Badab Black on the right.
After having the washes dried you may drybrush them with a brighter metallic tone to get more attention to the edges of the model and bring in some highlighted areas in
Now this is really very simple, but can bring fast results. Try to test around with different washes over your metallics for example also mixing different colours into it like a water thinned wash of Vallejo's Smoke with a tip of Regal Blue in it or something like that. There is no limit when it comes to testing.
Taking some more time at working on metallics
The way mentioned above is really something bringing fast results. For sure you can add more detailed attention to the areas shown above afterwards. There is no limit on your time spend on a miniature.
While we look back at our reference material from above...http://www.aeiou.at/aeiou.photo.data.image.fvw2/fvw2125h.jpghttp://www.bueker-gmbh.de/pics/l/alias2/V21-excalibur-king-arthur-u-2-streitaexte-deko-.jpg... you might see that painting up good looking metal on your miniatures will need a bit more work than the fast version. If you are up to this, then check the pictures again and you might get the intense light/shadow situation working on metals i have mentioned high above.
With knowing this you can now go studying how light brakes on metals and edges and stuff. In this Tutorial i will not go that far as still another light tutorial is missing in the Tutorial Section. The science of light and what it does to different materials will be a part of another tutorial coming in the future. I want to show you 2 ways on how to spent more time on your metallics and make a good looking result for the moment without bringing your brain to shut down. At this point we focus on dark areas lying beside really bright areas when looking at metals. I hope you get me this far with the shown references.
Working from a bright metal to dark metal
Here i have described how to work from a bright colour to the shadows and from the shadows to the brighter parts, you have to scroll a bit as far as i can remember. As for the go with bright tones to dark tones i will use this following guy, Götz from Berlichingen from the game "Helldorado" in 28 mm, whom i did paint in the early year of 2009, upon a white priming basecoat as i had no black primer at hand.
The basecoat on the model's armour has been Mithril Silver with a tip of Hawk Tourquise. It says the same on the picture in german :)
As i want to have my light source on the model straight above, from top of it, I now did start to shade down the armour with a wash made from Vallejo's Smoke with a tip of Asurmen Blue into it. I'll try to leave some highlights still bright as you can see on this picture. The was has been thinned a bit with water to let it run in the deeper areas of the model. It says the same in german on the picture :)
Next go has been bringing out the lights again which faded a bit from the shading with pure Mithril Silver. I also did intense the shadows lying next to a bright area with glazes of Chaos black + Asurmen blue. Don't look at the sword at the moment, i'll explain this further on. As always it says the same in german on the picture what is written here.
A tip of ice blue has been added to the final lights with Mithril Silver to create some kind of illusion, showing the lighter parts reflecting the skyish blue. For the darker areas i have added a tip of Schorched Brown/Scab Red to the last shadows and glazed them into the armour parts showing the illusion of reflecting earth. The edges have been set out again with some pure Mithril Silver. If you still want to go a bit brighter you should take a chance with Plata from Vallejo Model colour, it is even more brighter than Mithril Silver. Armour finished at this point.
The sword
Taking advantage on the sword in the totally same way with the same colours used as mentioned for the armoury above. To bring out the effect of a sharpened sword with his core in the middle it has been best for me working my way in different directions in the upper area, one side bright, the area beside the bright one dark and doing the same downwards. Let's have a look - basecolour:
First step glazing in shadows:
Intensifing the shadows, bringing back the lights again, take care to pull your brush with the glaze in it in only the direction needed - Shadows: moving the brush to the shadow areas . Lights: moving the brush to the light areas. Shown here:
Cleaning up the mess in the middle with the tone in the middle and bringing in some glazes of red. I have to mention at this point that this model has been painted up a while ago and i did it leave it that way. Today i would say i could do this better from the experience i have gained. If you don't want your last glazes mess up everything like happened here with the red glaze mix in some metal tone in your wished coloured glaze (, red, in this case the bright metal tone) to not achieve a this matt finish and stay focused of the shiny metal parts in your colour.
As this model has been painted as a comission for the gaming table in the past i was done at this point and the finished model did look this way, sorry don't have a bigger picture anymore:
Here are some more examples done in this progress, just other colours used for the result - all worked from bright to dark, real old pictures included son don't mind the painting mistakes... ahh, we don't do mistakes in here, we have happy accidents :)
I hope you get what i mean with this more alive like work on your metal tones:
As you see it is not easy to take good photos of real painted metallics. Raffa and me did try to catch the variations you can bring into metallics in making a 360° view of a miniature and make a flash animation. That was a hell of an act but you maybe can see how true metallics can work on your model when holding it in your hand:
Working your metallics from dark to bright
Doing metallics completly in the different direction means only that i just switch the way i work myself from light to shadows into shadows to light. Using the same idea as above only switched. I hope everyone can follow my thoughts.
I do chose this way more often these days i have the feeling of having a better control where to bring my lights in the metallics by working slowly to them. If a funny mistake happens or i want more colour variations in my metallics i still am able to use a couple of glazes for this task. Starting off from a black bsaecolour on Carlos's fists here:
Next step has been mixing in a tip of Oiliy steel in the black to get some shiny metal over all the black, still really dark but my camera and lightning thing plays tricks on me, damm! Keep this as a second basecoat described with the colours above:
Next step has been concentrating on the further brighter areas with only using Oily steel, leaving the dark parts left in darkness, moving my brush with the brighter metal tone to the lighter areas, like described above in that sword thing - damm this camera thing, haha - sorry folks, trying to catch this from different angles, Carlos went a bit further meanwhile:
Ok, i'll give that up. Can't get good photos of this thing here, arrrrrgggghhhhh. I can only tell you that i have tried to bring the brighter metal tones in always smaller areas to the final light of using pure mithril silver to the brightest parts and the final edges and used some glazes of Oily steel + a tip of Chaos Black/Regal blue for bringing in some glazes to intense the dark areas again... i'll give it up. I hope no one gets mad at me and still can follow my brainless thoughts in here, sorry.I tried to make some final result shots from different angles to give you a better understanding of what i have said above - it looks different from every other angle, ahhhhhhh, lovely in real, the horror on pictures, maybe i'll bring in some more colour contrast for the final go at Carlos's metals, we'll see... now Kong wants to climb a skyscraper and hunt down some wacky airplanes... arrrghhhh...
Nargh, nargh, nargh... ahh! Ok... i am waiting for your comments on this one, haha.
Final word
As mentioned above this article shall bring you some basic thoughts and methods how to work on your metallics. Specific goes on different metals will follow in the future in the article section when the muse guides to this path.
I hope you enjoy... Kong is still pissed of that camera/true metallics thing... argh!
Whatever keep on happy painting! That is what i'll do now to calm down :)RegardsRoman







 Posts
Posts