Review: Private Coaching with Christoph

by Roman aka jar

Good Morning Jungle,
time to get back to some reviews again.

Christoph visited me for a two day private coaching earlier this year. I know Christoph since several years as a long time student and I do call him a friend. So I was happy that he approached me with a really interesting topic for his two day coaching:

Concepts!

A concept is something like a sketch of an idea. Just like in traditional art forms.
In terms of miniature projects it helps to understand, plan and execute an idea of a project and we all know: Sometimes you just have too many concepts and ideas floating around your head without a real focus.

Christoph's goal with this hands on training was to bring tons of projects and talk with me through their concepts to define them better and even start some of them.
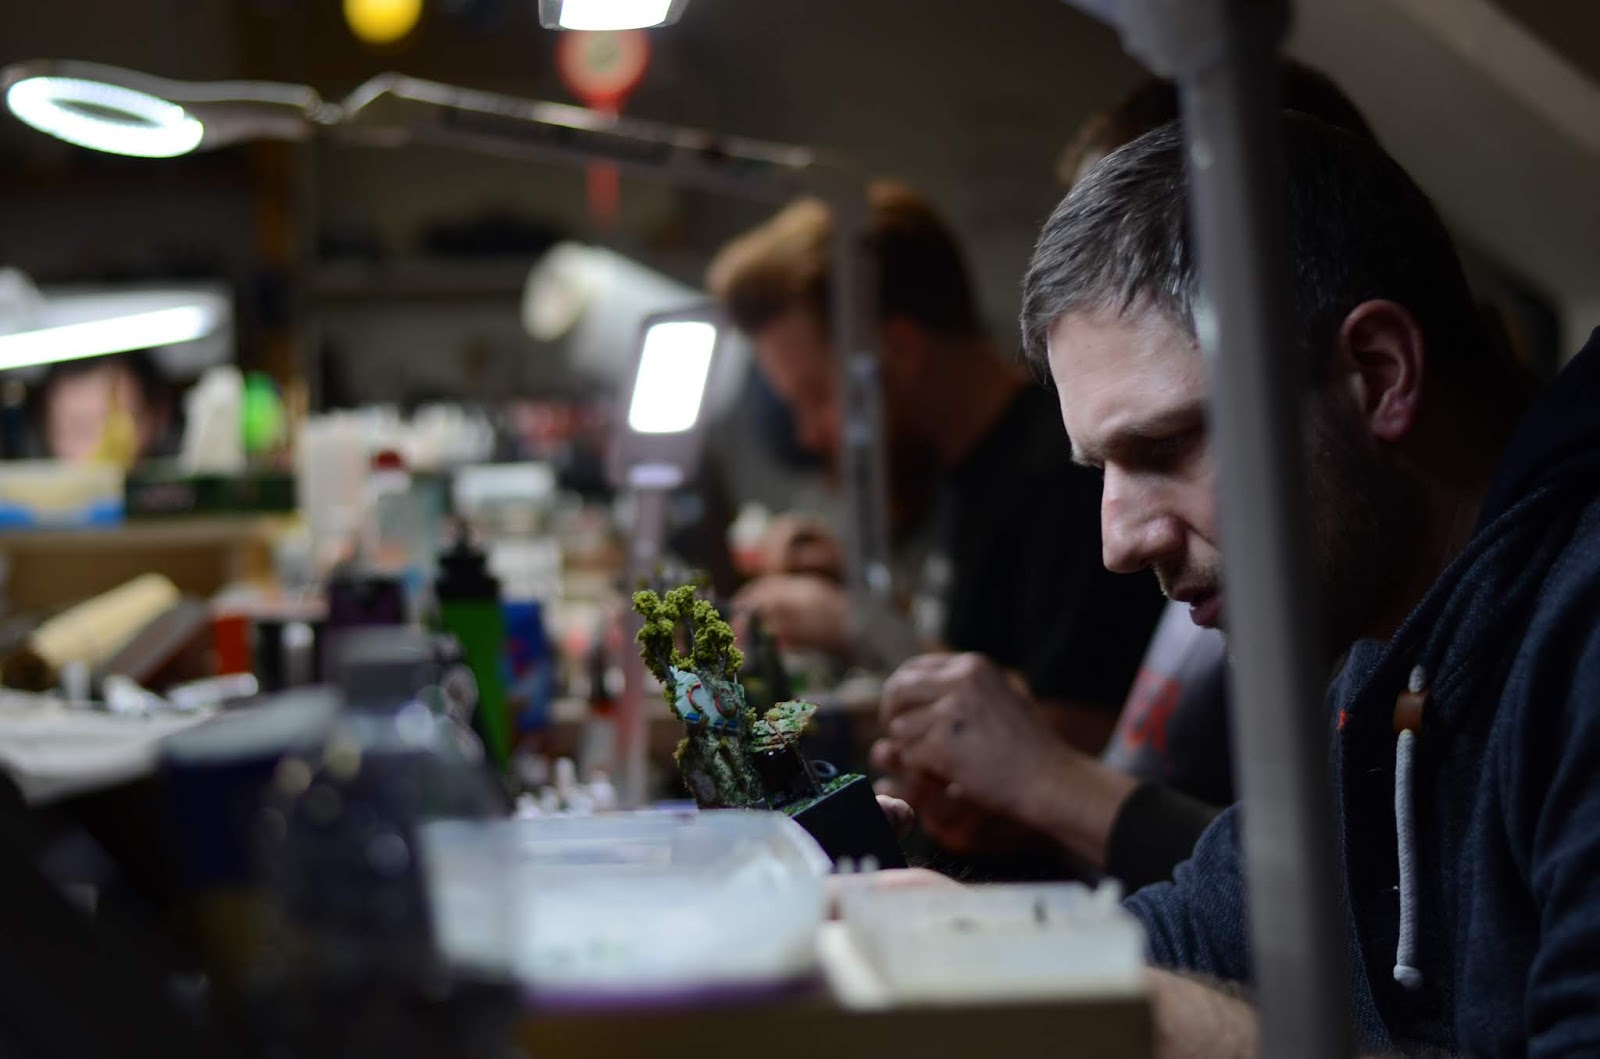

Me & Christoph

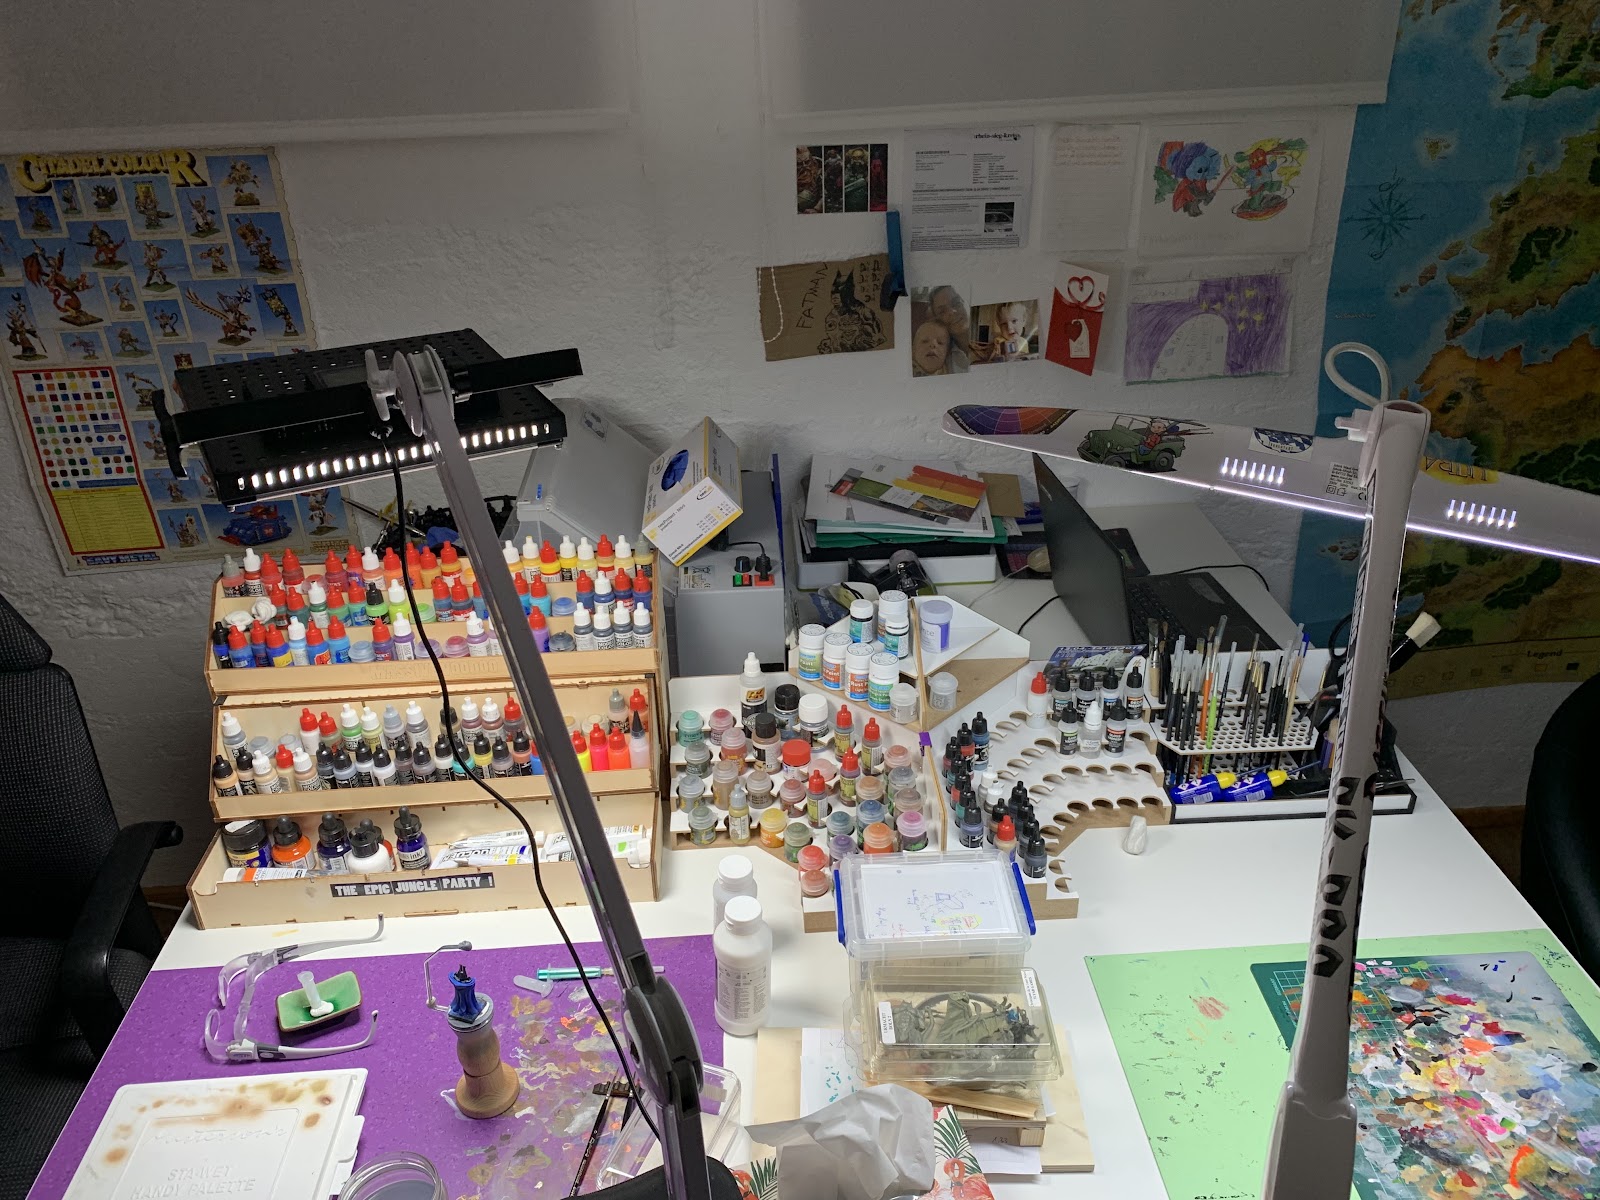
Welcome to the MV Studio:


In the first moment I was overwhelmed by the projects Christoph carried up to the MV studio. Mostly basing concepts, but quite the number.


We talked our way into the topic and made a plan on how and when to tackle which concept due its complexity and varity. We decided to go through the easier/faster ones on the first day.

Here is an example on how we tackled a concept:
Christoph really wanted to create something with these old GW Space Marines. A throne room with many aspects, but he was quitee unsure on its size and base look.

So we talked about simpler ideas:


And via the knowledge Christoph already recieved by being a student in my basing class once we came up with this - optimized his idea:


This is how concepting works. We did many more ... for examply on these old Ilyad Games Wardancers:


Next was a little Panda on his training ground:


We did not finish the concept, but pushed it forward to make it visible ...


Some concepts found different solutions in our talks and brainstorms and we needed to sketch ideas:


On some we worked on to bring them to a point ...


... to catch the idea:


On the second day we tackled two big ideas and talked them through. First there is always the inspiration, then comes the idea, then comes forming this idea into several versions and then it is about to decide which road to take. Concept-wise and material-wise ...


As Christoph is a big Ilyad Games fan and also loves the comics of the "Chronicles of the Black Moon" these two big projects were heavily inspried by the comics.


Working on so many concepts is not doable without taking proper notes ... you can not imagine how many questions arise if two brains get together to optimize a vision/idea. A lot of deep talks about "whys", "feelings", basing harmony and material that could be used ...


Size and scale-fit matters ...


Every angle counts ...

I can say from my part my brain was melted after these two days :D


We were able to concept our way
 through several of Christoph's ideas and he is able to move on at home now. It is always helpful to have a good concept and plan before execution. When the plan and concept works the work itself is smooth.

Of course it can still vary and change on its way, but the big frame of the concept is the important part. It gives you guidelines and you usually do not feel lost anytime.


Christoph's concepts after the two days ...

Thank you

Christoph for joining up for a private coaching with such an interesting topic.
Thank you for the good chats we had, thank you for your support in my work and passion and your trust in my teachings since so many years.


Always a pleasure!
Keep on happy painting!
Roman

____________________________________________________________________________

Available spots for private coachings in 2019
are already rare. A small number of possible dates do exist. If you are interested in getting your hands on coaching with me going, just write me an email to: jarhead---at---massivevoodoo---dot---com

You can find more information
about upcoming workshops via this banner

Musica

by Roman aka jar

Tutorial: Pimp my TriTube Pro

by Hansrainer


Hi all,

Hansrainer here :)

As promised before,
here is the tutorial on how to pimp your old tri-tube painting lamp:

This is the logical conclusion of my quest for a good painting lamp, started in my last article:
http://massivevoodoo.blogspot.com/2019/05/article-what-to-look-for-in-painting.html

The Tri-Tube Pro is a staple tool of miniature painters

I know, many of you use a TriTube-Pro lamp for painting, as this has been the “gold-standard” in paint lighting for many years. After a while of usage, eventually the tubes start burning out and the light output diminishes.

Replacing the daylight-tubes cost around 45 € every time I did it, and again, as it is the way with fluorescent tubes, they will diminish in performance as well after roughly 6 months of use (may be a bit less or more, but in general, that’s the trend).

A few years back, a successor-model has been introduced, using LEDs. This one is quite a bit brighter, but also more expensive, and more important to me, the light quality isn’t the same.
While the regular Tri-Tube clocks in at around 85€ nowadays, the LED-Version sets you back roughly 140€. On paper, both are roughly equally bright (around 1200 lumen at 40 cm) and the LED version uses a bit less power and stays cooler.

With regard to light quality, both have 6400k color temperature and a CRI of around 80 (LED) and 85 (Tubes).

Last year, shortly before christmas, I realized that my Tri-Tube was fading significantly and I was facing the option to either replace the tubes again or the whole lamp. I was leaning towards the LED version, but due to some research on color representation I did earlier last year, I was also interested in a full-spectrum light alternative.
After some price-checking I realised that the likely best option, a CRI 98+ full spectrum daylight LED workplace lamp would cost about 600€ - definitely not within my price range.

Looking for affordable alternatives...


Inspired by a somewhat complex but efficient modification Raffa did to his old tritube: wiring an actual LED-Panel to it, I was pondering modding my existing lamp as a third option. After a friend pointed me towards permanent light sources for video-bloggers, I discovered an interesting candidate on amazon:

https://www.amazon.de/Professional-Videoleuchte-Farbtemperatur-Metallgeh%C3%A4use-Fotografie/dp/B07FYLF2M2/ref=cm_cr_arp_d_product_top?ie=UTF8

This baby has a whooping 600 daylight LEDs with 5600K and a CRI of 95+, is mostly for lighting videos, can be run on rechargeable batteries or wired and has about 3 times more light output than the old head.

I ordered it and tried affixing it to the boom of the old tritube, in order to have the same flexibility. In the end, I was more than happy with the outcome, the lamp is really great, illuminates a larger area evenly with some light volume to spare. Due to the higher output, you can have the lamp head higher above the painting surface, further softening the light.

Of course I also compared the output to the LED-TriTube while I could still send it back and I can say it absolutely exceeded all expectations. The output (using the included diffusor) at 50% is already slightly higher than the competition and there is still a lot more to be had:


If you compare the white areas of the desk, you can see the difference. When actually painting, the difference is really stunning. So much of what we can or cannot see during painting depends on the quality and quantity of lighting.

So, if you want to use this mod yourself...
the parts you need for this mod are:

  • 1 x Pixel K80 LED panel (be careful to avoid the Bi-Color K90!) (ca. 120 € on Amazon)
  • 1 x Heavy duty lamp boom (salvaged from my tri-tube. The cheapest Lamp I found with the same boom was about 42€ at Amazon, if you want to build this from scratch).
  • 1 x Metal Screw (8.0 x 50 mm) (less than 1 €)
  • 1 x hexagonal connection nut. (less than 1 €)
  • Some cable ties (few cents)
Tools:
  • small phillips screwdriver (size 1)
  • Allen-Wrench (Size 5)
  • wire cutter

First of all, I prepared my old TriTube by removing the original lamp head and cable:

UNPLUG YOUR TRITUBE PRO from the wall socket! Seriously, this should be natural, but DO IT!

Turn it on and off to validate that it is not powered anymore and that there is no residual charge in the system. If it still is, stop reading this tutorial and stop modding your lamp!

Assuming it is not working now and it is actually unplugged, you may continue!

Also, I recommend removing the whole boom with the head from the stand and work on it while its flat on the table.

Unscrew the bottom cover by removing the 10 screws visible from below:


Remove the bottom cover and the silver reflektor grid, the tubes become accessible:


Remove the tubes (I didnt, I was lazy but for safety-reasons, you should!)


Unscrew the tube plate.

Carefully lift off the tube plate. I forgot to take a picture here, but essentially, this is where the electronics and wiring becomes visible.

Last chance to change your mind, since in the next step, destruction ensues!

Cut the wires as close to the inleading power cable as possible.


Now you can pull the power cord out of the lamp head and also out of the boom. If you want to keep the lamp head, you know, just in case… I would reassemble it now and screw it shut. Also I would remove the power cord completely now.

Completely unscrew and remove the white wing-nut that is stabilising the lamp head.


Remove the screw that was held in place by the wingnut. (Just push it out carefully, its just stuck in there).


Now you can (with a little force) pull out the lamp head holder.

The holder consists of two parts that grip a bolt affixed to the lamp head. You can now get rid of the lamp head but keep the two halves of the grip. 


Put the grip back in the original position, put the screw back in and affix it with the wingnut. Of course without the lamp-head. 


Now you need to be a bit careful when inserting the 8 mm x 50 mm screw. Since the screw holding the wing-nut protrudes a little into the bolt-tunnel, you need to actually screw it in. Make sure its flush with the end of the “grip”.


Screw the hexagonal connection nut on the big screw.


You can prepare the LED-Panel by removing the barn doors (I did, they are of no use to me and the actually restrict the movement of the panel within its own U-frame. )

Now, shove the panels holding opening over the hexagonal nut, screw tight. For additional grip, you can add a piece of rubber between the screw and the nut, metal on metal connections like this can be somewhat slipping without it.


Plug in the power pack and test the panel. If you like it, attach the wiring to the boom with the cable ties:


Done.

TLDR:

Tube lamps tend to fade over time. Many LED-Lamps are suboptimal for painting due to poor light quality. Replacing the existing lamp-head of my Tri-Tube with a high quality, fotographers LED Panel was cheaper than buying the LED version of the Tri-Tube, has more than 3 times the output and significantly higher color reproduction quality.

PS:
In case you don’t own a Tri-Tube yet but like the idea, the cheapest lamp with the same heavy duty boom I found was at around 42€, so together with the panel, a complete new build would be about 160€, not cheap but doable.


Yours,
Hansrainer


Review: Basing Workshop, Augsburg

by Roman aka jar


Hello ladies and gentlemen,

I really forgot to post and review this one.
A truely wonderful Basing Workshop in english language I held back in the end of 2018.
I got no idea how this just slipped through and no one reminded me :D

Well, here we go ...
My basing class is something special. Everyone who took part can tell it. It deeply explains insight into harmony, using the golden ratio in big and small aspects and so far was focused on the topic "After the Apocalypse, Nature strikes back".


Just look at this ...
a student's project work in progress from this workshop:


and it connects with this ...


Crazy, eh?
It just feels right, balanced and amazing.
There are rules for such things that you can include in your base too. It is such a wonderful topic to teach hands on and I can only recommend this seminar to you if you want to improve your basing skills. Here is a short overview:


Instructor: Roman Lappat

In this MV class Roman takes you deeper into basing. No gaming bases. What makes a good display base? Learn more about composition rules you can put to use while basing, learn different focused material aspects on the subject: "After the postapocalypse, nature returns".

You can find an in depth describtion via my curriculum:
https://www.romanlappat.com/curriculum


More reviews and results:
http://massivevoodoo.blogspot.com/2018/05/review-basing-class-2018-one.html
http://massivevoodoo.blogspot.com/2018/05/review-jars-basing-class-two.html

Last chance!
If you want to join up for this specific topic for the last time you only got two options left:

Arvika, Sweden
// 19th July - 21st July 2019 - 3 day Basing Class
english language, special version* 7/16 - Information PDF
*including an inspirational trip to an amazing car graveyard on Friday, more information via mail


Augsburg, Germany
// 22th November- 24th November 2019  3 day Basing Class
german language - 2/16 - Information PDF 

After these two the topic of the seminar will change and I will never teach
"After the postapocalypse, nature returns" again. The workshop will still see the same frame of content, but the material and theme will be different.

You can find more information
about upcoming workshops via this banner


Well, back to this splendid weekend we enjoyed together last year.

I want to thank this cool bunch of students who really made this weekend special. Travelling from all over Europe (Swiss, Czech Republic, Ireland, Denmark, Germany) to be part of this seminar makes me only say: Thank you so much!

And the results for one weekend were so different and so specially beautiful:


Even some did not believe
in all my explanations or at least were kind of sceptical. At least it looks on this photo :D


Quickly, the skepticism turned into focused joy:


Of course,
learning to build such bases is not only sitting down and working on them, glueing material together and calling it a base. A lot of wisdom in this seminar, comes from my teachings about perspective, balance, golden ratio and harmony of elements. It goes deep. So deep that that I can not write it all here for you, but I can show you the fun part of the seminar that sums up the theory:

Real life basing!


Humans!
... but why?


In between it was always time to sit down in front of well prepared theory lessons!


:)

Thanks to Josua and Jakob for
sending over some of their photos for this review!


What are these humans doing?


More theory ...


Our basing cave. The Massive Voodoo Studio!


It has been such a joy to see everyone's individual project grow - here are some WIPs:


Everybody busy working ...


With a little gorilla help!


Sometimes we even moved from the workspaces, mainly to grab some food. It was a cold winter's weekend ...


Well, this has been a really interesting idea and execution!
Primed bases on Sunday morning, time for painting ...
Glueing a tiny beam of a sea cat's urin ...
one of the strangest things I did in my whole life!
Is he really doing this?
In depth explanations, if need be ... it was cold!

RESULTS
It is really magnificant what my students can create in this 2,5 days. Just look at these bases and I bet you can feel them:


Overview


Yeah, well ...

Thank you gentlemen for an awesome weekend.
Thank you for your patience for this review!


Keep on happy basing!
Roman
_______________________________________________________________________________
Last chance!
If you want to join up for this specific topic for the last time you only got two options left:

Arvika, Sweden
// 19th July - 21st July 2019 - 3 day Basing Class
english language, special version* 7/16 - Information PDF
*including an inspirational trip to an amazing car graveyard on Friday, more information via mail


Augsburg, Germany
// 22th November- 24th November 2019  3 day Basing Class
german language - 2/16 - Information PDF