
Cowabanga!
Recently I got my hands on some cool bust, sculpted by Cyril Roqulaine.
There were four Turtles in my order, but I gave one away to Raffa and one to Bene. So two left for me and my brush. I started to paint Leonardo, who always was my favourite one of those four.
Three of four Turtles

Well, I had my fun in painting this guy up and did set my mind really free by doing so. My aim at the moment while I paint is to find back into my way of painting after a lot of new input of the classes of Kirill and Alfonso that I took part in.
This is how my wet palette looked in the start of the bust ...

This is how it looked when I was done ...

I started with priming the turtle black and white and decided my two main colours for Leo, blue and green. Simple as that.

... but well, with these two colors I would not reach far so I decided to add some more funny colors to my basic colour choices. These are the ones you see placed on top of the wet palette in the picture above.

First I used the airbrush for placing my basic tone of green to the bust. The blues and browns were painted with a big brush.

Next I used the airbrush again and threw in some dark sepia brow. I call this shadow bomb.

Next I went back to a strong saturated warm green and placed it back on the areas were I want to work further into the highlights. I call this redefinition after the shadow bomb. Did so to the blues and the browns and used a color like bone for his lower chest area. Also used this one for some rough edge highlightson the turtle shell.

Next step was a lot of work as it took me into deeper definition of skin volumes, shell volumes, bandana volumes. This was all done with a brush, good painting music and time.

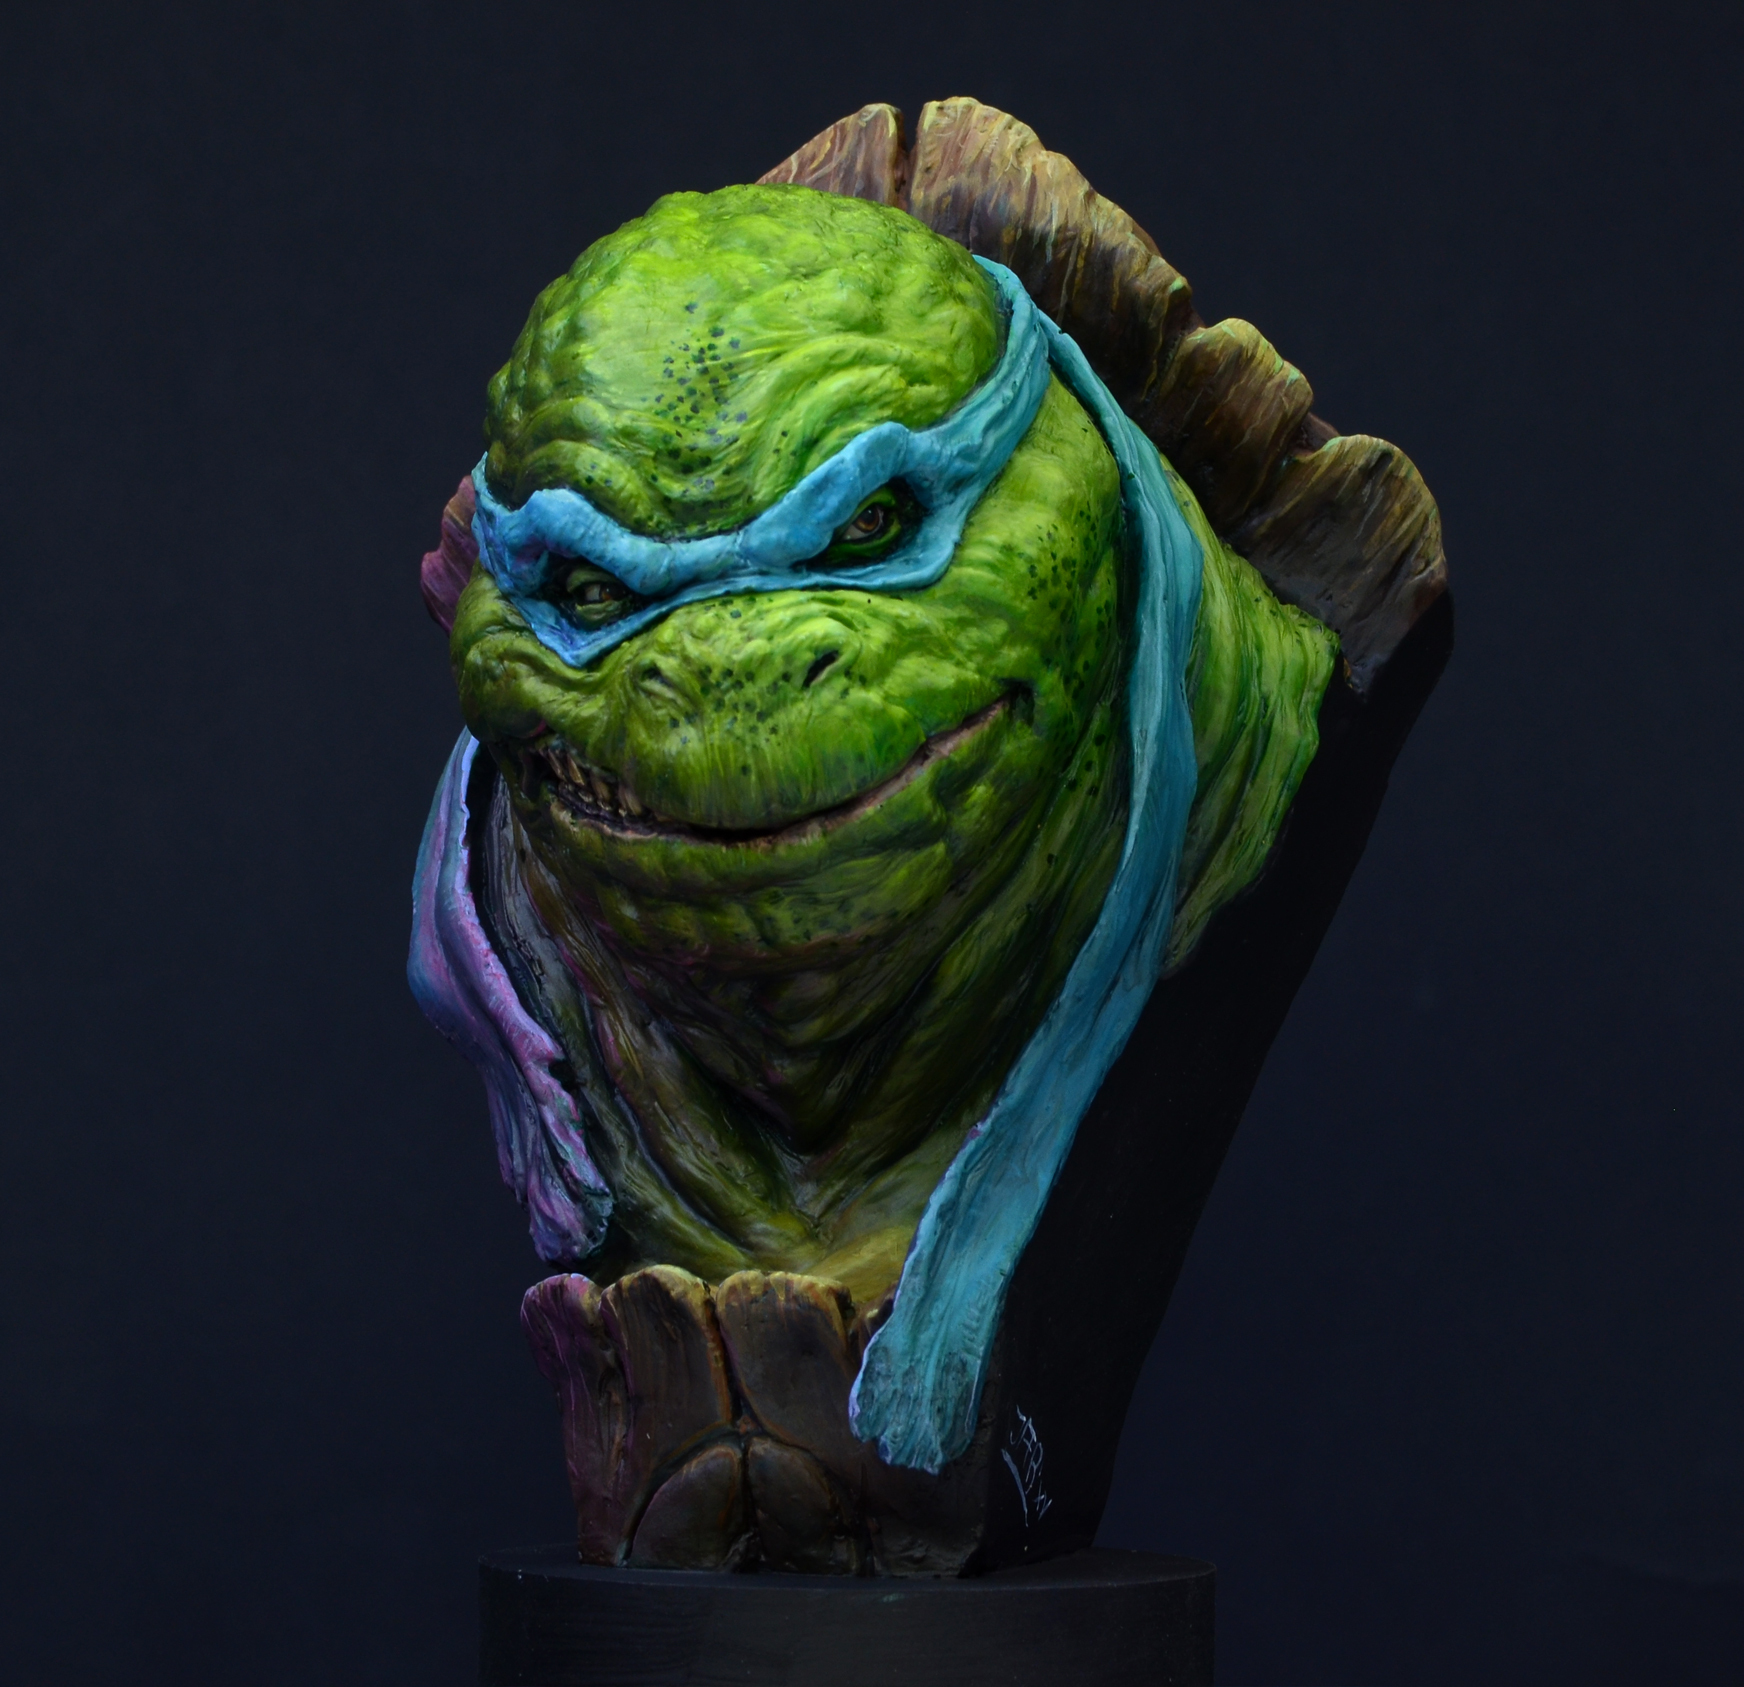
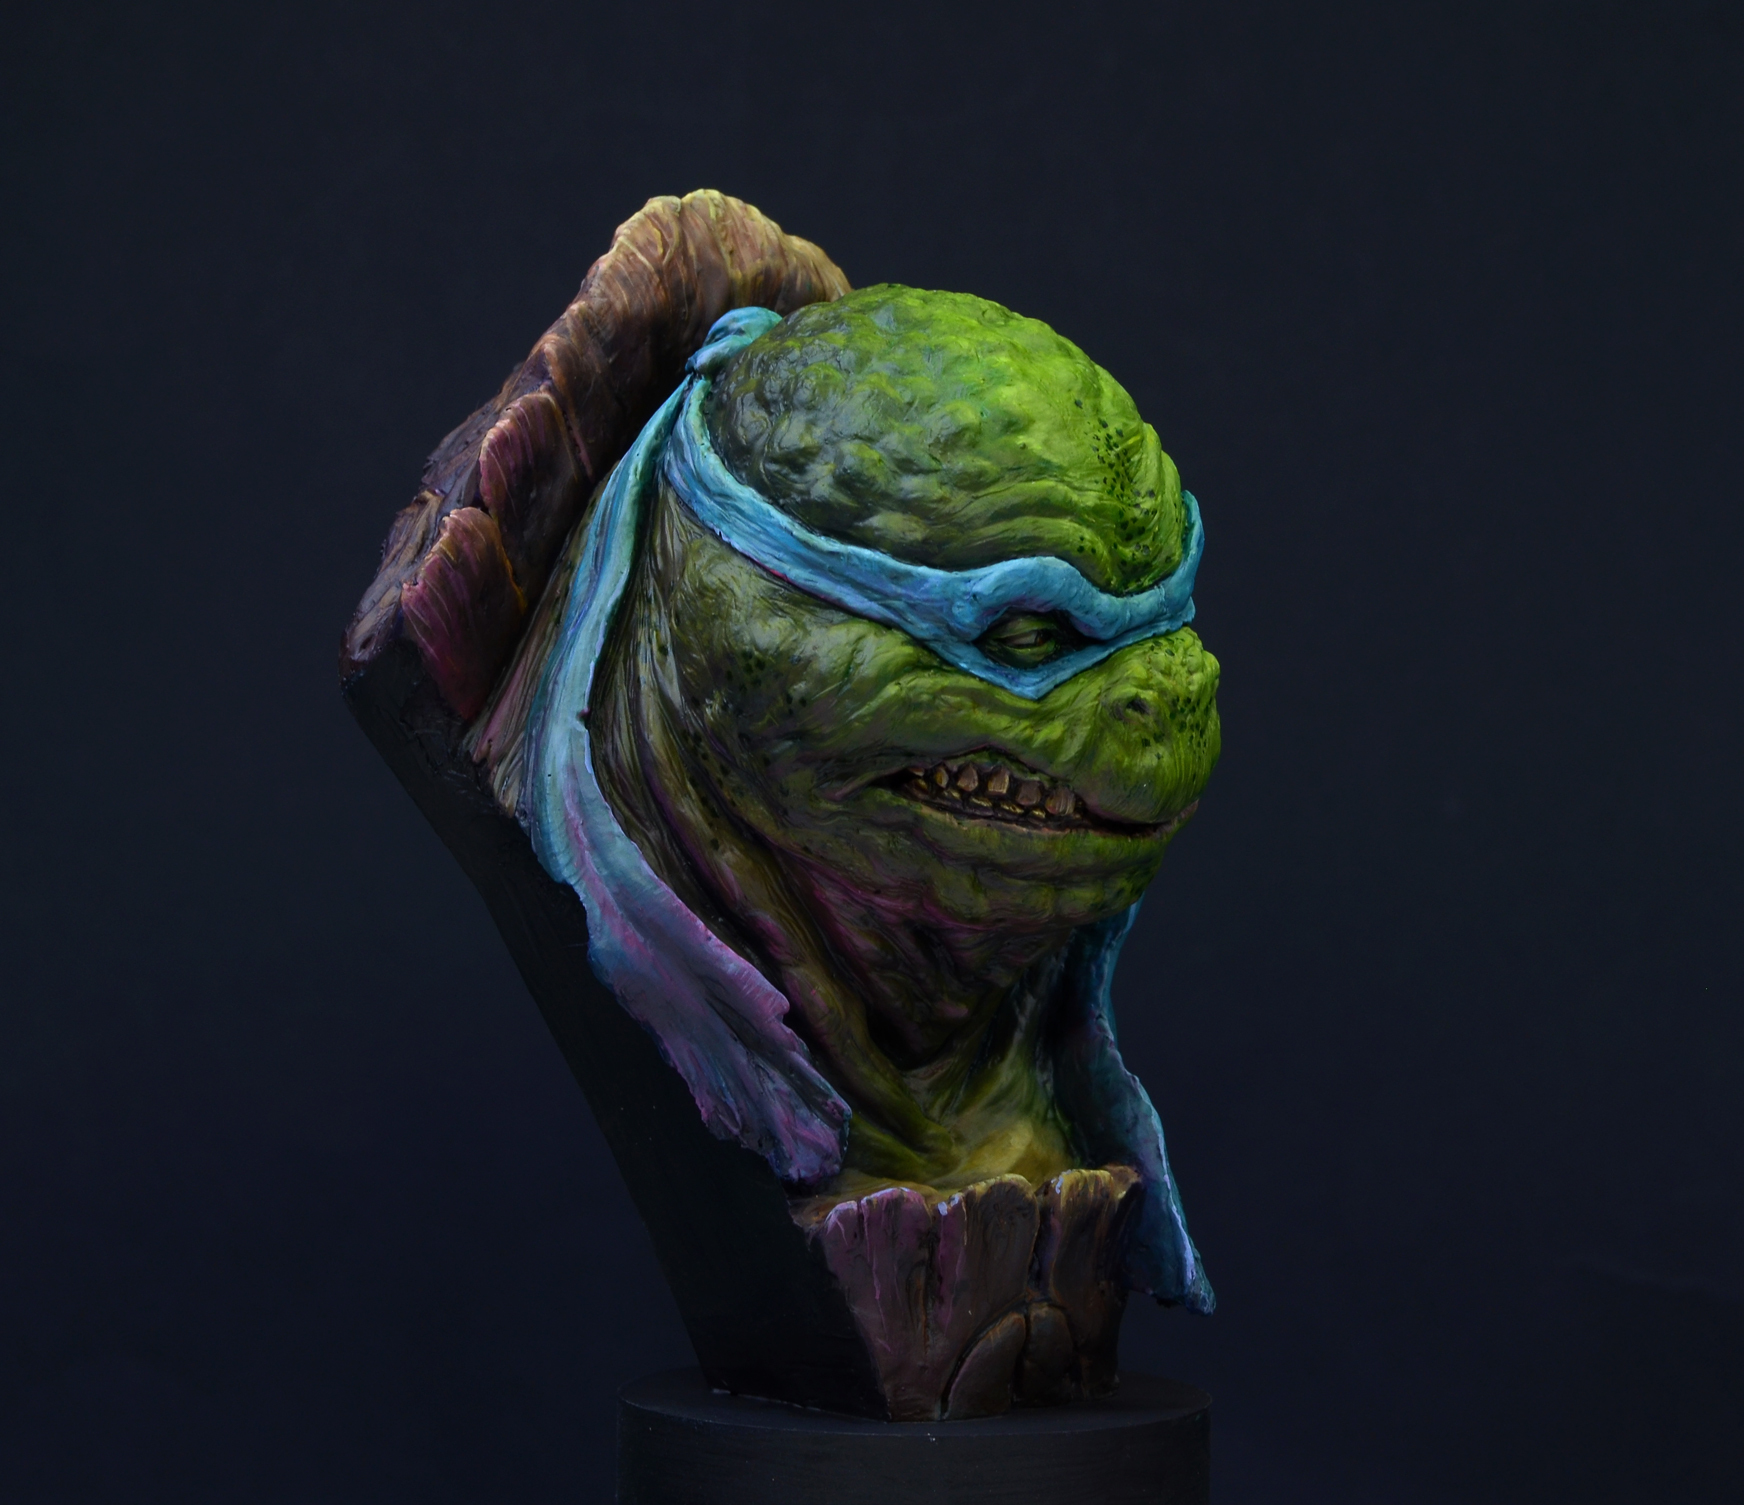
In the end I decided to keep Leo here really saturated. When he was done he looked like this:
TMNT - Leonardo
Sculpt by Cyril Roqulaine

If you want to see more photos of Leonardo please check the link to Putty & Paint.
So far from me with a really short step by step. I hope you enjoyed it anyways.
Keep on happy painting!
Best Wishes
Roman
Awesome Roman!
ReplyDeleteTell us about the subtle purplish colour placed under the right lower neck.
Would like to know why and how you did it.
Looks like some kind of ilustration technique and its awesome!
Thanks and Cheers from Barcelona!
Absolutely lovely! The warmer purples add so much to it!
ReplyDeleteDo you know if there are any plans for the busts to become commercially available? I'd love to get my hands on the set!
stunning work and i love your use of bright bold colors!!!
ReplyDelete@Bruce
ReplyDeleteThanks for your comment!
Wellm what can I tell you about the purple. Not that easy, as I am finding my own painting again after two classes where I learned a lot myself. I imagined an extern light source being the reason for that athmospheric colour touch there. Brings in much more athmosphere to a model i think. Will do more of these studies in the future and I think I am able to tell you more when I have done these things myself a little bit more often. Hope this answer satisfies you still :)
@Alex
As far as I know there are no plans for seeing these busts commercial available, but you can ask Cyril Roqulaine, the sculptor himself if he might make some casts for you. I did so too via facebook.
@Zab
Thanks a lot!
You have some really nice modelling on that bust.
ReplyDeleteReally nice.
ReplyDeleteTony