Using bricks by Juweela
Lately I have been asked again and again about those bricks we sometimes use. For those who are not familiar with them here comes a little article introducing them, showing you how you can work with them and bringing you more inspiration to further articles already written. Check the two linked articles to see more brick work:


Raffa's Slayersword winning piece described in the progress

Using old coins and some bricks to build up your base vision.
About
The company who produces those great bricks is Juweela from Germany.
You can get bricks in different scales and other cool material for eventually putting it upon your base directly from their shop or from different hobby retailers.
If you are living in the U.S. check Secret Weapon Miniatures as they got them in stock now!
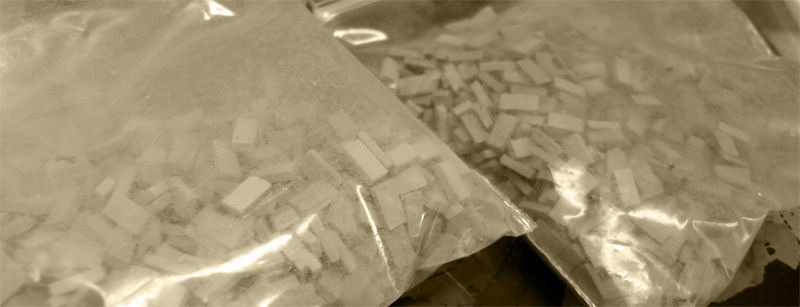
How you can use them properly. I, for my part just like to put them on top of eachother to build up something interesting. Lettin' it grow from itself. Feels like LEGO for adults. I mainly use the scale 1:35 but 1:48 also caught my attention - in the end those are really small and working with them you will soon lose your LEGO fun :D
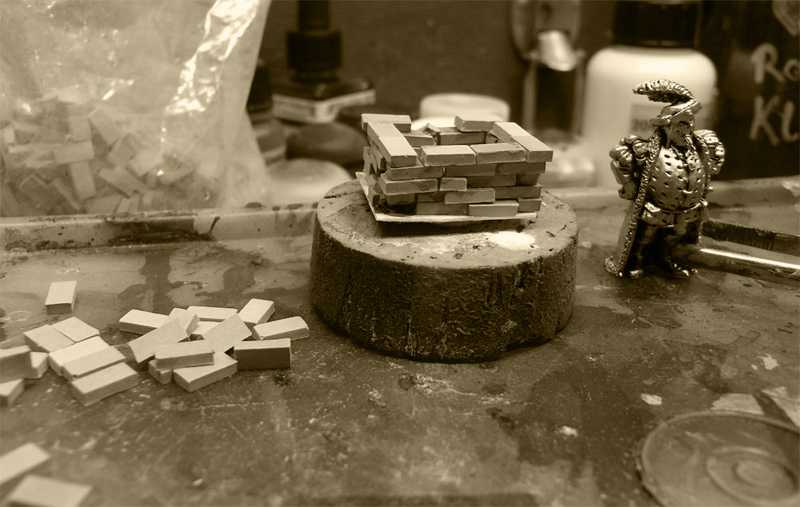
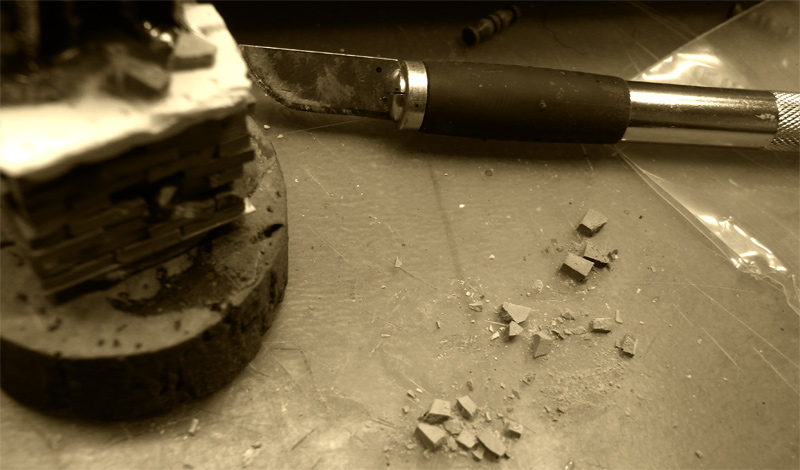
That is indeed nice for a start but might consume a lot of superglue due those many bricks and will bring some superglued fingers too. Yes, I use superglue here. I have already tried to use PVC glue and wasn't comfortoble with the result because of its lack of stability while bringing damage to something I did build up recently with those bricks. Yes, I do damage afterwards ... sometimes, when I build up something bigger. Keeping the bricks alive makes it easier to build up because the bricks all have the same seize'n'form and destruction follows with a hobby knife or a calipper later on. If I don't build big things I usually do small things where not as many bricks are used. Therefore I take some of those bricks into my hands and rubb them. Yes I rubb them and if you here fine crunchy-crunchy noises outof your working hands you might be doing it right. After this little training in praying hands you should recieve your bricks with little wounds everywhere ... indeed they are more various now but sometimes I want it all to be totally destroyed or just need some boulder lying around somewhere. That is when I use the hobby knife in the early start.
In the end it doesn't really matter when you are doing what - just relax - and do what you need in the right moment- Sometimes it is good to have destroyed brick pieces and sometimes it is good to have intact bricks ... it just matters on what you are up to!
When building up something big it is pretty easy to place the bricks properly - working it the LEGO-way, simply as it is. If you want to create something hyper-realistic then you are in need of some putty (for example liquid green stuff or Vallejo's 401) to really get the bricklayer feeling. Put the putty in between your stones to make it look like there is no tomorrow!
Sorry, no picture found -
even when I was checking Raffa's Hunter or Hunted!
Where have all those true bricklayer heroes gone!!!???
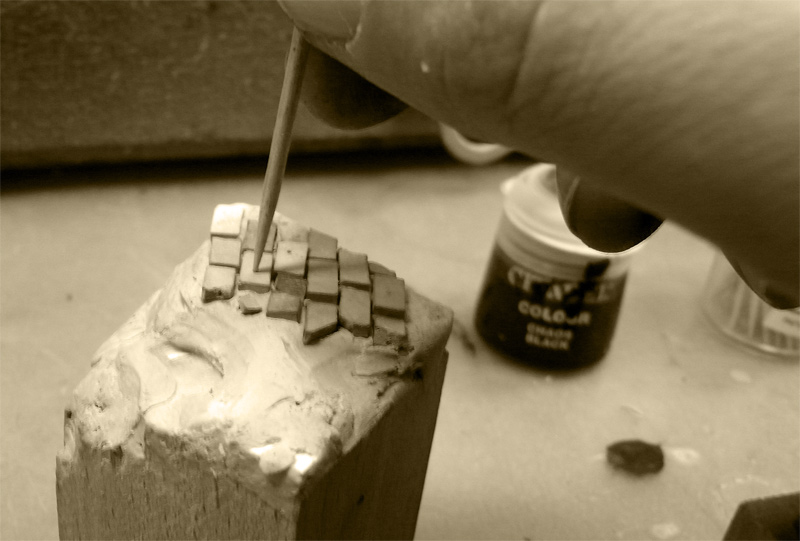
When placing the bricks in small number and eventually destroyed you might need some more control of where you put them. I often use a tweezer to pick them up, bring them to the spot I want them to be and use something like a toothpick for detailed aiming. Yes I am getting old by now :D
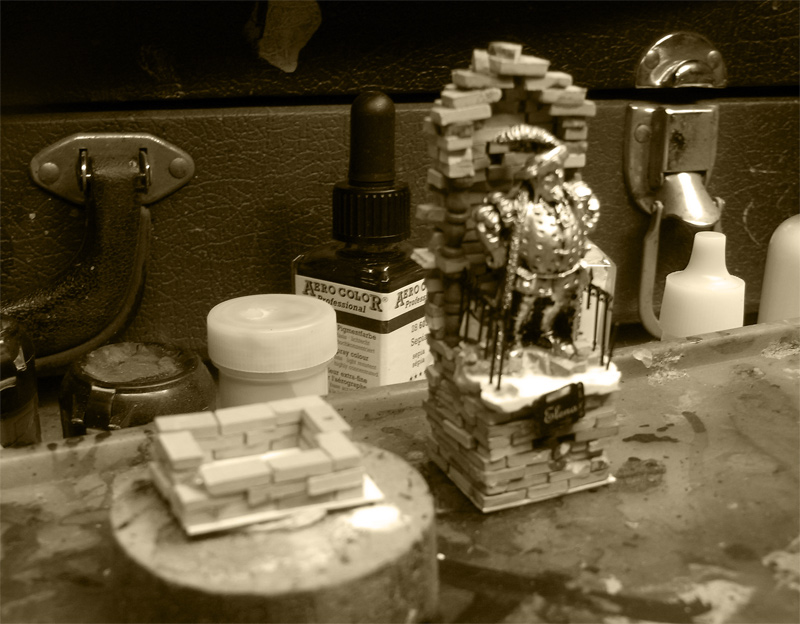
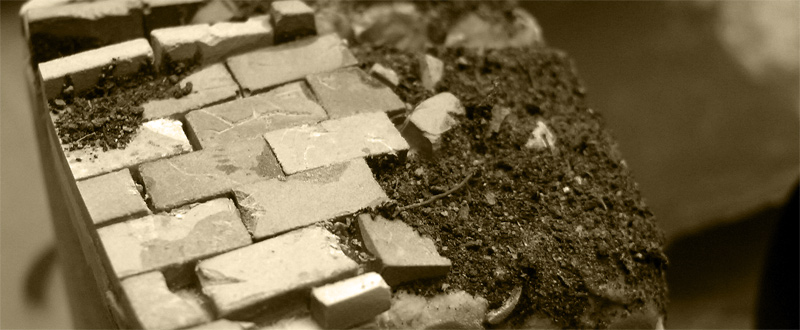
When placing them - remember what you want to create. An old temple of long time forgotten ancient gods or a dance club in a party basement? If you are keeping it intact placing them is not really hard. If you are going the ancient way it often helps to use destroyed pieces, maybe leave some space here and there or even show that one ugly goblin ninja stole one. This is totally up to you but remember I told you it always looks kinda cool if there is some gentle damage around.

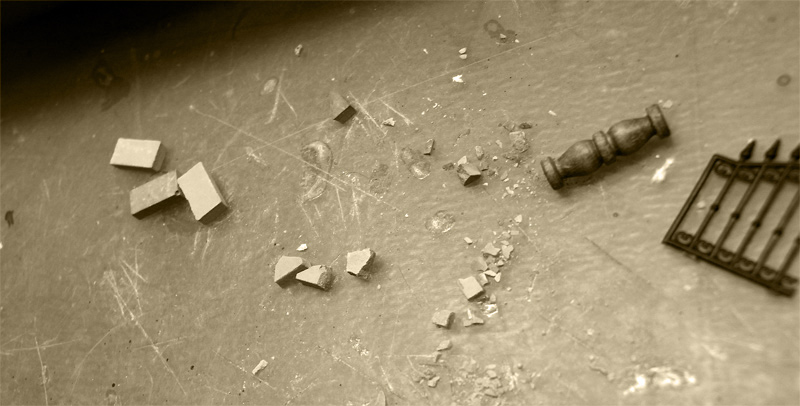
What I also like is to carefully cut into the surfaces to add some final details where colour can play with light and shadow. It also looks good to cut some final edges. Always cut carefully and look what you are doing or you can lose your finger tips. Not too much power - these are just tiny bricks.
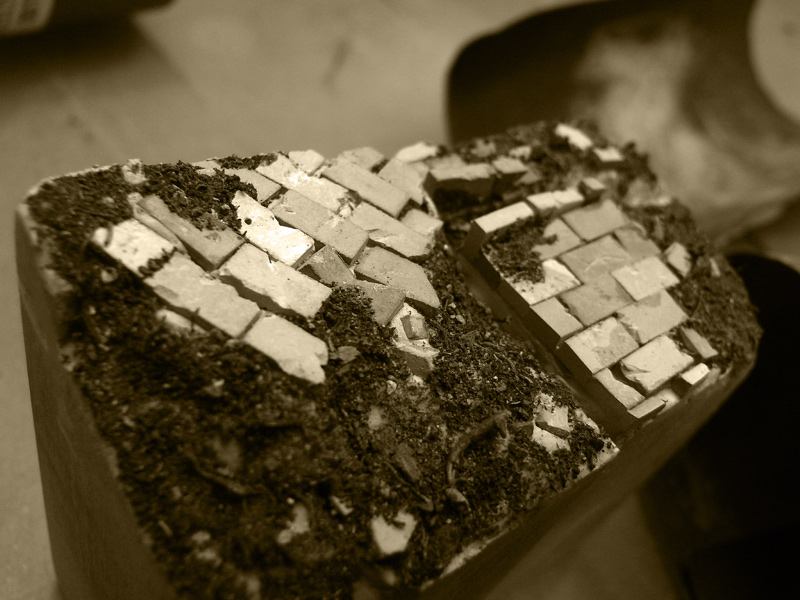
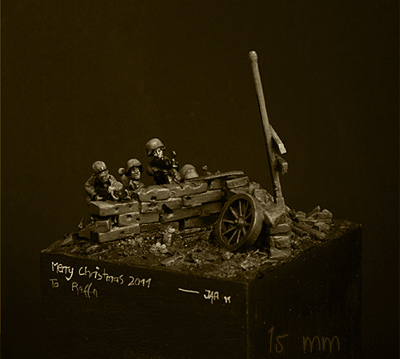
Now, let me think, is there anything more I can tell about my work with those bricks. Nope, doesn't look like when I search deep in my brain. In the end I can just totally recommand them as cool basing material and at least for the adult-LEGO-feeling. Some examples where those bricks have been used for basing:

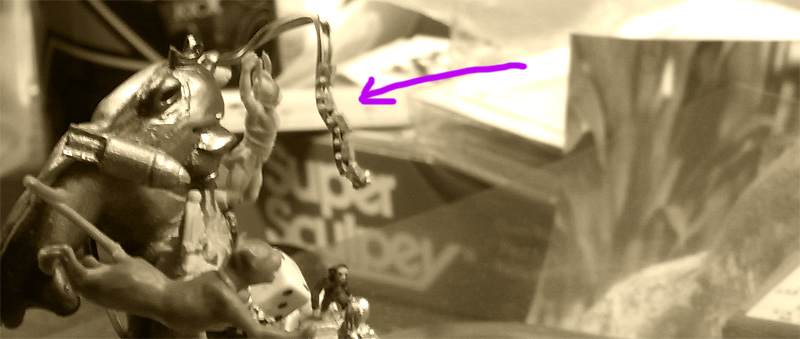
You can even use the smaller brick scales to create a little toy train going mad. Might not be easy to see but I made an interesting coloured arrow so you all be able to see what I mean:
Now asking my two assisstants over here and they say: "Yes, we like those Juweela bricks. We steal them from your table while you work with them you big balded friend of ours ... meeaaaoowwww!"

True Story bro'!
Stay sharp as a Razorblade and keep on happy painting!
Best Wishes
Roman
If you got any questions around the Juweela bricks feel free to ask in the comments.
We try to serve!
Links:
I believe the things that define your painting group are:
ReplyDelete-craziness
-that mix of color for rust/earth
-bricks
Juweela should be blessing you right now!
How much those bricks costs? Juwela web site is in german and doesn't have prices and 6 retailers I checked don't have: juwela products or specifically those bricks :)
ReplyDeleteThanks for the great tutorial. Very inspiring.
Aha, last link took me to the page with bricks of proper size and prices :)
ReplyDeletePictures without sepia effect would be much nicer.
ReplyDeleteAnd if you can't get the Juweela bricks get the ones from www.pk-pro.de
Thanks for the plug -- and if you're in Europe Philipp has it, check pk-pro.de and if you're in the USA come to Secret Weapon.
ReplyDeleteJuweela doesn't offer the bricks directly.
Aaahhhhhhh. . . . Take them away. . . . . i use nearly 2000 of them for a big display-base. . . .can't see them anymore -.-
ReplyDeletehey, here is my "little toy train going mad"! <3 lol. sehr suss ^^
ReplyDeletenice article, which makes me realise I should have stolen you some while I was at your place, ahahah :D ;P
Thank you for just giving me the much needed tip on roughing up the bricks, so simple so effective.
ReplyDeleteAnother alternative is to use Vinyl Tiles which can be found at DIY home hardware stores. I used 3.0mm thick sized tiles for the bricks. Each tile is 12x12 inches and only costs around .50 cents around my area. NOT the vinyl tile which has a thick hard rubber-like material on top of it, the ones I'm talking about are those which would easily break when you bend them 180 degrees. I've carved out models out of those things, and you glue them on top of each other simply by using super glue. Sorry I don't have pics with me right now.
ReplyDeleteIf you want information about UK Car Spraying in Bristol then please visit
ReplyDeleteUK Car Spraying in Bristol