Hey Jungle,
a quick step by step on how I will build my gaming bases for a small Mordheim Dwarf Adventurer gang.
Mordheim?
Well, there will be much more coming about this topic - not only from my end, but also from MV-Team Members Johannes and Josua. Wait for it! Soon!
Nothing too fency, but therefor, easy to follow and a home for this Slayer Dwarf:
More gaming bases:
Never fear your gaming bases
Fear is not needed when you do quick gaming bases.
Creating a Fantasy Gaming Base
Roman explains his progress on a small but complex gaming base.
SciFi Gaming Base, Trench
Roman building up a trench base for WH40k.
Allright,
very important for me when it comes to the creation of a base is my vision for the miniature(s). In this case I see my dwarf adventures going into a muddy, overgrown, swamplike, abandoned dead city.
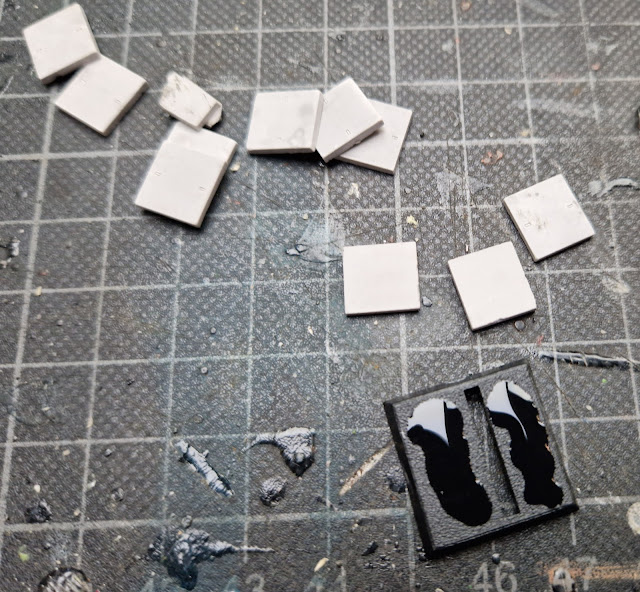
I choose to work with stone plates on the ground by the
company Juweela that you can find via PK-Pro.
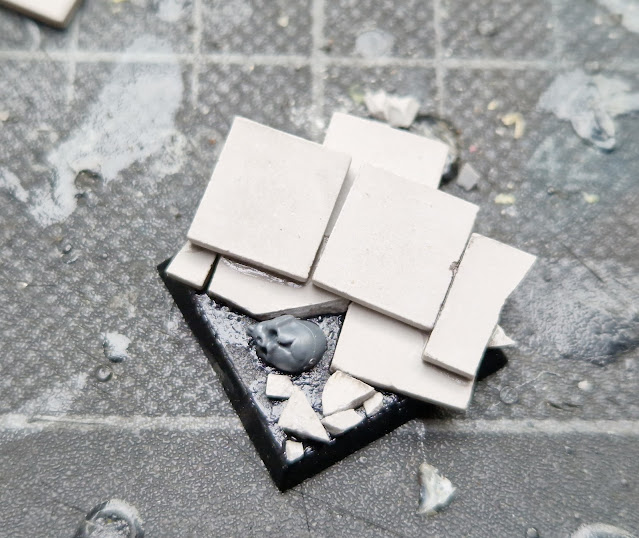
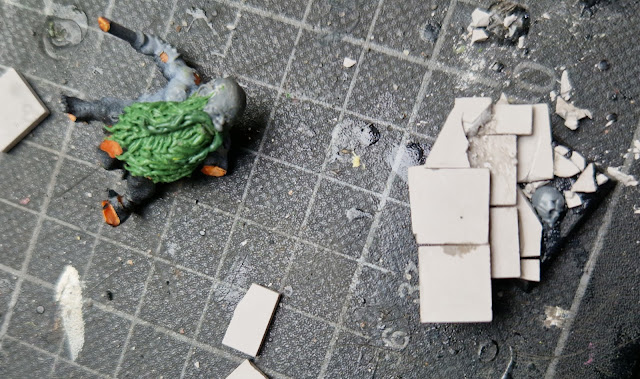
A traditionaal Mordheim sized plastic base was used and superglue was added. I did not follow the lines of the base and set my plates up in a diagonal layout to keep the base more interesting. I am up to glue some stairs with the plates and decided for the front part to become mud later on when painting. A skull was plaaced there.
Right now the plates are overlapping. In the end I do not want to keep that, but I let the glue dry out properly before going havoc. I started to add the first start of micro details with smaller stone pieces.
A third row was added and you can already see how I play with damaage on the stones. Right now it is important for me to check back with the miniature I want to add and place on the base. Make sure it has a good standing ground.
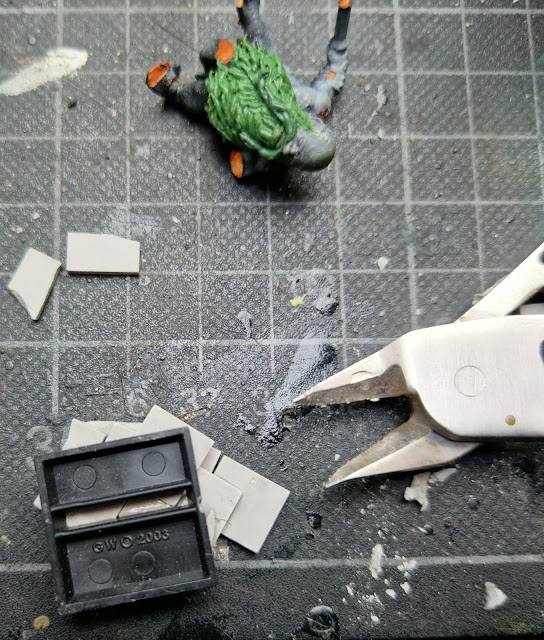
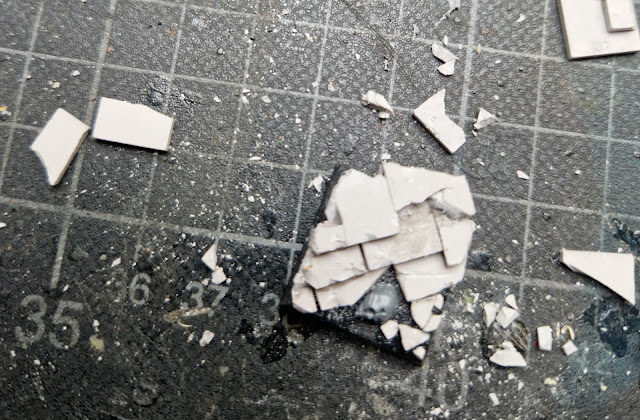
When the glue is dry I flip it over and take my callipers to break of the overlapping edges.
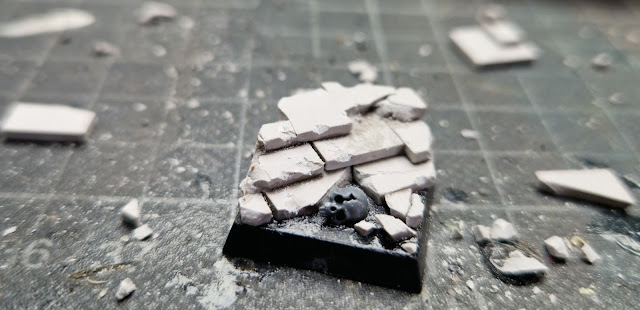
I also created more damage to the stairs with using my callipers.
I was able to create some really interesting and realistic looking damage.
Placing the dwarf slayer.
Happy.
Ready for some color.
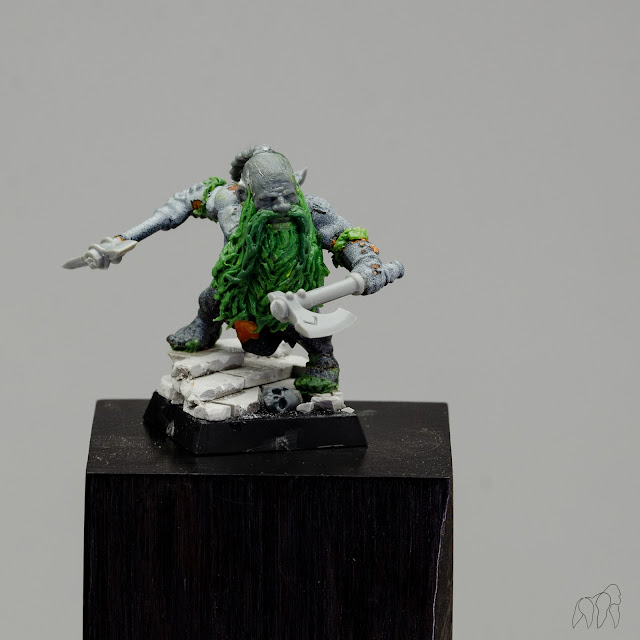 |

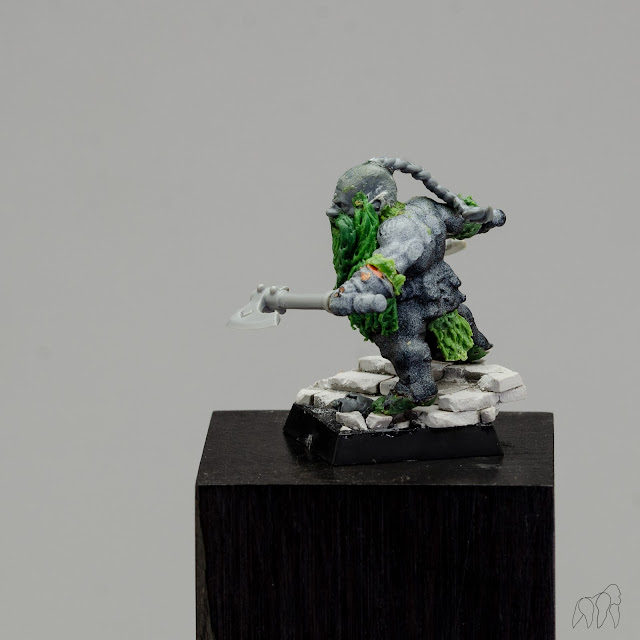
Enjoy!
Keep on happy painting!
Roman






No comments:
Post a Comment