Hello again!
if you read
this third part of my series, you probably read the first and second part to, if not you can find them here:
Giu's Robot Repairs - Part 1
Giu's Robot Repairs - Part 2
We will instantly
jump back into the process!
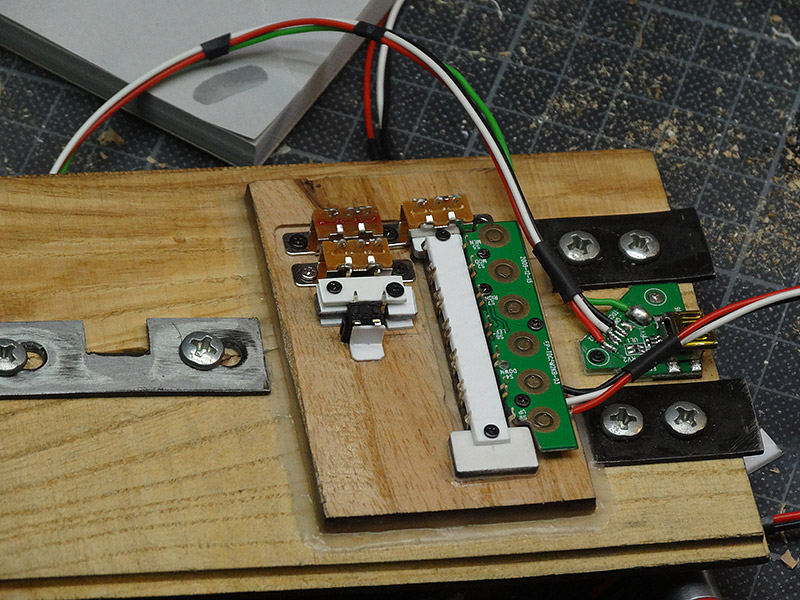
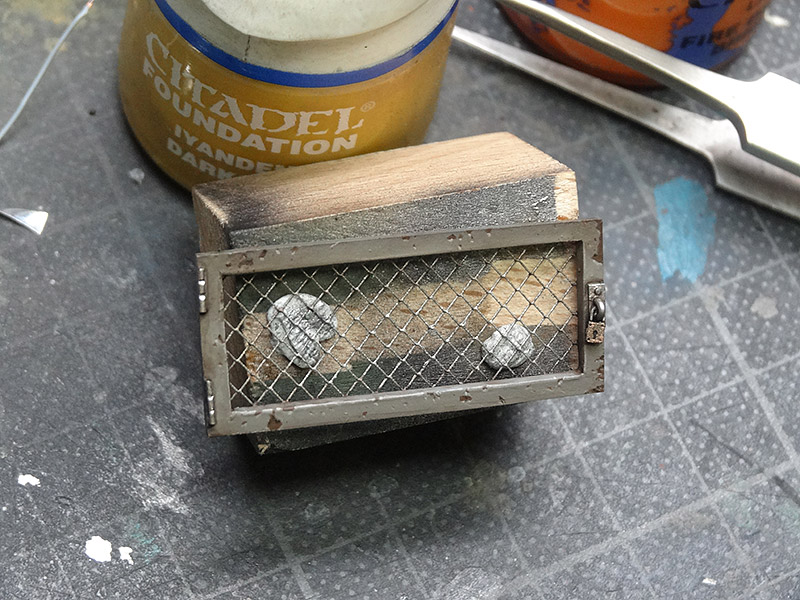
On the bottom of the project there is a
control plate (has 9 buttons, 2 usb connectors and 4 switches in the end connected with 34 cables to the top). The plate is removable and will be connected with the top part using a
ribbon cable. Here you can see how I drilled the holes for all the switches using a Proxxon stand, pretty neat thing!
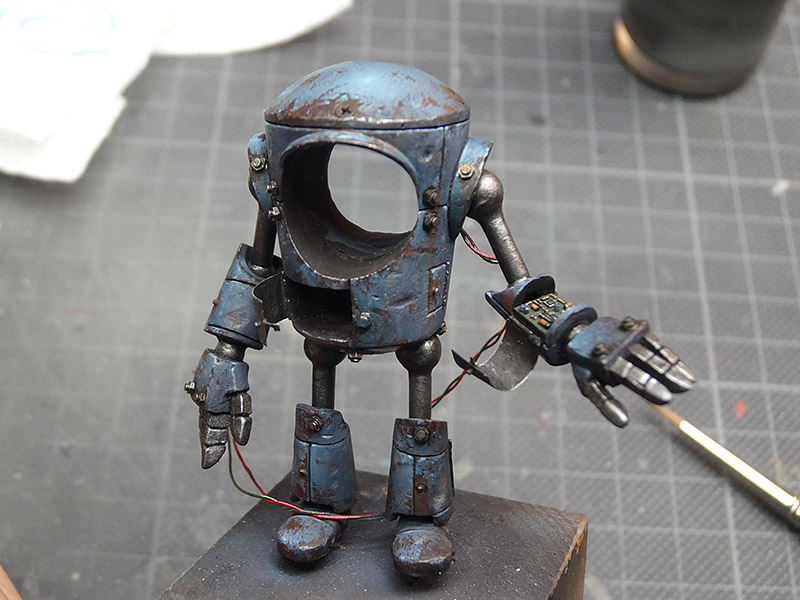
I did some more
conversion work on the robot. I added nuts and screws to the chassis to make it look more interesting. The parts were
just glued onto the existing paintjob. As I still had a lot to do with the paintjob, it didn't matter so much.
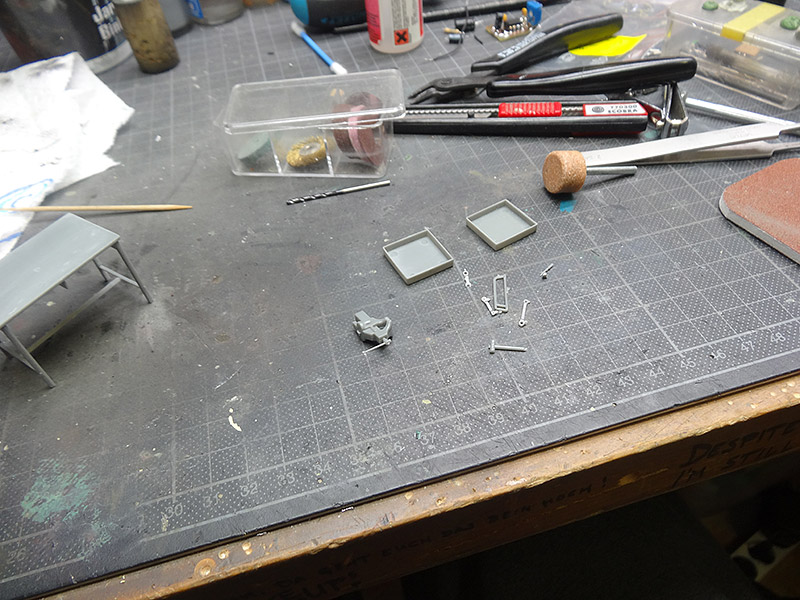
Here you can see the process of creating all the small and big details on the base. I had a very useful plastic sprue with
some basics that were detailed and painted individually. Most of the parts
were painted one by one, except some simple things like the tools on the table or in the drawers.
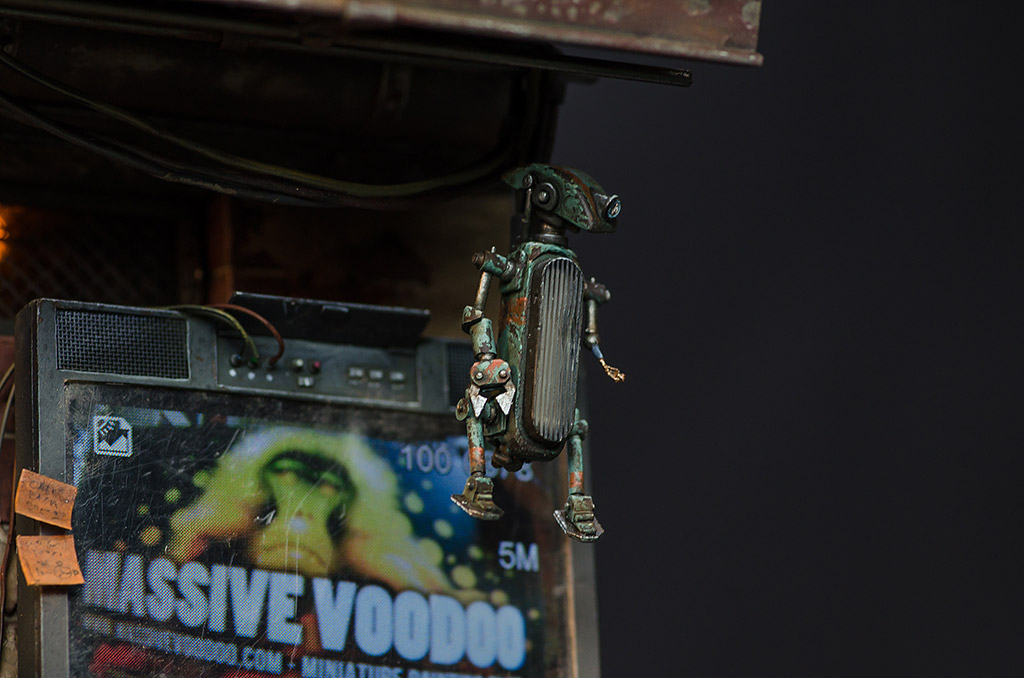
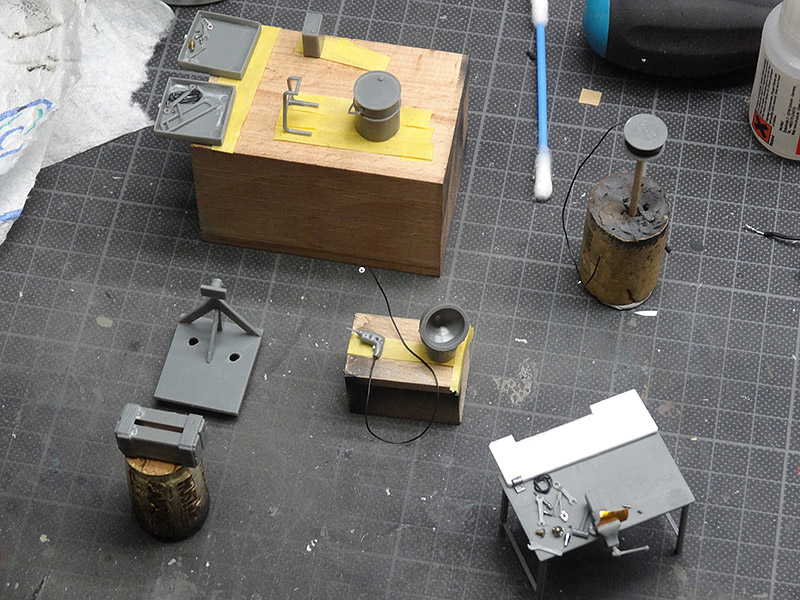
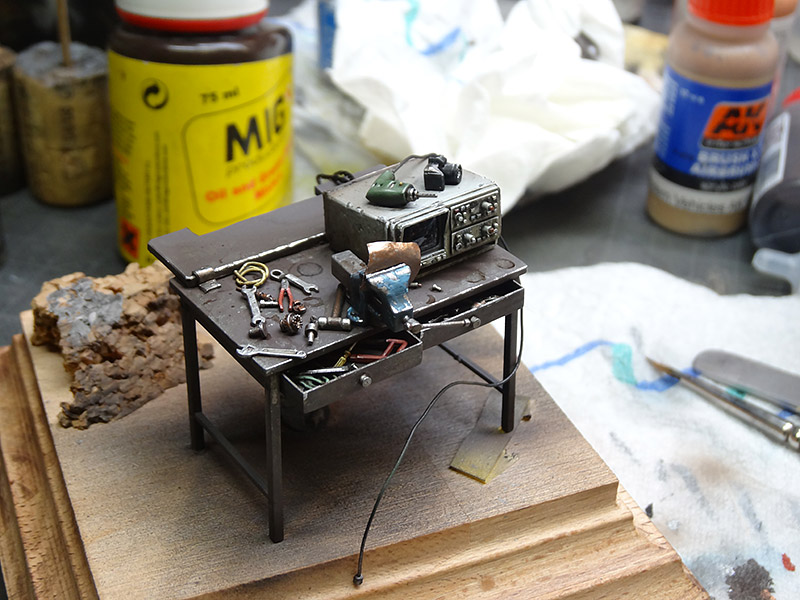
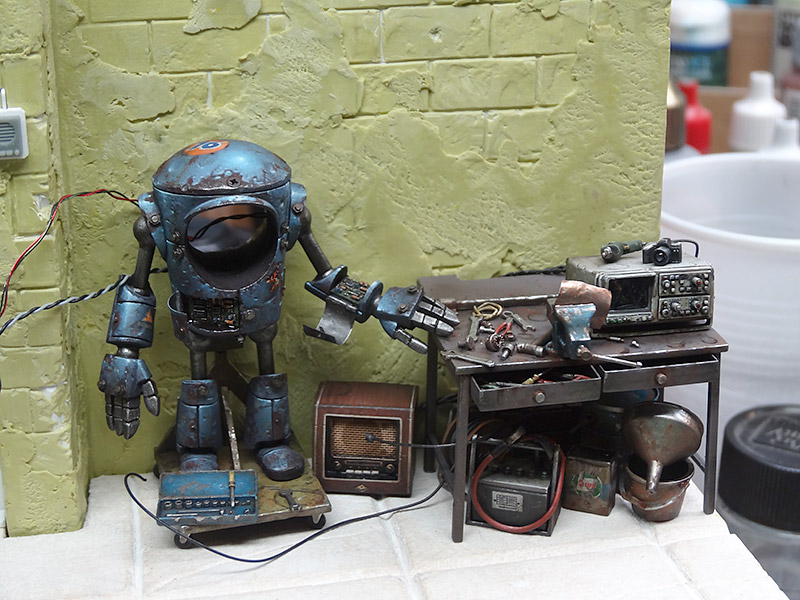
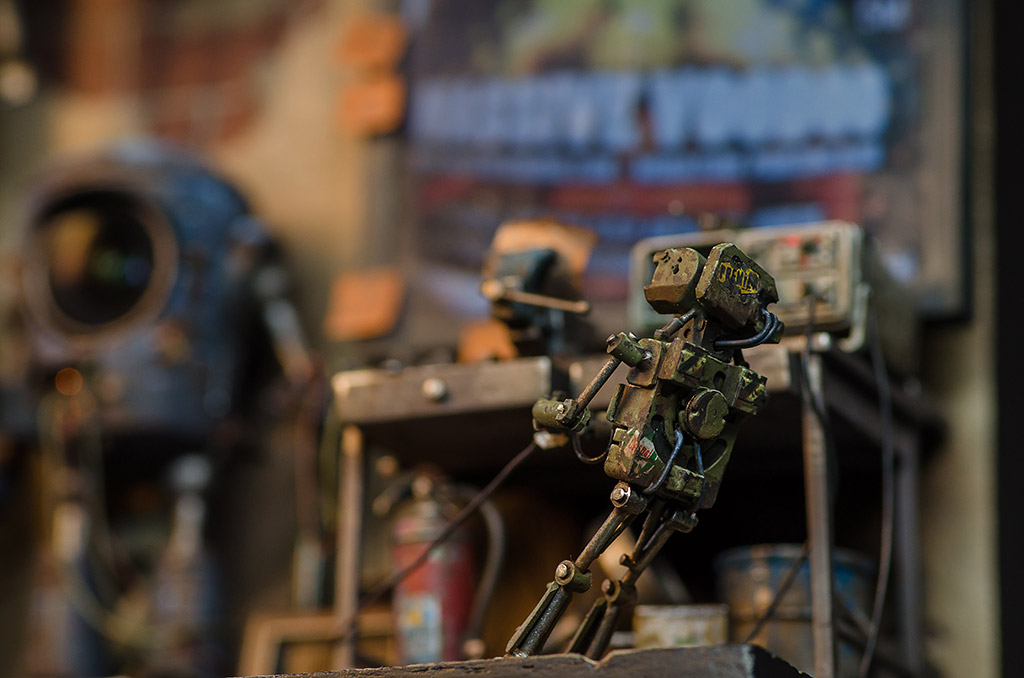
Another test fit of all objects, looks pretty good so far in my opinion! I really
loved the fact that I could play around with the composition of the single objects. You can see the almost finished paintjob of the robot. If you look carefully you can find some
carefully applied waterslides. If you paint them with the same light and shadow as the rest of the paintjob they really blend in pretty nice!
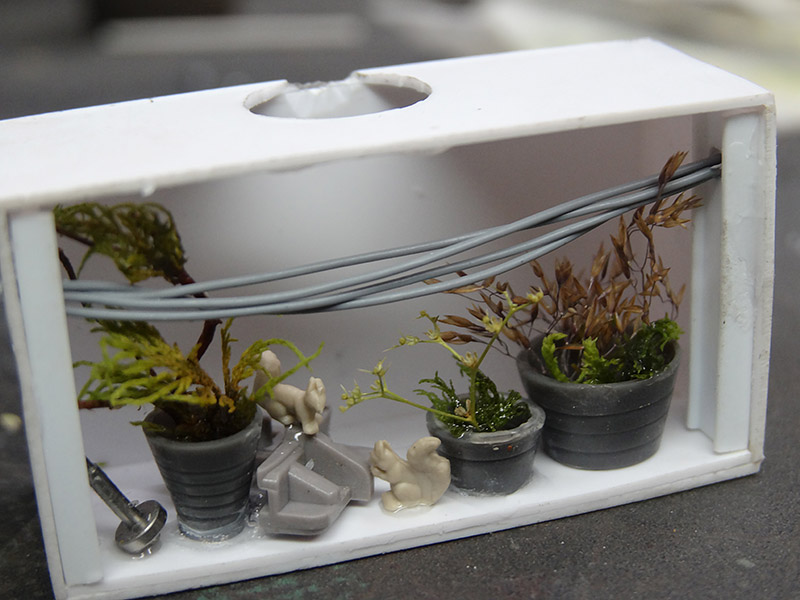
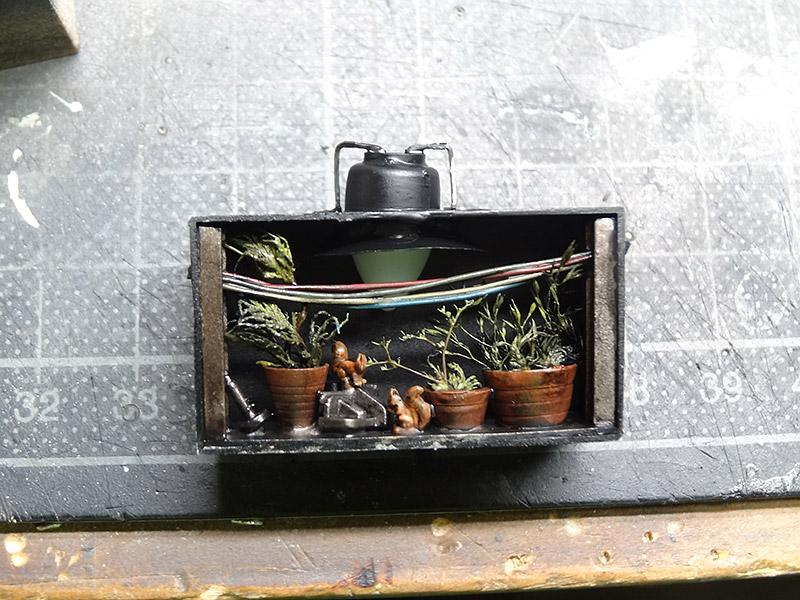
This is the backdrop for the "flickering light window" that I planned. The paintjob was done
VERY fast as the inside of the window will
be almost invisible in the end. Anyway I just wanted to have some fun and somehow
a realistic backdrop looks..... more realistic! In the beginning I planned to print out basic shapes and put them in front of the lamp like a shadow theatre, but this looked very fake and two dimensional.
The window frame was painted and a glass piece was glued to the back and getting some dust and dirt weathering.
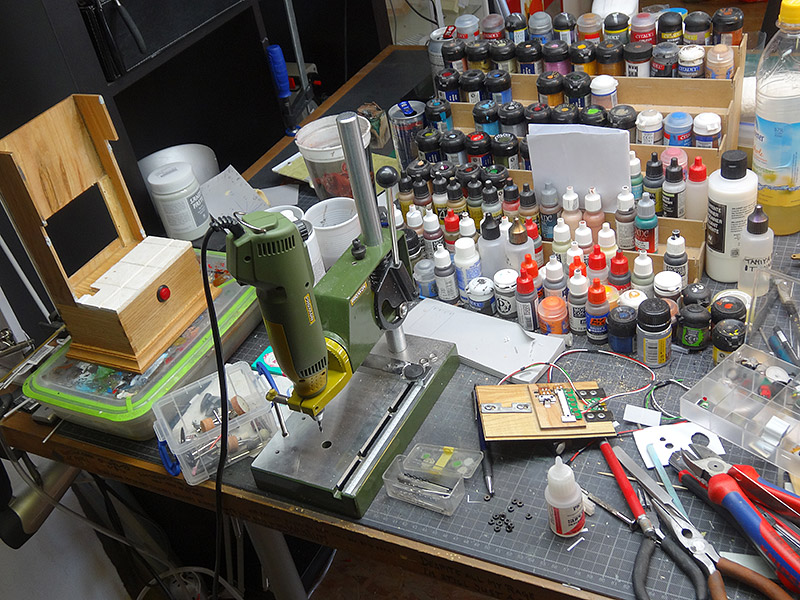
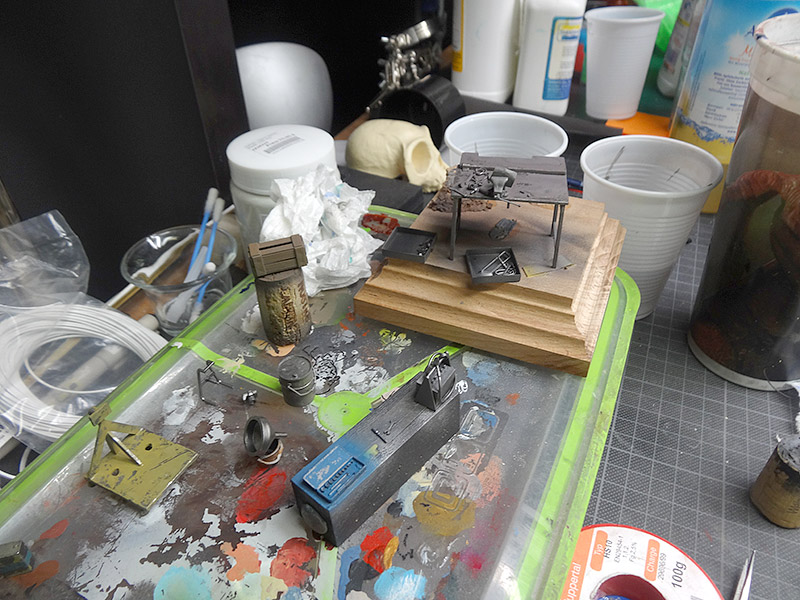
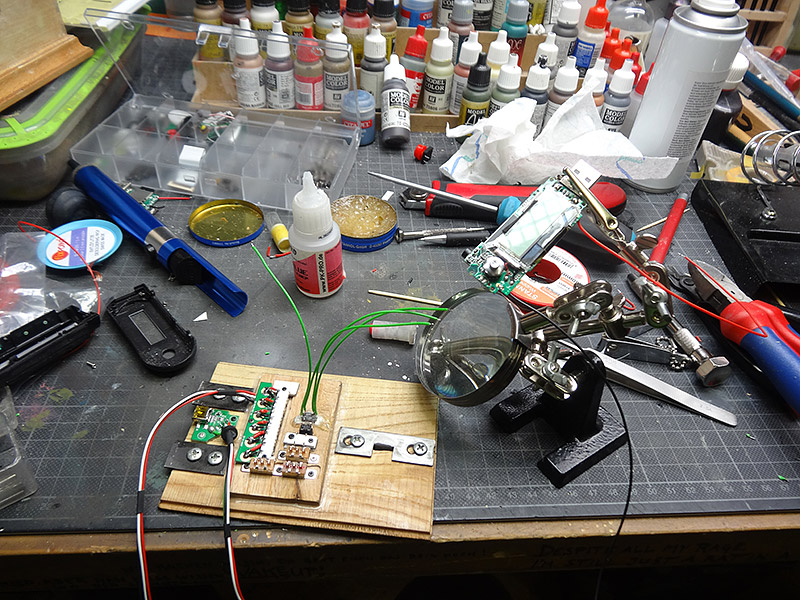
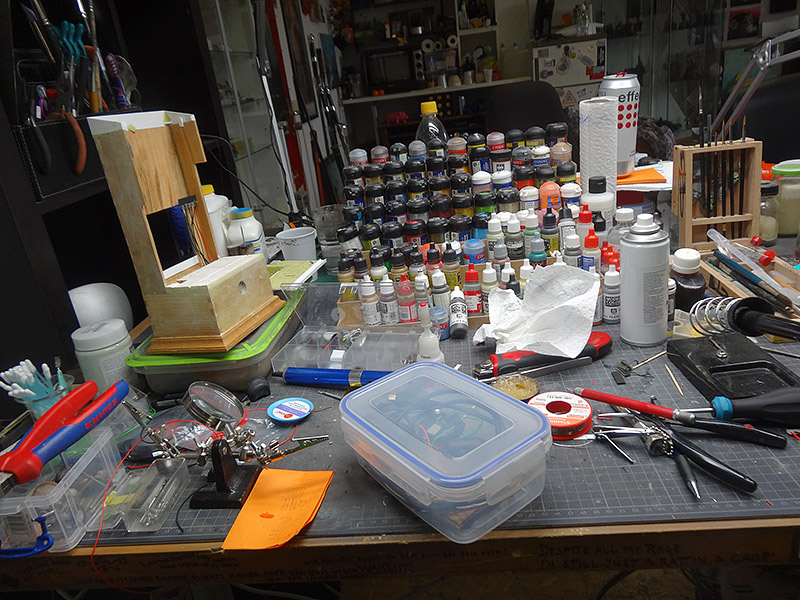
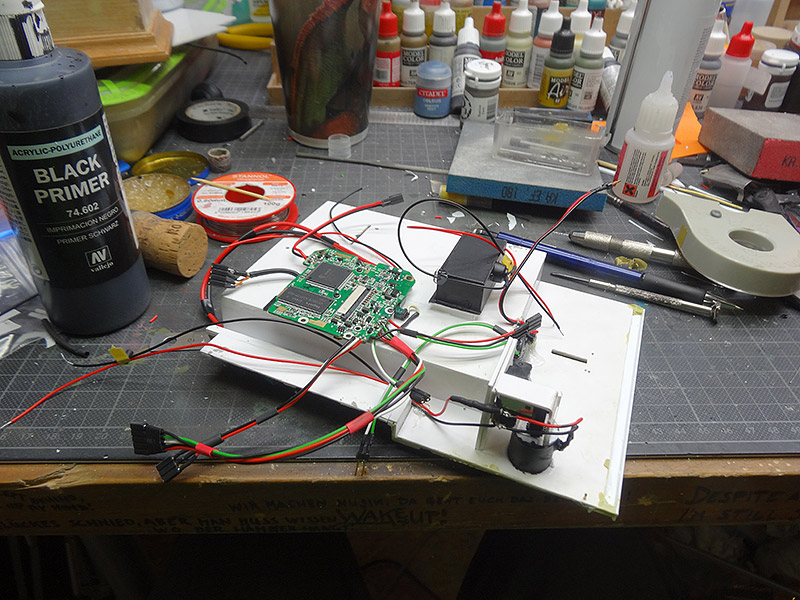
Doing some more electronic works at the bottom plate and the base, you can see a
early prototype of the mp3 player I used to playback the "radio's" music. It's annoying to switch between different worksteps like soldering, painting and scratchbuilding, but it had to be done :(
On the bottom photo you can also see how the wooden socket looked without the faceplate.
I really wanted to put another dynamic element into the diorama, even it just was a small one:
motion.
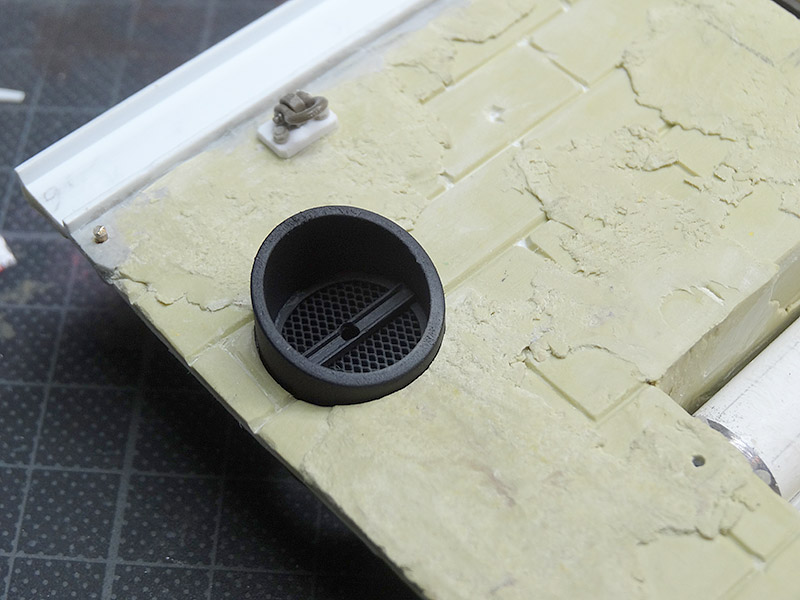
I build up a air conditioner type of fan in the wall. The motor was
taken from the zoom of a digital camera and the other parts were scratch build. I had to pay a lot of attention to the right positioning of the fan and the axis.
The backside of the wall faceplate.
I assembled the camera into place, soldered all the connections that I needed to do at this point.
Some places will be very hard to reach after the faceplate was glued to the rest of the socket.
After the faceplate
was glued and pinned to the wooden socket,
the camera lens (which was a real pain to position correctly...), window and fan were masked off. The base was getting a coat of Mr. Hobby liquid putty (
still smells like HELL!). This makes the surface much more even and better to sand.
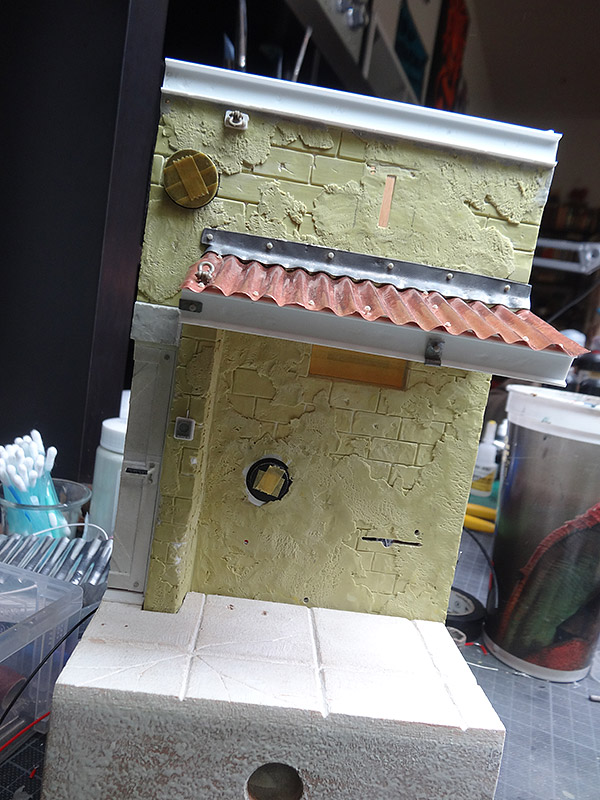
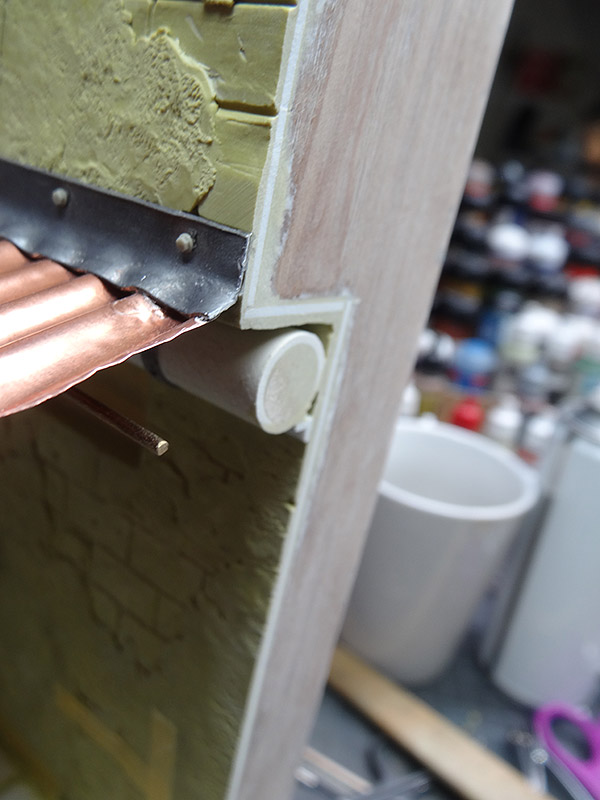
The roof was assembled and all parts were in place.
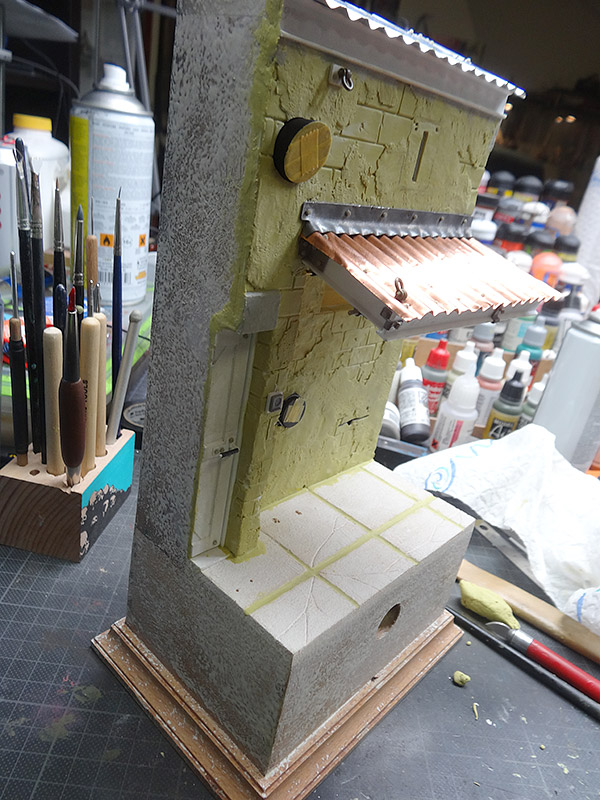
The gap between to frontplate and the wooden socket were
filled with milliput and all the sides were carefully
sanded as good as possible. That means a lot of work, but I am kind of obsessed with nice base sides.
Now finally the base is ready to be primed!
That's it for this part, only one part is missing now to finish this series!
And for sure, one more preview photo and 7 new photos from Monte!
Cheers!
Hope you enjoyed this article! If you did, post a comment and keep up the spirit!
Best wishes,
Raffa


Rafa, the bigger thing this project reached was not it's painting or sculpting quality, it's the fact that as you cann see in the pictures it took, it made people happy :D
ReplyDeleteThis build is totally crazy, amazing and stunning at the same time.
ReplyDeleteThe desk alone and one robot would be enough to make most builders and painters proud to have it finished - but not for you.
Is there a museum for this kind of art?
I would go and visit it just to see it life...
Beautiful creation! :-)
ReplyDeleteBest of SHOWSSSSSSSSSSS!!!!!! Great work!!!!
ReplyDeleteciao
Fabio
AMIS Milano Italy
Slowly I understand of all the electronic miracles you tried to explain to me ... brilliant! Thanks for the write up - truely genius my friend! Love the photos!
ReplyDeleteBig idea with Social media compact work~! I love it~!
ReplyDeleteI love robots, and I love miniatures - what an awesome way to combine both. But as I was going thru you pictures, I really, really, love the miniature workbench table - all the little tools, just awesome! Please, please please share with me how you made the workbench (what material you actually used - it looks like metal), and how you made all the tiny tools that were on it, under it, etc...plus all the other mini accessories i.e. the radio, the fire extinguisher, the ham radio looking item...and of course how you made the robots!) I'd really love to know how to make that stuff - so I hope you'll be willing to teach me some new stuff. I don't want to make yours, I would like to know how to make my own and the robot doesn't have to actually move, just look cool! My son would love a robot and workbench (he's been asking me to make one for years) for his desk and I'd love to make one for him...heck I'd love to make one for me! :) I just don't know how - If you are willing to help me out - let me know and somehow we can exchange emails if that's okay. I am just wowed by how amazing this whole build was, and really excited about the robot and his workbench - it's really inspirational...omg - I sound like I'm begging, - oh wait - I am! Please, please, please! Words can't express how grateful I would be if you would be so kind as to enlighten me with knowledge to create my own robot, workbench, tools, and radio, etc.
ReplyDeleteHello MG,
ReplyDeletethanks for your nice comment :)
Most of the parts are just plastic. Some are bought as is (there are different manufacturers, just Google for it) and some are scratchbuilt using Plasticard and other plastic materials.
You can find a lot of work in progress photos in the three articles to get an impression how they were build.